Configuring the uControl Remote for use

Before you begin:

To ensure a smooth setup process for your uControl Remote, please make sure you have the following in place before you start:

uOS 11 or above: The uControl Remote will work correctly with uOS 11 or above. Ensure that you have checked for updates beforehand.

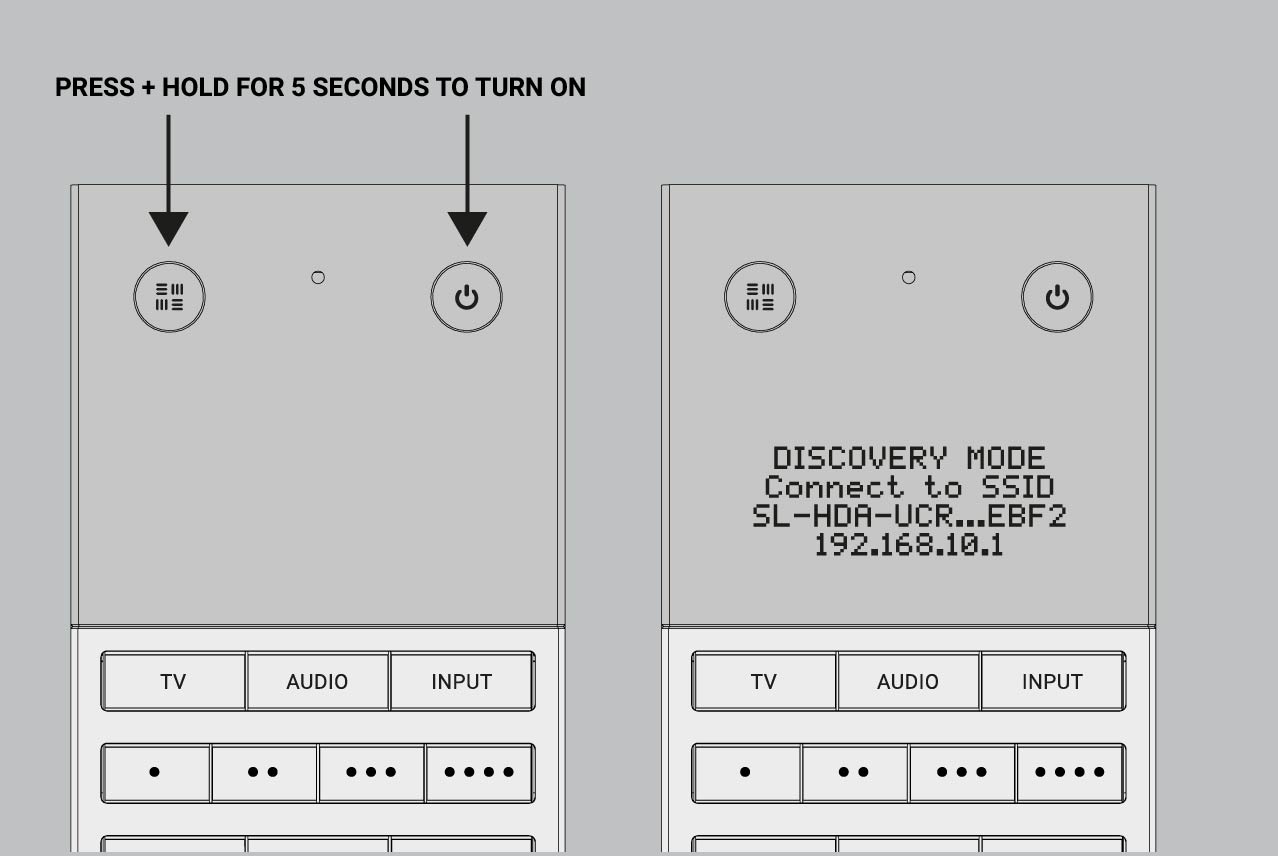
Powered On: Press and hold the HDA Key (top left circular button) and the Power Key (top right circular button) simultaneously for 5 seconds.

Sufficient Power: Ensure the Remote is charging using the provided USB-C cable or a wireless charger.

Setup tested on uControl app: uControl Remote should be the last device setup in uOS. It is recommended that all uControl packs have been downloaded, all Smart Automations have been created and tested inside uControl app before transfering any configuration to .

20 minutes (approximately) to work through.

Contents:


In a hurry? Refer to the quick start guide in your packaging

The fastest way to connect your uControl Remote to your WiFi network is to refer to the quick start guide found inside your packaging.
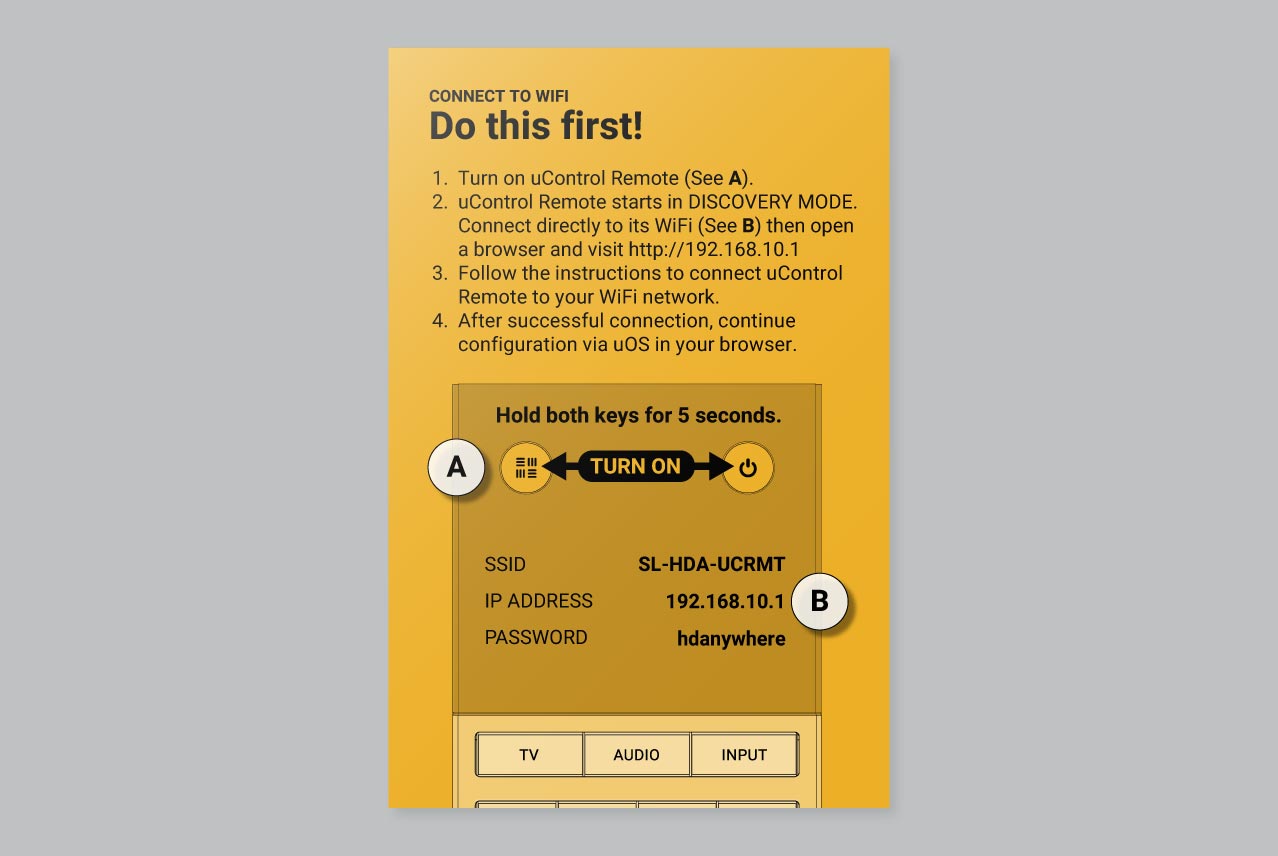

Connect your uControl Remote to your WiFi network by following the instructions the quick start guide inside your packaging.

If you need more help then a detailed version of this process is described below.

Getting uControl Remote on your WiFi network (full description)

1. Ensure that the uControl Remote is charging before you start
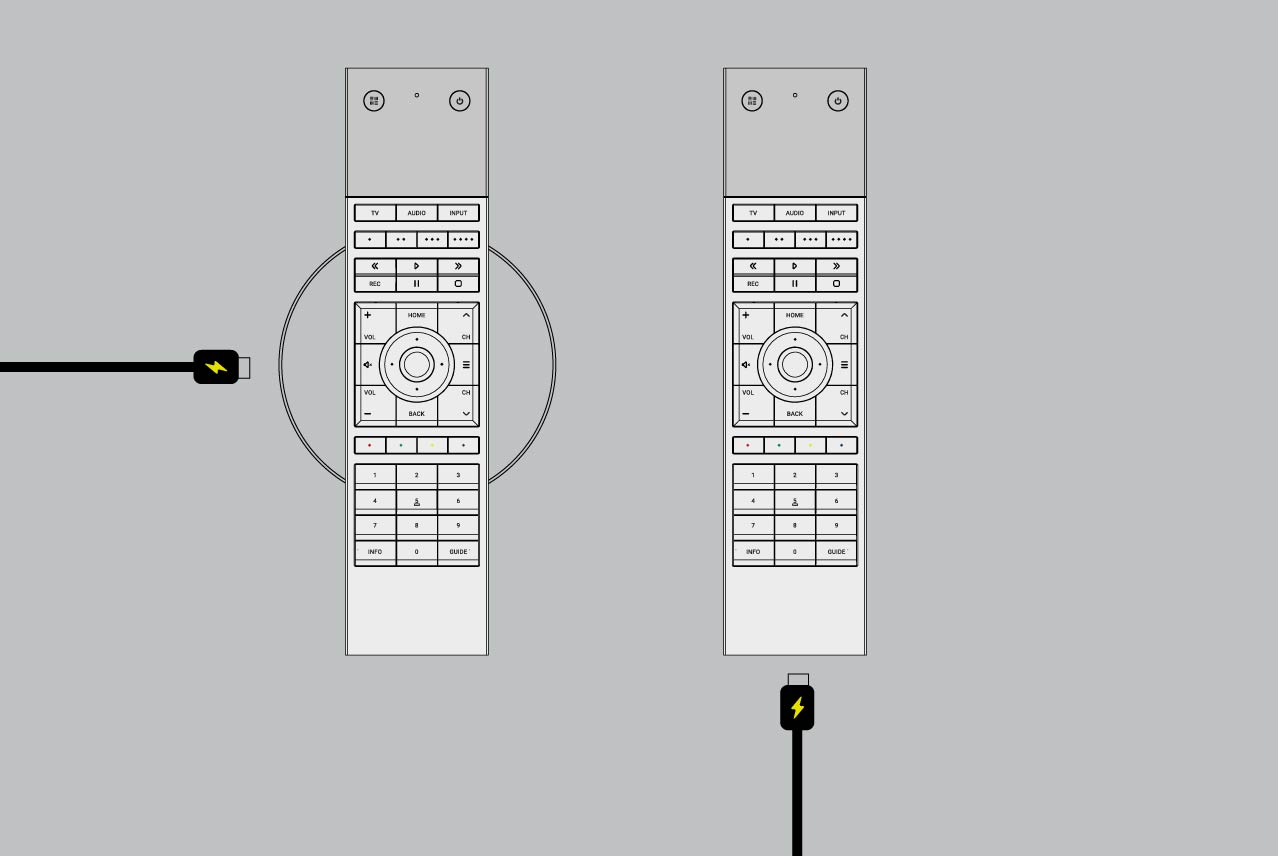

Ensure the uControl Remote is fully charged before setup. Place it on a charging pad or connect it to a power source using the provided USB-C cable and a standard 5V USB charger.

2. Turn the uControl Remote ON


Start by peeling off the screen protector and turn on the uControl Remote by press and holding both the HDA and Power keys for 5 seconds until the device turns on. The uControl Remote will boot up and display “DISCOVERY MODE” showing an abbreviated WiFi network name (SSID). The last 4 characters of the SSID will always be unique.

3.Connect directly to uControl Remote’s WiFi
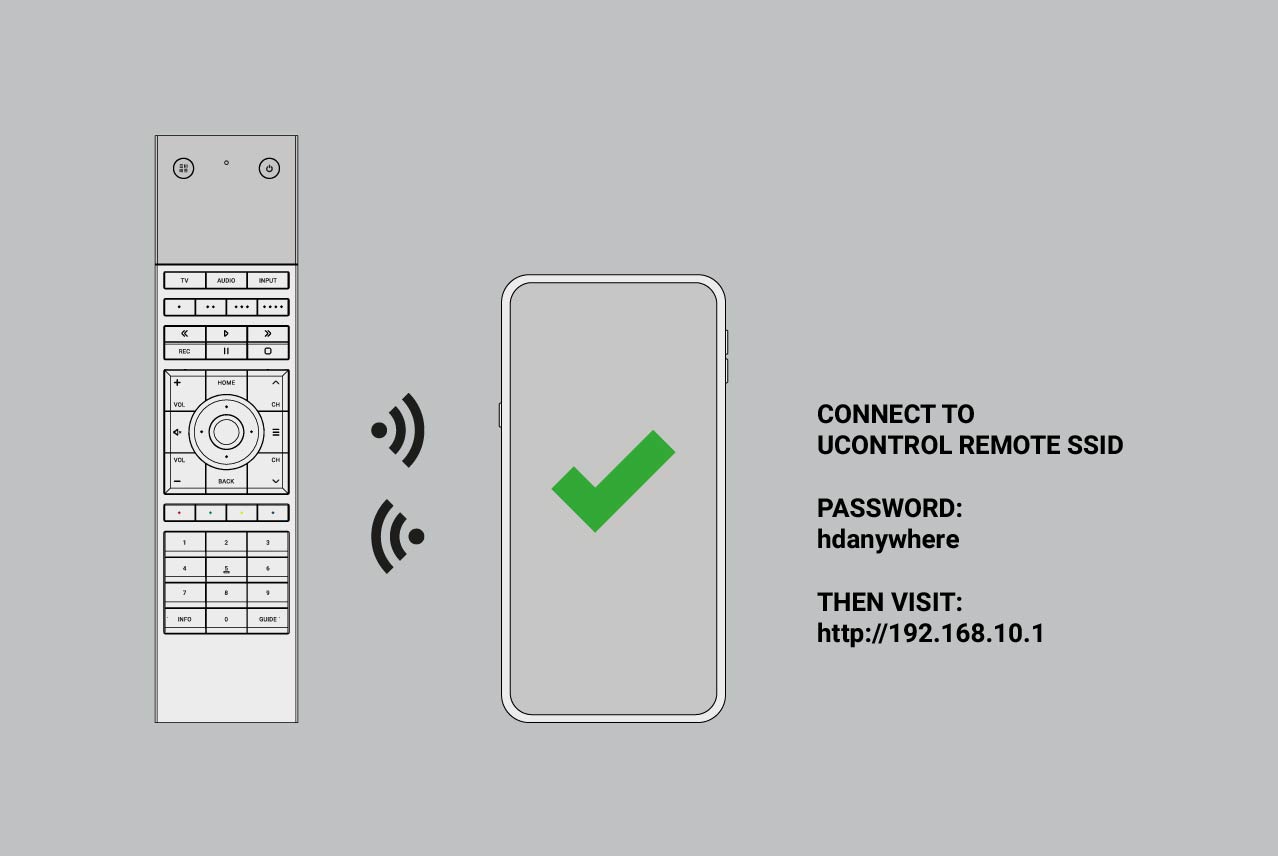

Connect directly to uControl Remote on a PC, tablet, or smartphone. Go to your WiFi settings and search for the uControl Remote’s WiFi network name ensuring that you connect to the correct SSID (always starting with SL-HDA-UCRMT…) look particularly for those 4 unique characters in your WiFi list.

To connect to uControl Remote’s WiFi use password hdanywhere.

4. Access the uControl Remote’s Network Page.
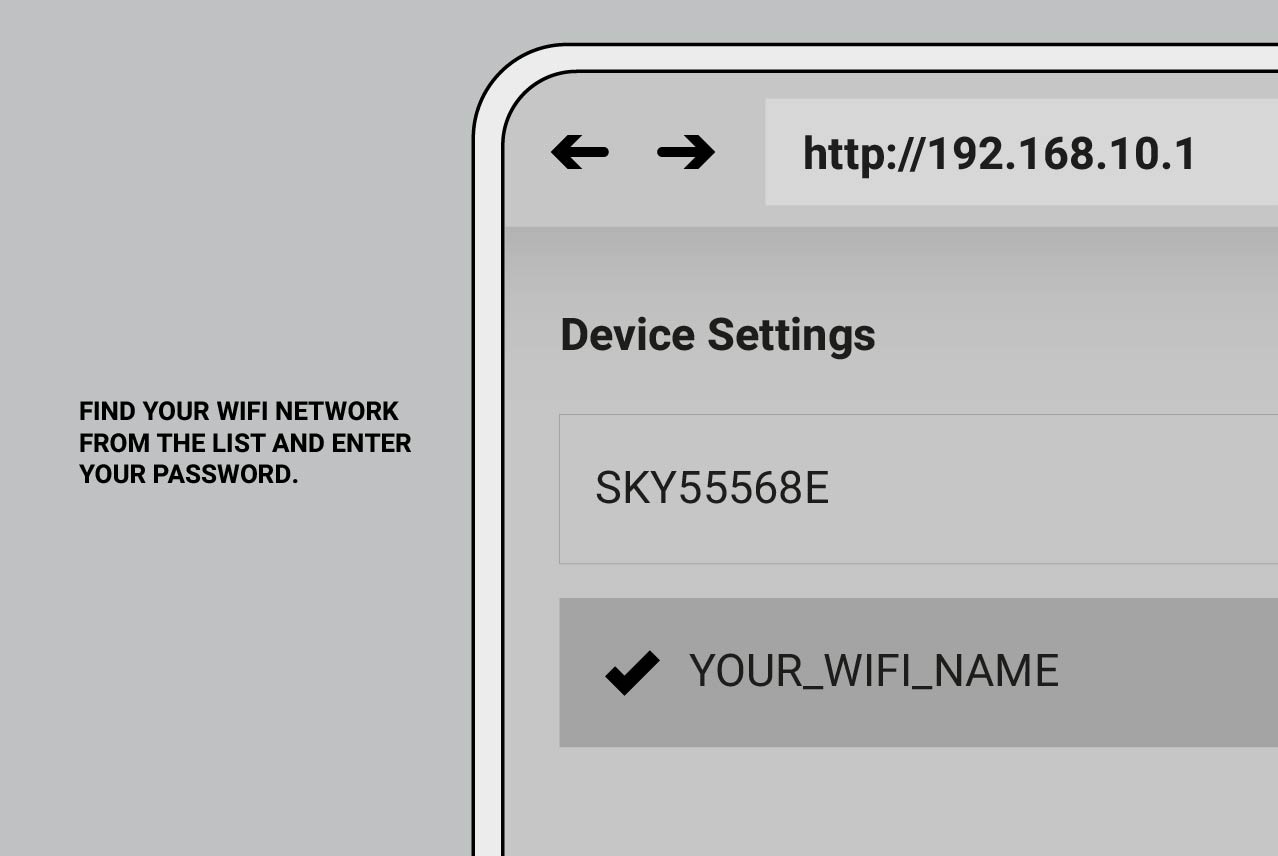

Open a browser and go to: http://192.168.10.1 Follow the on-screen instructions to connect the uControl Remote to your local WiFi network.

At this stage, uControl Remote will scan all available WiFi networks within range. uControl Remote only supports 2.4GHz WiFi and WPA/WPA2/WEP security standards.

5. Wait for connection
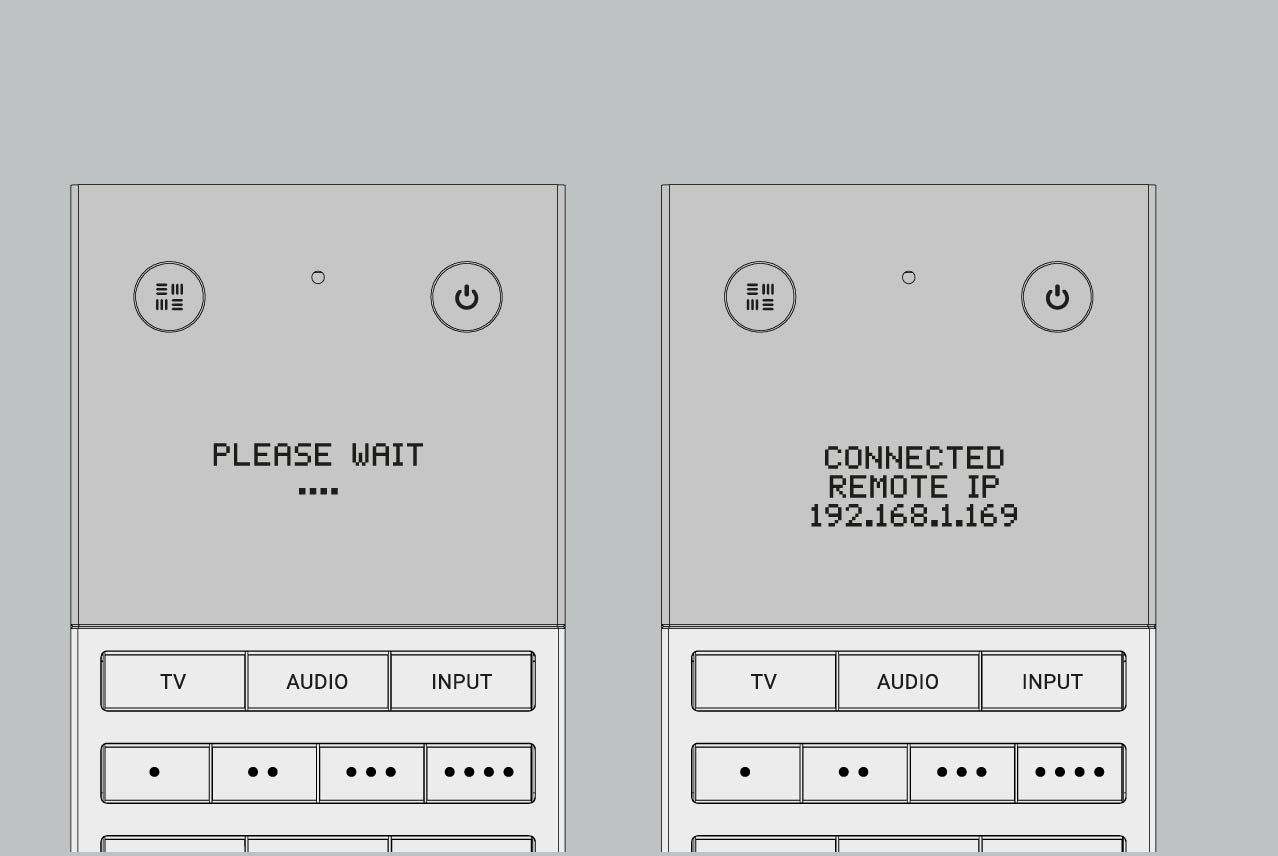

The uControl Remote will attempt to connect to your WiFi. If the uControl Remote screen has turned off then press any button to wake the remote up. The screen will update you with its progress. If it fails, double-check your WiFi credentials and try again. Once the connection is successful, the uControl Remote will display a confirmation message along with its new IP address. Write this down—you’ll need it later for configuring.

Once the uControl Remote has joined your WiFi network, it will be given a new IP address, take a note of this IP address as you will need it when you configure your uControl Remote for use.

Starting uControl Remote basic configuration.

Make sure your uControl Remote is on the same network as you controller and that the Remote is charging.

Visit uOS and navigate to the “Remote” page.
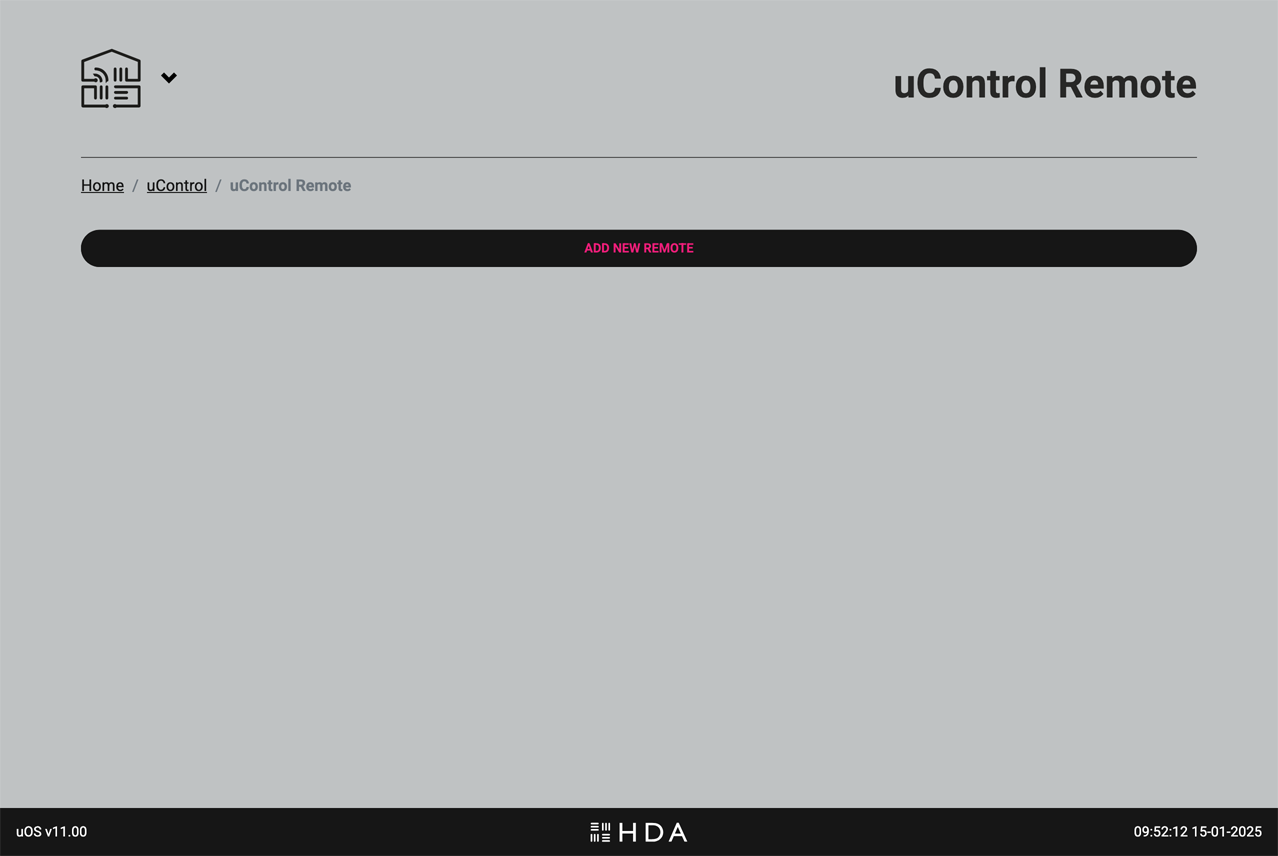

Visit the IP address of uOS and open the menu in the top left corner to reveal the menu. Select the “Remotes” option and you will see a page similar to this one. Select the option “ADD NEW REMOTE” to start the configuration process.

Make sure that all uControl Packs, Smart Automations & Zone Settings have been completed before proceeding.
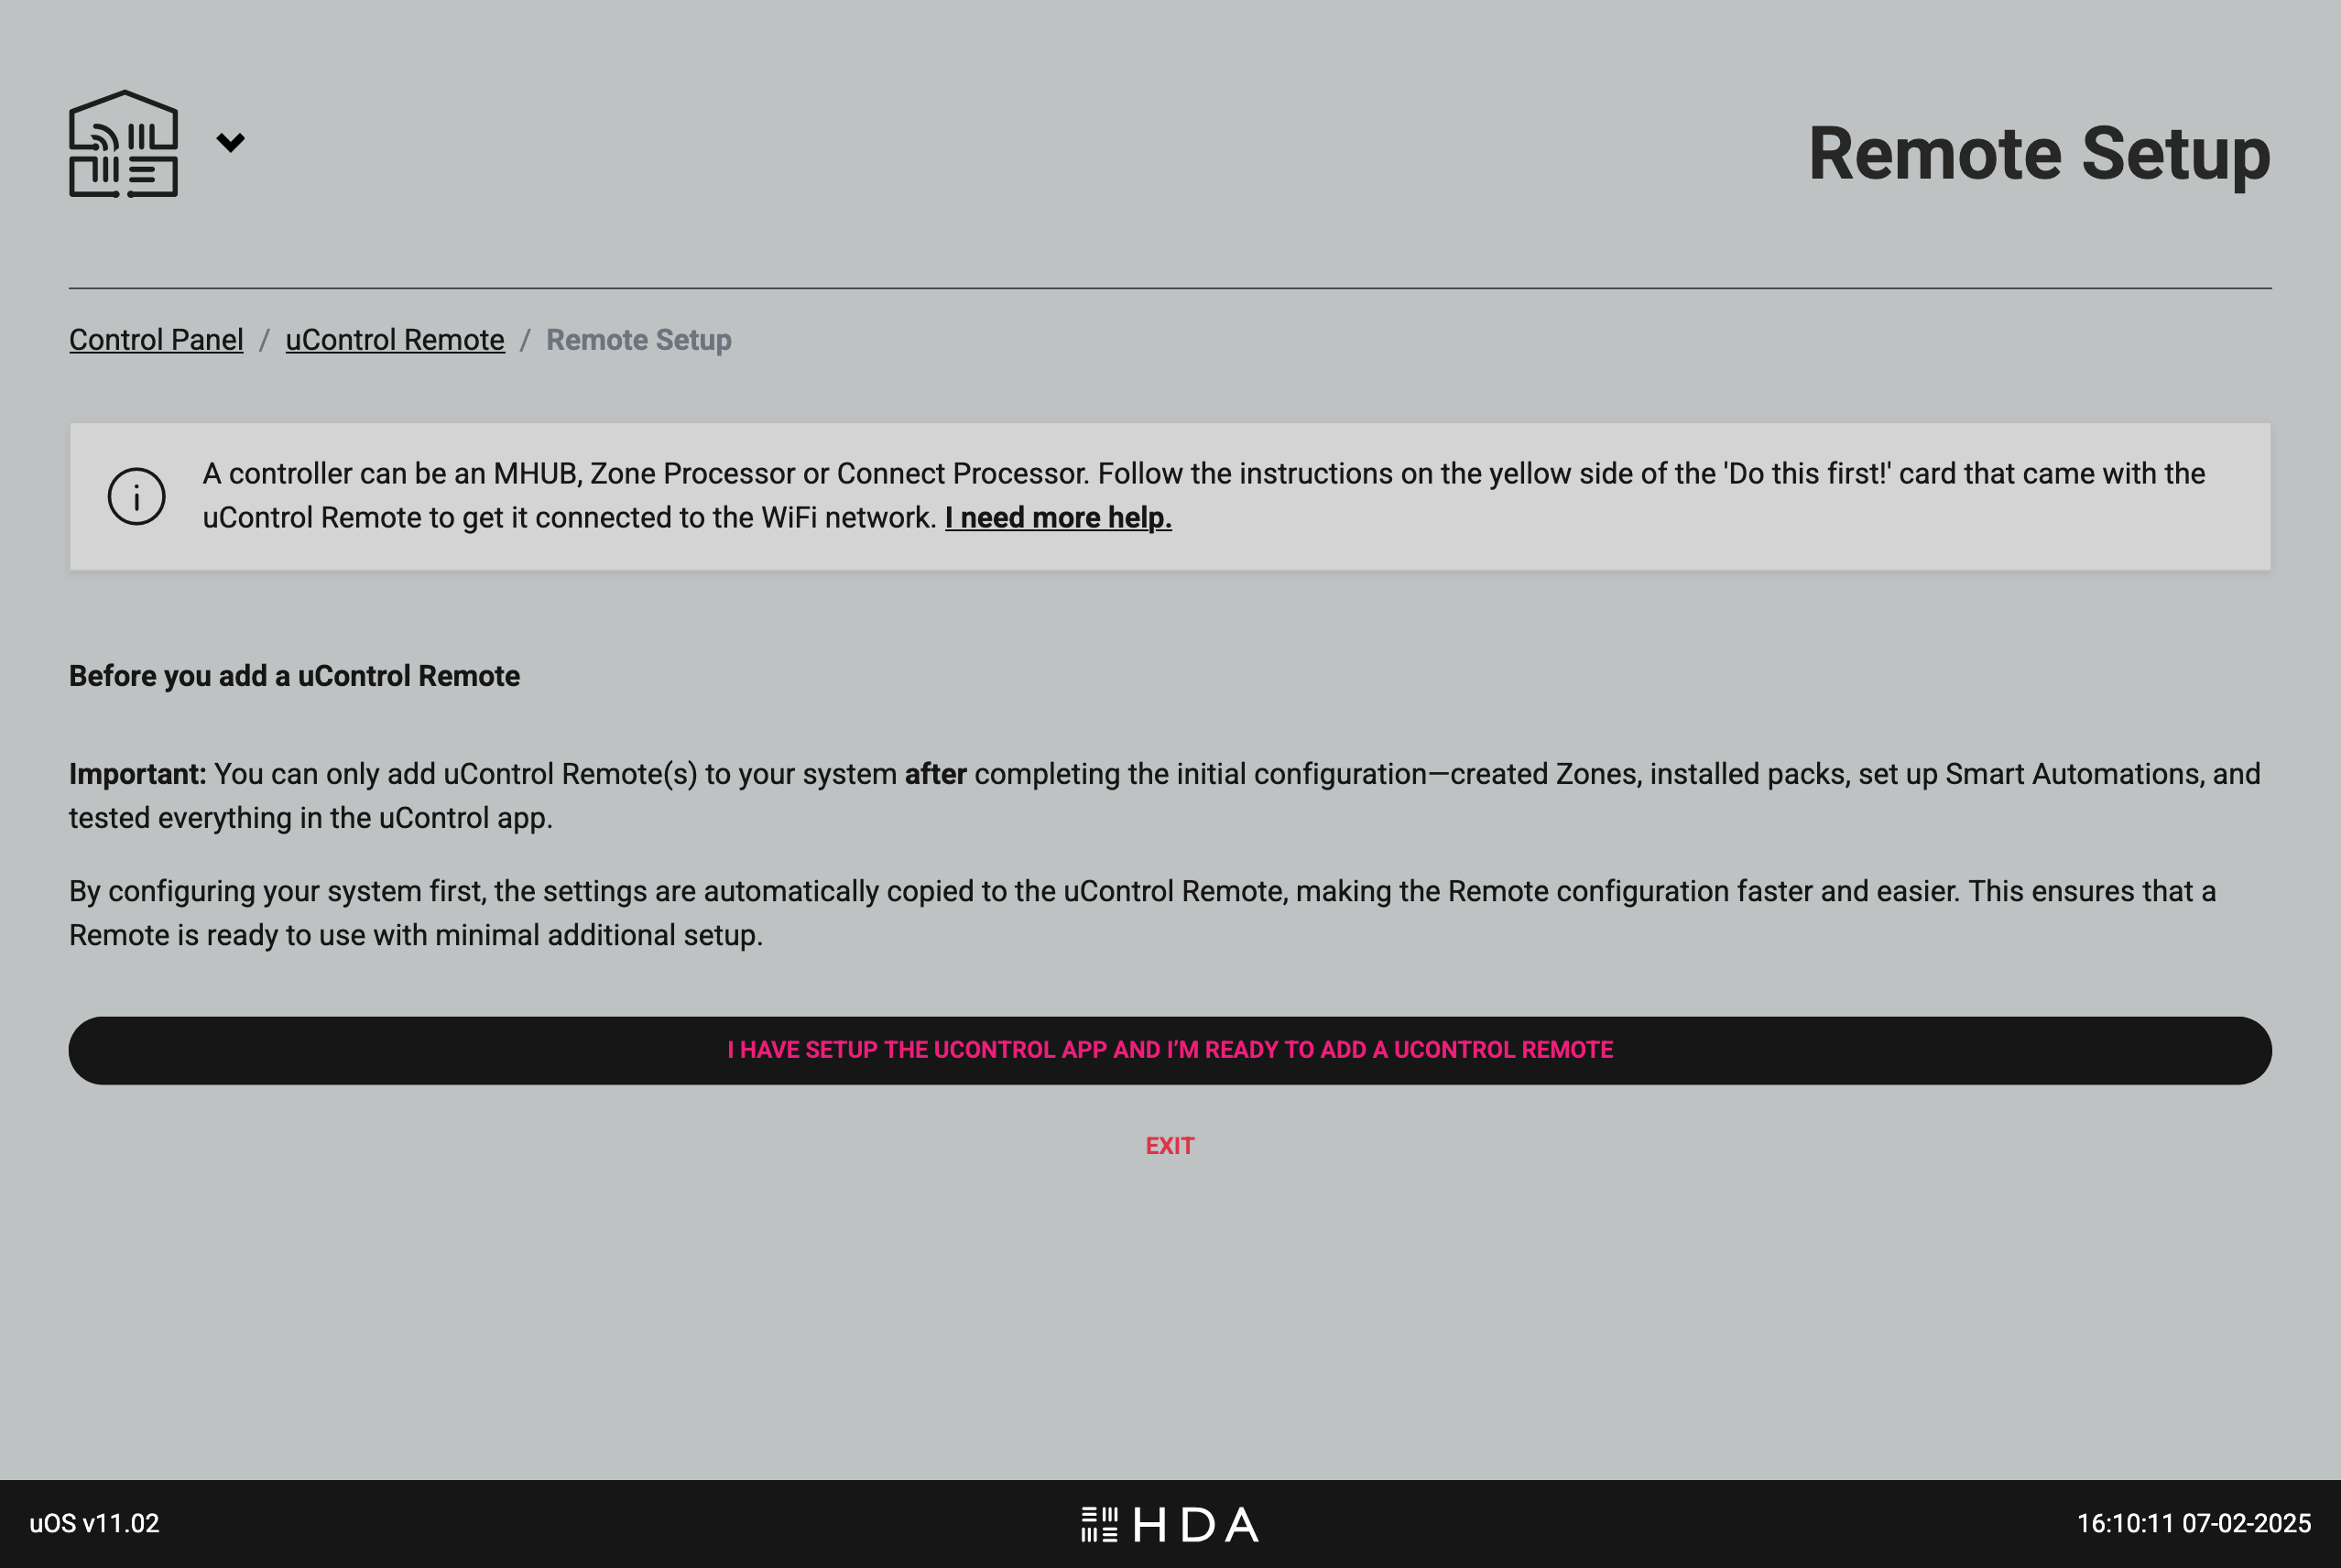

The first question asks if all the necessary prerequisites have been completed before starting the uControl Remote configuration process. This is an important check because editing a configured remote, repeatedly, is slower (and more error prone) than making sure the system is working first using our app and transfering that config in one go instead.

Enter your uControl Remote’s IP address.
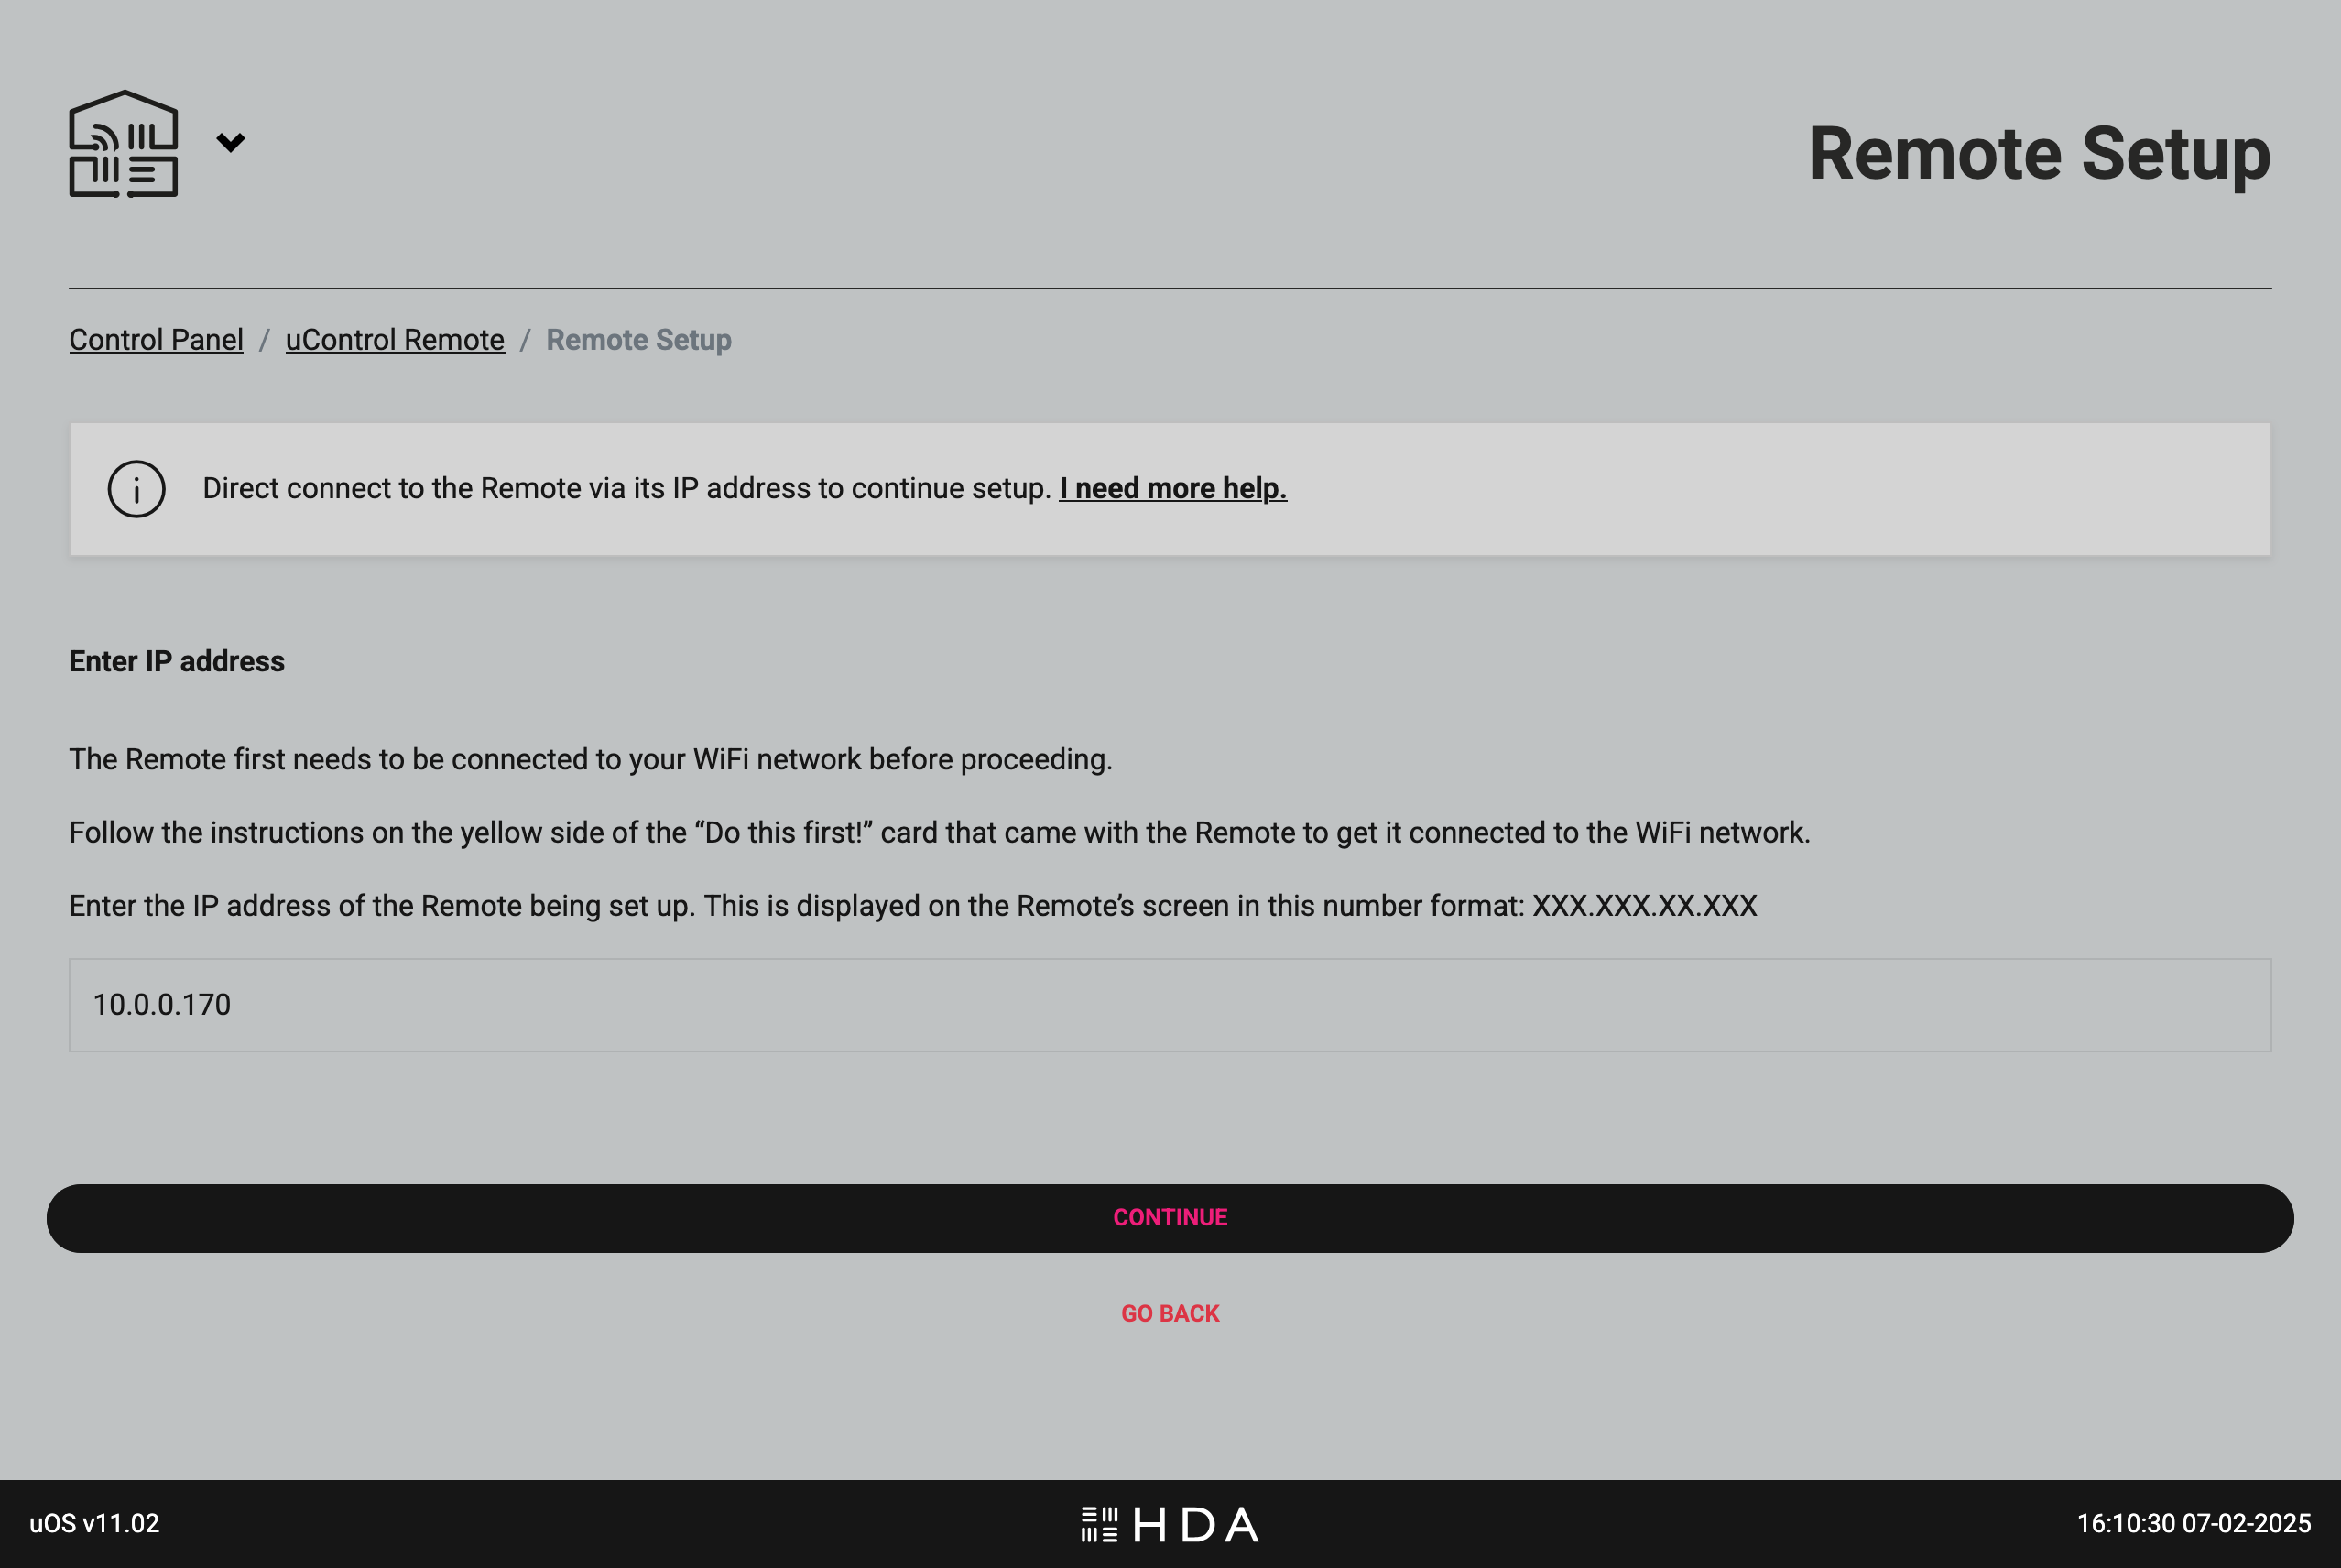

Enter the IP address of the uControl Remote into the box to connect uOS to it. If you are unsure what your uControl Remote’s IP address is, you can find it by pressing on the HDA key (top right corner) then navigating to Network > WiFi Info > IP Address to reveal it on the Remote’s OLED display.

Add your uControl Remote to your Zone or Room.
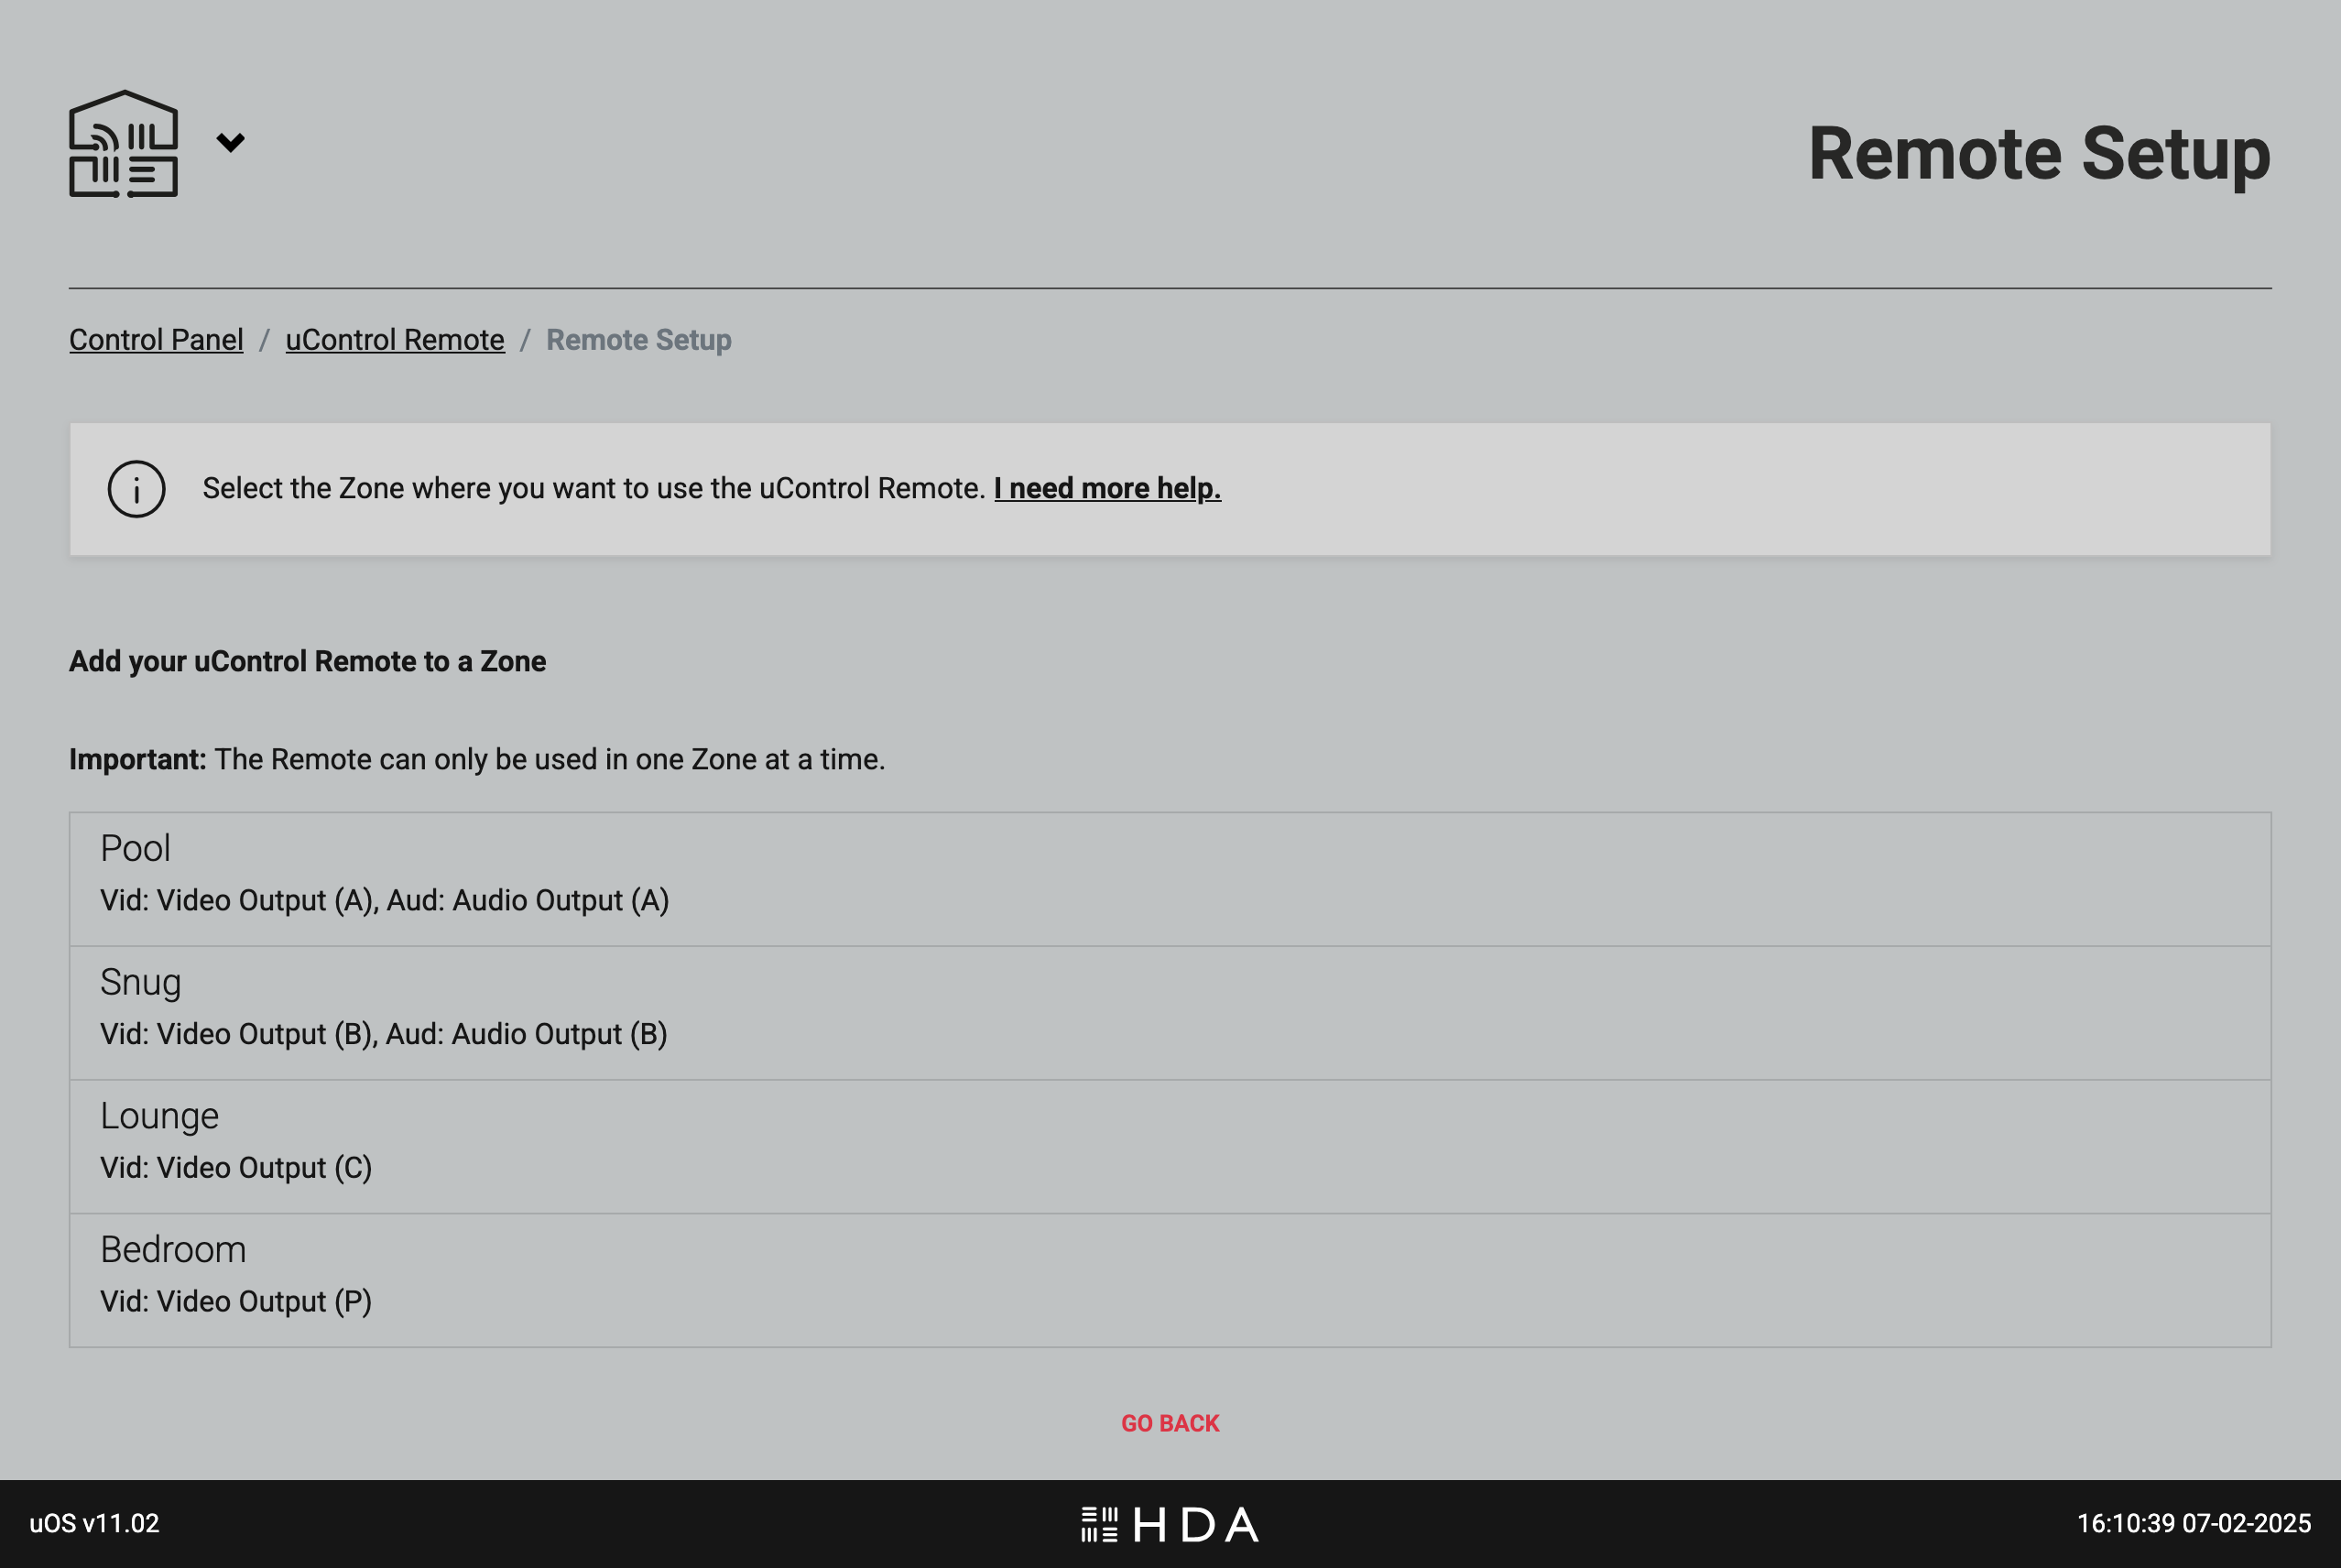

uOS will display all Zones that are available on the system. If you do not see any options here, ensure that you have created your Zone properly and can see it inside the uControl app.

Optional step: rename your devices so they are easier to read on uControl Remote’s screen.
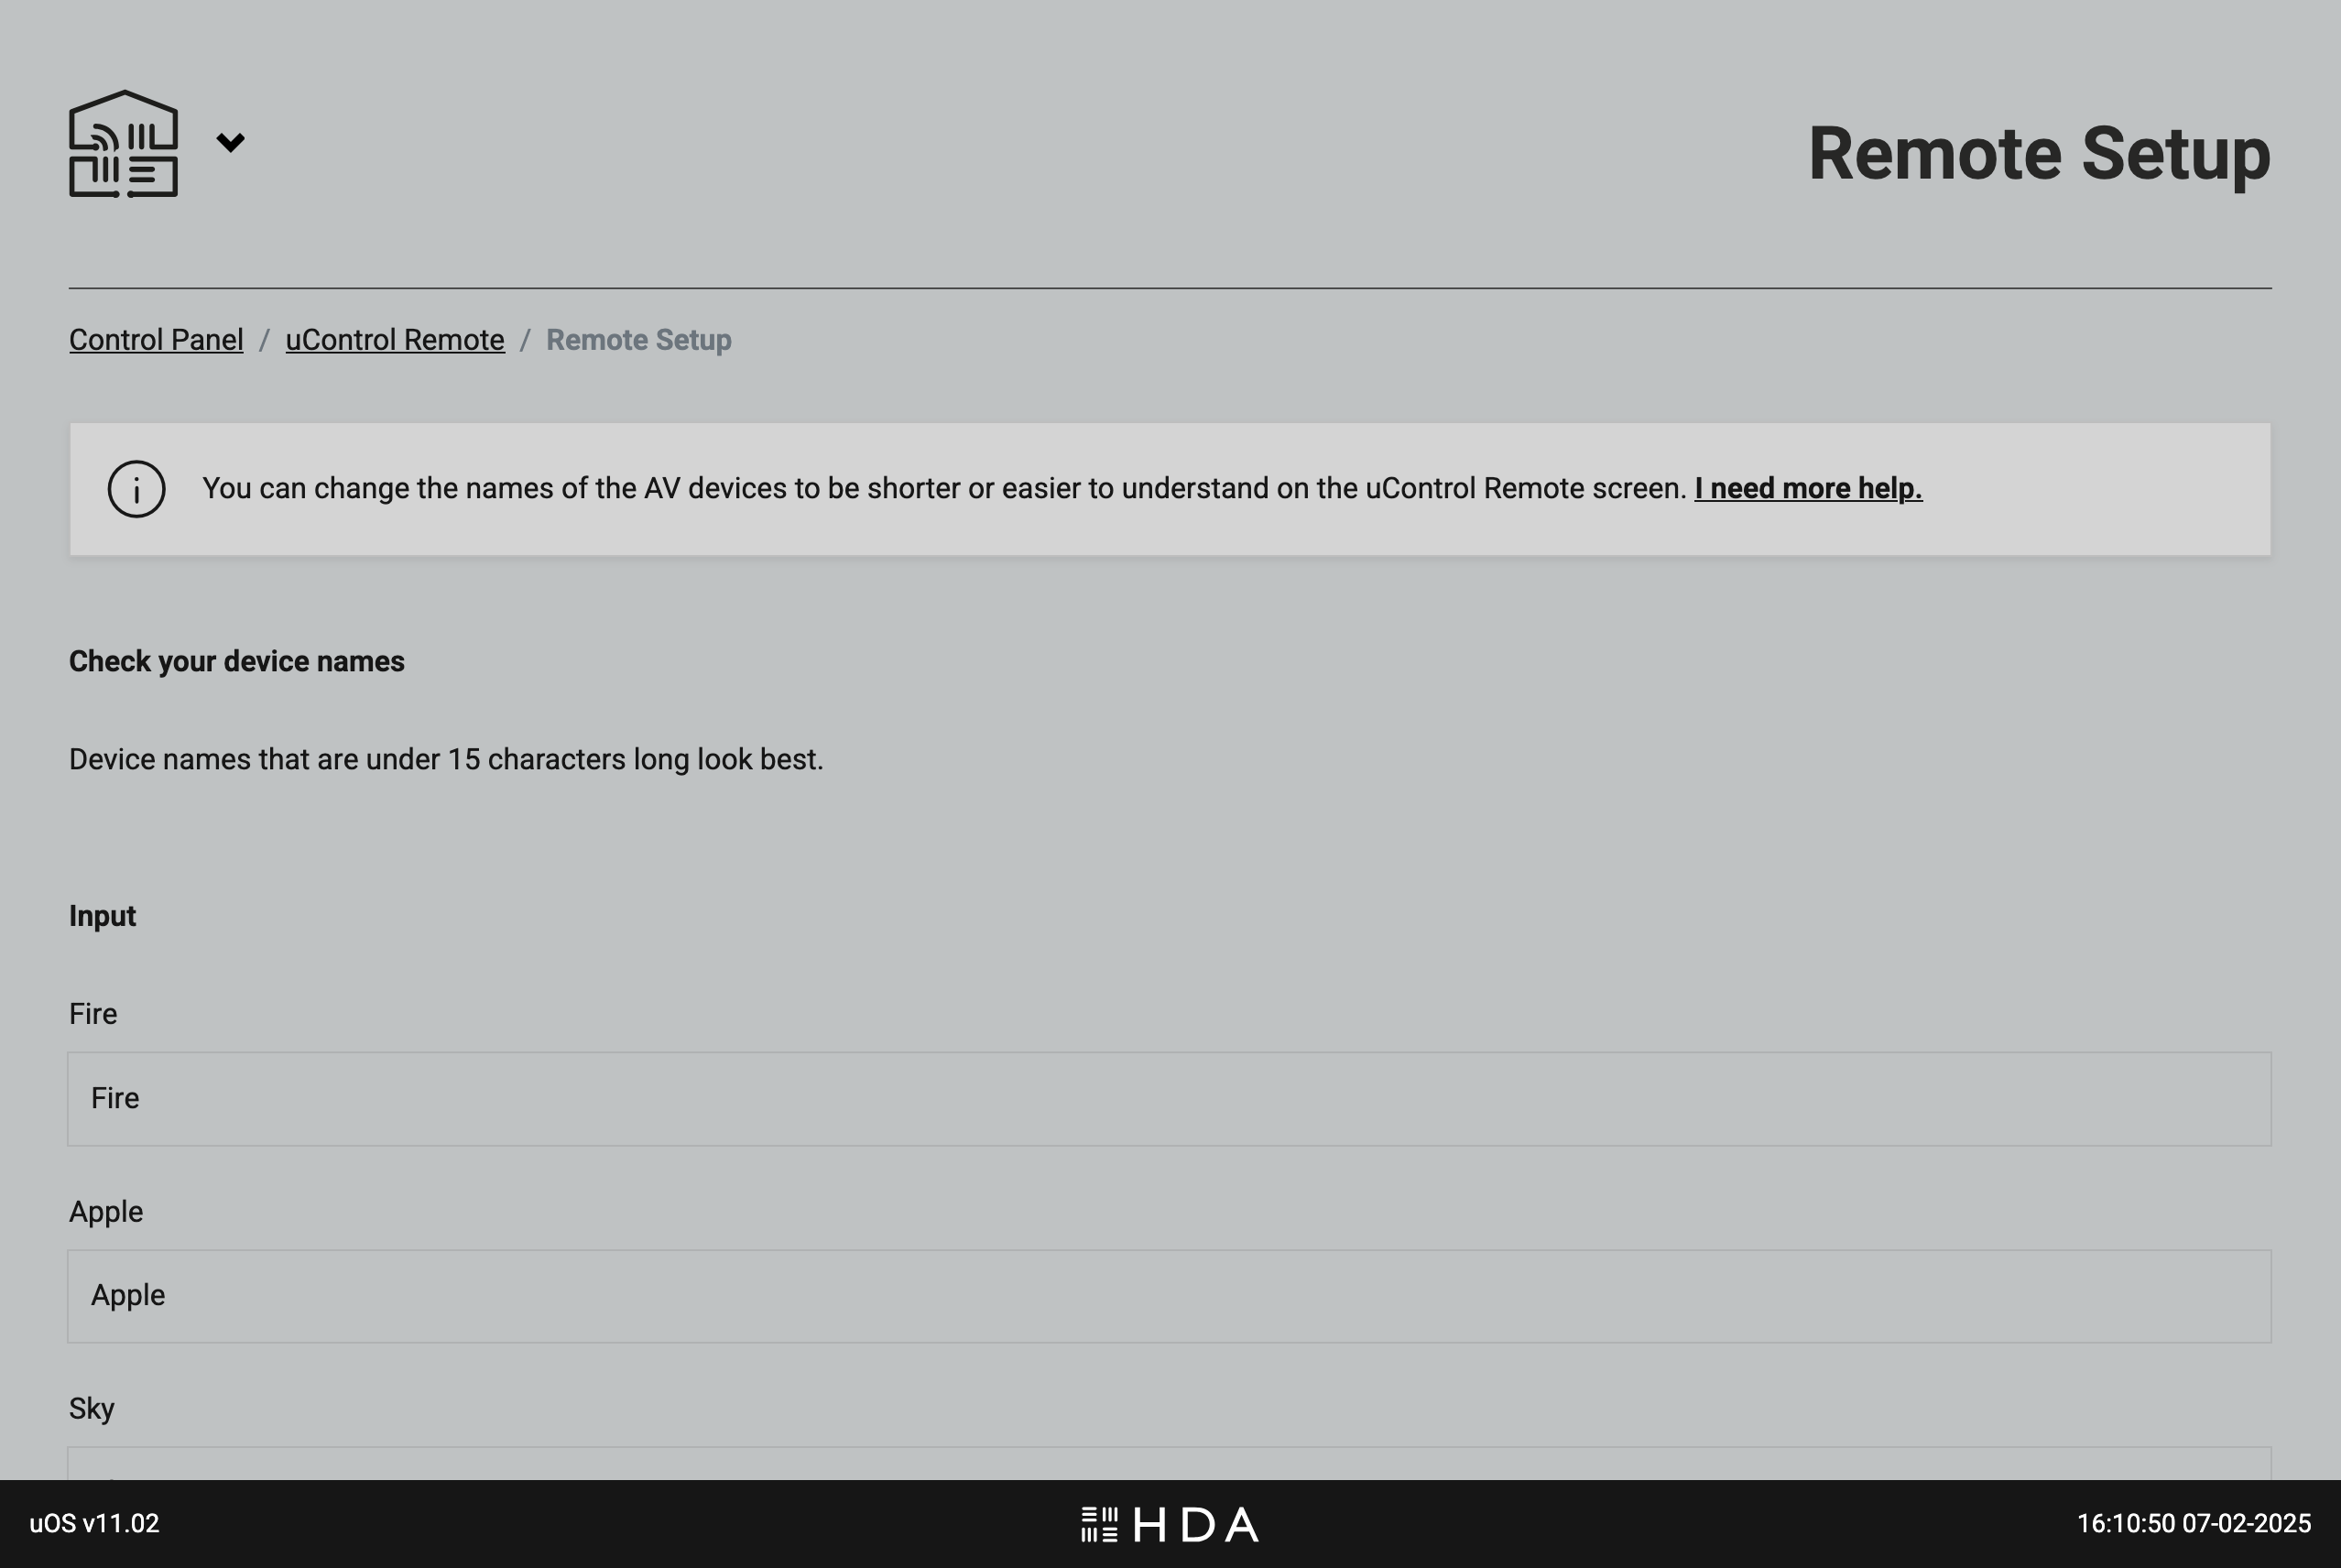

The uControl Remote’s screen has a maximum width of 15 characters. You can shorten any long names to make their appearance better on your Remote.

Select what will be doing the volume control in your Zone or Room.
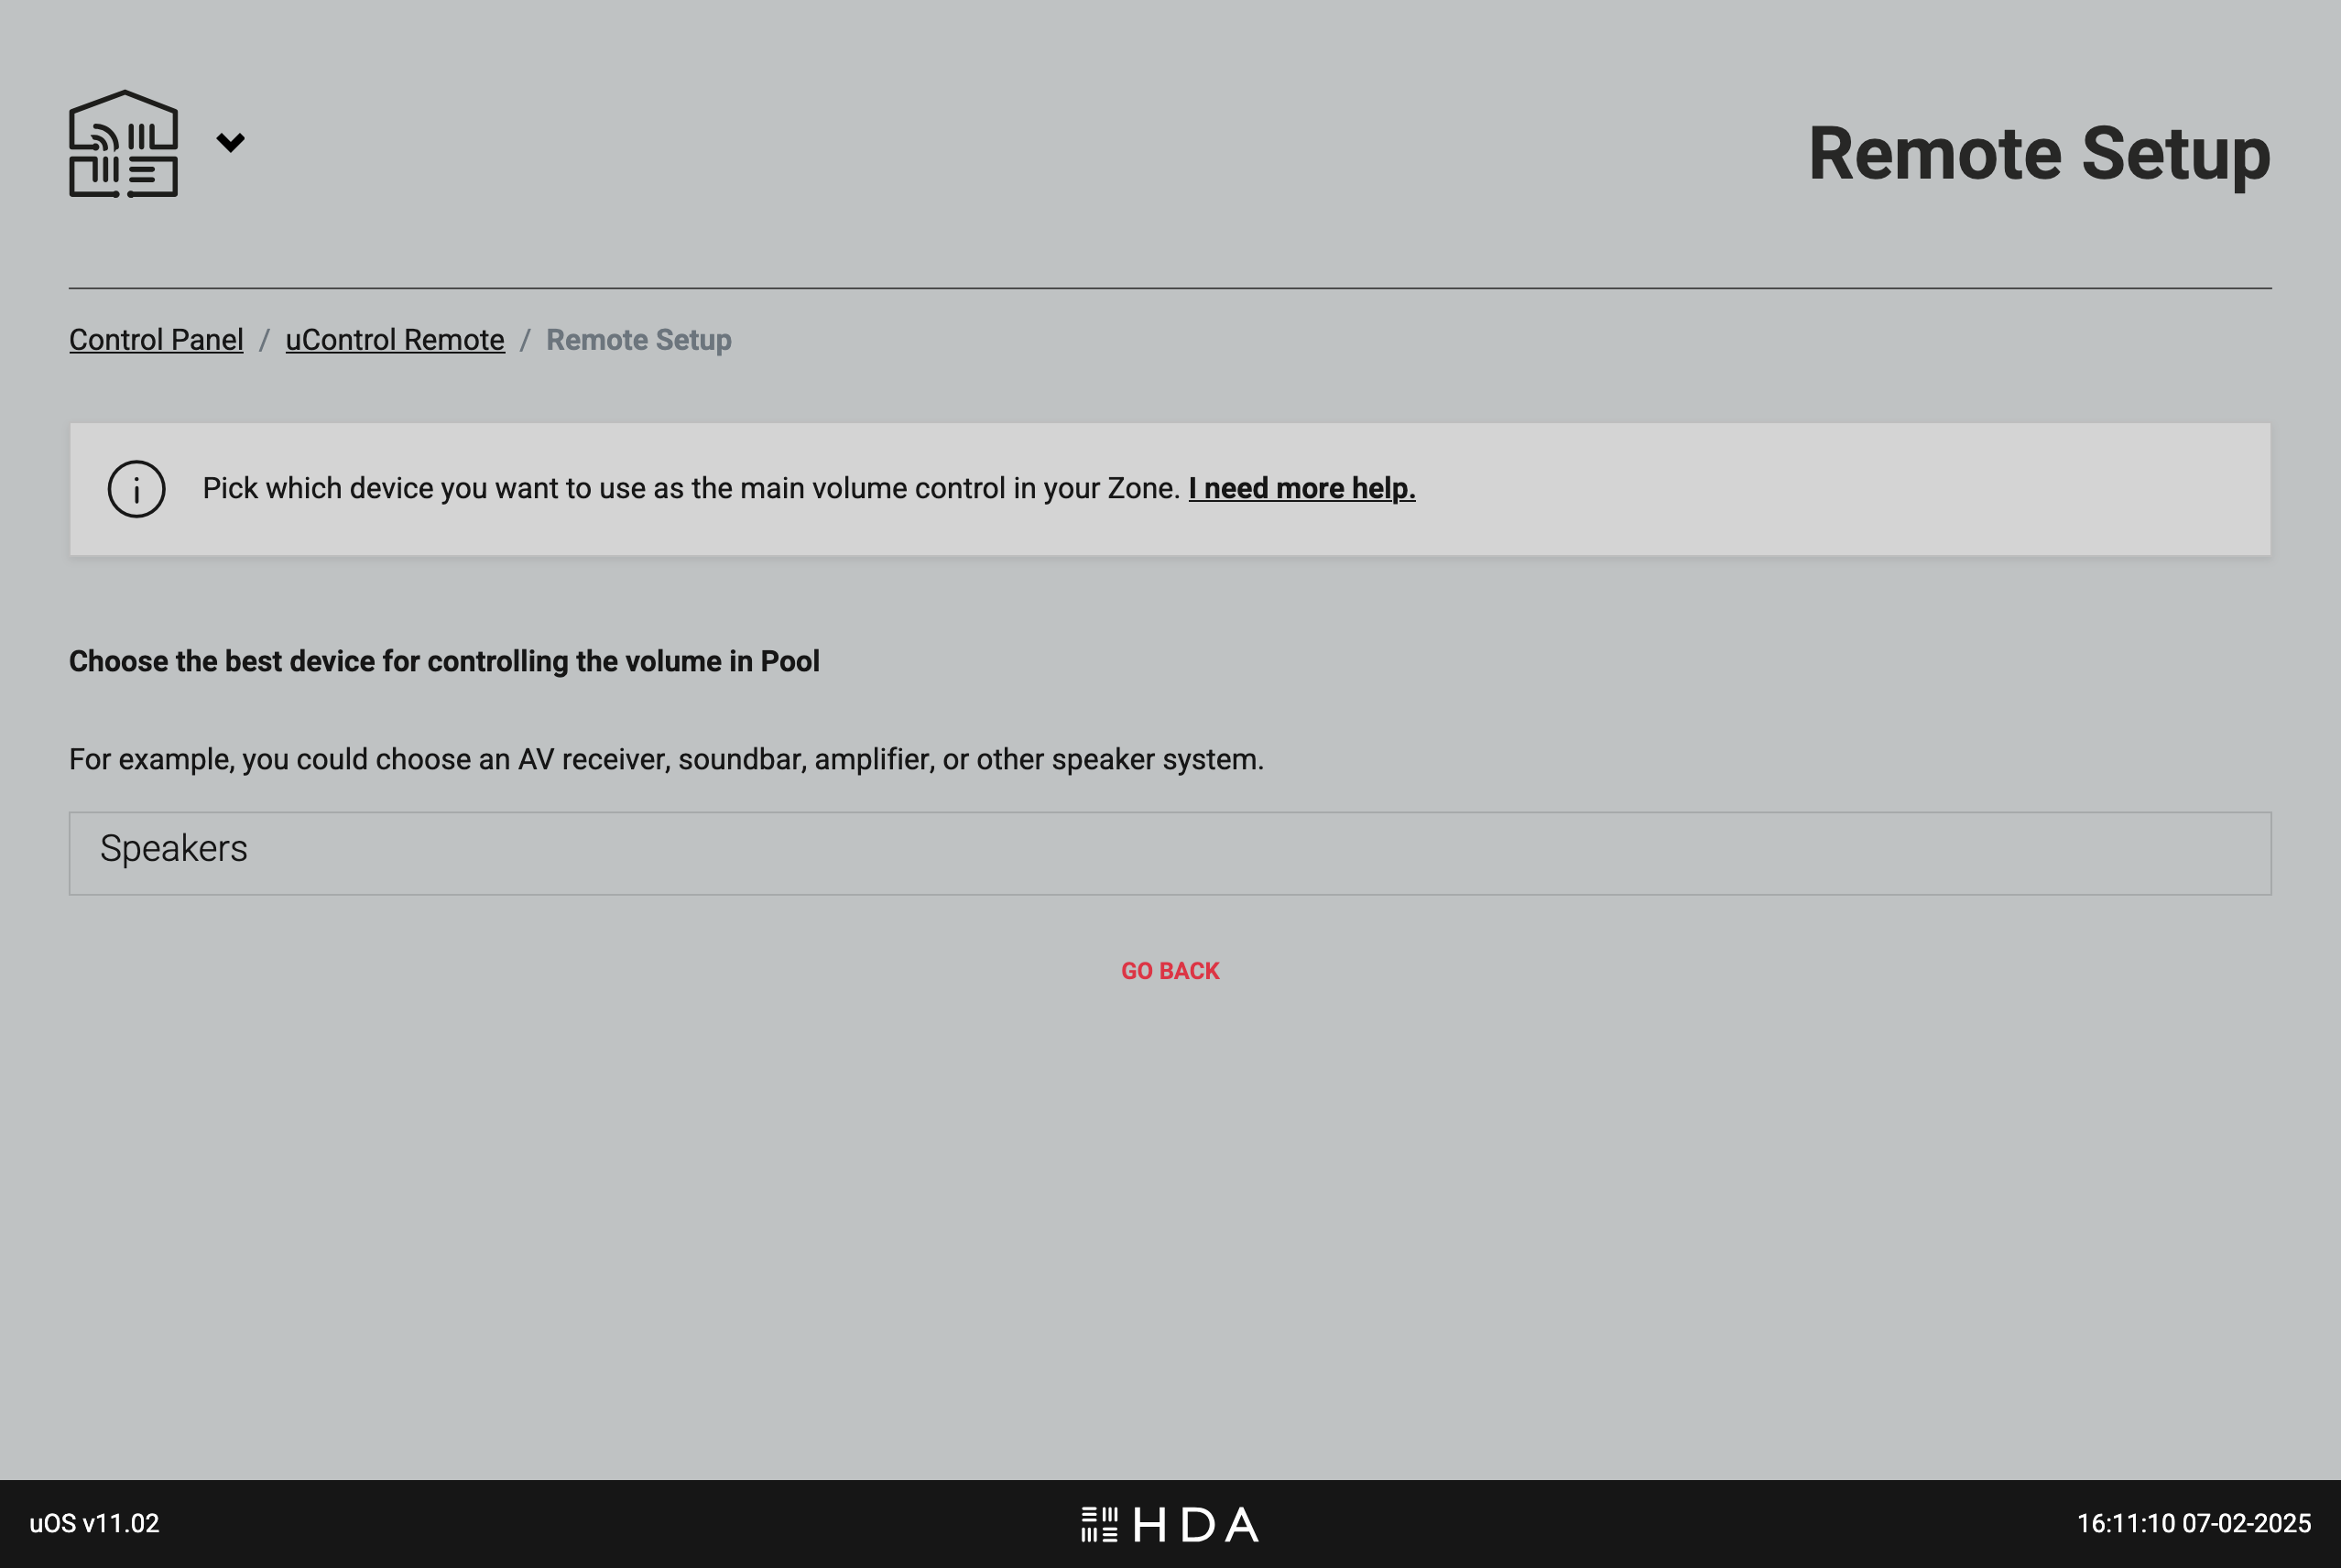

uOS will automatically detect all devices that are capable of volume control in the Zone you have selected and will present them as an option for you. Once selected, this option will become the default volume control in that Zone when using uControl Remote.

More about volume: uOS will automatically select devices you’ve installed that offer volume control and will present them in this list based on how they are categorised by HDA. This includes TVs, Projectors, audio streamers/amplifiers (Wiim, Sonos), AVRs and HDA hardware like MHUB or MZMA.

If you have multiple devices that are all volume controllable (eg TV + AVR) then you will still need to nominate which device is default but uOS will transfer all options to the remote. This means you can switch away from the default option by pressing and holding the “AUDIO” key on the Remote. If you power down the remote or it is restarted, uControl Remote will revert to it’s default setting.

Basic setup is complete.
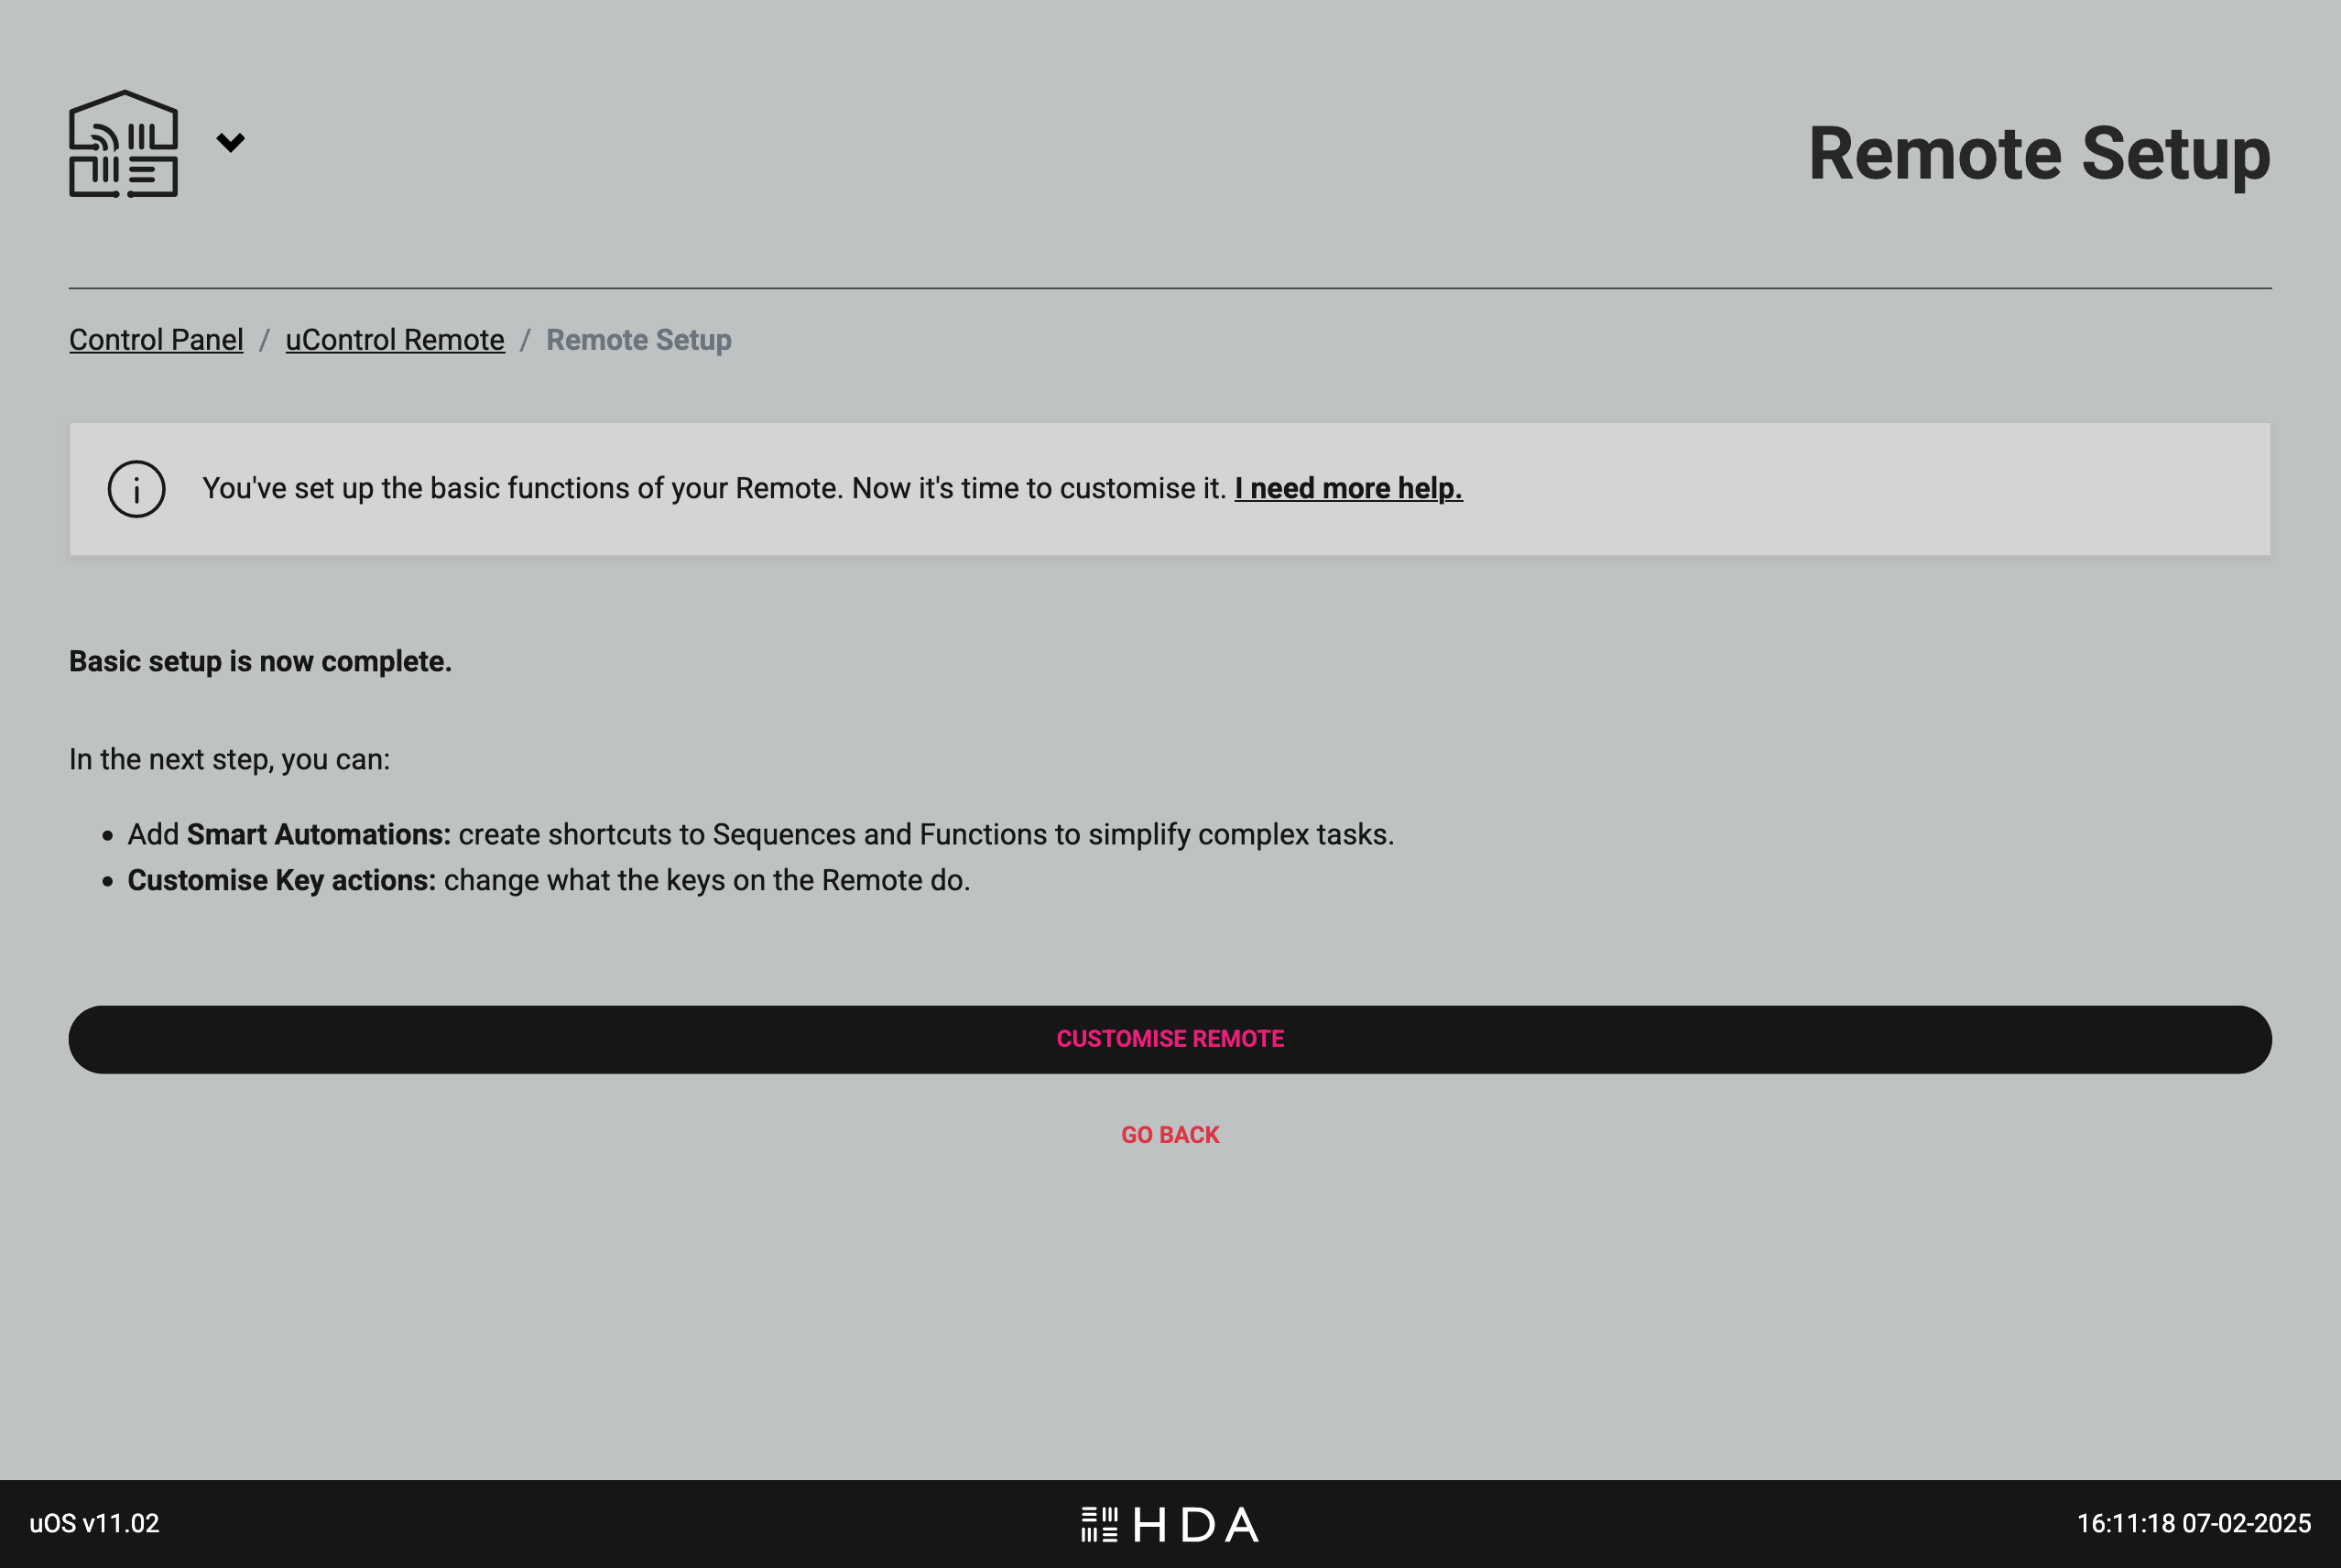

The basic setup is now complete and you are now able to customise how the uControl Remote works down to individual keys.