iRule control drivers for HDanywhere multiroom systems

HDanywhere Product Support within iRule

We have pleased to say that ready-made control system drivers available for the range of HDanywhere product listed below, natively, within the iRule software itself. iRule have built these drivers in-house and tested them internally. Drivers are accessed from within the iRule programming software. Where possible, for maximum compatibility, drivers are infrared, RS232 and IP. Products and protocols will continue to be added and this support page updated.

Continue reading

Control Drivers for 4×4 Multiroom+ POE System (IP / RS232 / IR) – HKHDA44P

Control Drivers for 4×4 Multiroom+ and POE System -  HKHDA44P

We have ready-made control system drivers available for the 4×4 Multiroom+ Version 3 and POE Systems for the major control systems used in the UK. These are either IP, IR or RS232 Based.

Each download package for Control4, AMX, Crestron and RTI also includes support for the 4×4 HDMI Matrix (HKM44-UK, both V1 and V2), 4×4 Multiroom+ Singlewire (HKHA414SW, V1, V2 and V3) and the Multiroom+ 8×8 System (HKHA818SW).

Continue reading

RS232 Serial, IR and IP Codes for discontinued HDanywhere products

RS232 Serial and IR Codes for HDanywhere – HKM42-UK, HKM42BTP,  HKM44-UK – HKHA414SW – HKHDA44P

The documents below contain the RS232 serial, IR codes and IP codes, where applicable, for our HDanywhere matrix range.

These control codes can be used to integrate our matrix devices with 3rd party remote controls and control systems where we don’t have existing drivers.

Models covered are HKM44-UK (both V1 and V2), HKHA414SW (V1, V2 and V3). Codes are broken down into separate documents, appropriately titled.

Continue reading

Control Drivers for 8×8 Multiroom+ System – HKHA818SW

Control Drivers for 8×8 Multiroom+ System – HKHA818SW

We have ready-made control system drivers available for the 8×8 Multiroom+ System (Singlewire HDBaseT) for the major control systems used in the UK.

Each download package also includes support for the 4×4 Mutliroom+ Singlewire (HKHA414SW, V1, V2 and V3), 4×4 Multiroom+ POE (HKHDA44P)  and the 4×4 HDMI Matrix (HKM44-UK, both V1 and V2).

Continue reading

Control Drivers for 4×4 Multiroom+ System – HKHA414SW

Control Drivers for 4×4 Multiroom+ System – HKHA414SW

We have ready-made control system drivers available for the 4×4 Multiroom+ System (Singlewire HDBaseT, V1, V2 and V3) for the major control systems used in the UK. V1 and V2 drivers are based on RS232 serial connections and V3 drivers are IP or RS232 connections.

Each download package for Control4, AMX, Crestron, Netstream and RTI also includes support for the 4×4 HDMI Matrix (HKM44-UK, both V1 and V2), 4×4 Multiroom+ POE (HKHDA44P) and the Multiroom+ 8×8 System (HKHA818SW).

Continue reading

Troubleshooting: Green screen

Important:
In most cases, if you are experiencing green screen on your display then this is often down to the HDMI cable in between. A quick way to test to see if this is the case is to replace your existing HDMI cable with our range of 4K or 8K HDMI cables. If that doesn’t work, move your HDMI source to another display in your property (use a different HDMI cable), connect it up and observe to see if the same behaviour follows the box. This will help you determine if the issue is the cable or the HDMI source.

The article below describes how to troubleshoot a green screen when using a HDANYWHERE product, if you are having green screen issues and you do not own a HDA product then we recommend you buy our 4K or 8K HDMI cables and give that a go first – they come with free shipping!

Symptom:

There is no picture or maybe a green screen following standby or when switching between source devices via a matrix. Most often this problem occurs once the TV goes to standby, and when brought out of standby to an ‘on’ state, it will not handshake properly and green screen instead of video appears.

Green screen flashes generally indicate a HDCP (Digital Content Protection) handshaking issue, or a HDMI hot plug detect issue between that particular source device and display.

Continue reading

HKIRKIT-UK: IR over HDMI Injector Kit setup guide

ir-magic-eye-1

IR over HDMI Injector Kit setup guide

1. Install the HDMI IR dongle between the HDMI input on the TV and your HDMI cable. Ensure that the switch is set to “IR”. Plug the IR Receiver (see ‘Pack Contents – 2.’) into the stereo jack input on the dongle (labelled RX).
2. Position the IR Receiver ( see ‘Pack Contents – 2.’) with clear line-of-sight to the remote.
3. Install the HDMI IR dongle betwen the HDMI input on the source and the HDMI cable, similarly to point 1. Again, ensuring that the switch is set to “IR”.
4. Plug the IR Transmitter (see ‘Pack Contents – 1.’) into the stereo jack input on the dongle (labelled RX on the dongle).
5. Position the IR transmitter ( see ‘Pack Contents – 1.’) with clear line-of-sight to the remote receiver on the source.e.

Pack Contents

1. IR Transmitter
2. IR Receiver
3. IR Dongle (both labled RX)

ir-magic-eye-2

You can download this information by clicking here

Troubleshooting: Multiroom+ System IR

Troubleshooting Approach

When attempting to troubleshoot any issue, we need to isolate where the root cause of the fault could lie by a logical process of elimination.

At the start of a troubleshooting process, never rule out anything as not a potential cause of the problem. Every aspect of the installation should be considered as a potential suspect. Each component of the installation should be ruled out one-by-one and only then eliminated from the troubleshooting process as the potential problem.

Continue reading

Hard reset device back to factory condition

If you have been advised to ‘hard reset’ your HDanywhere device back to it’s factory condition, please perform the following.

A hard reset will clear any corrupted DDC, EDID or HDCP data on the device’s NVRAM memory and re-initiate the handshaking process with all the connected devices.

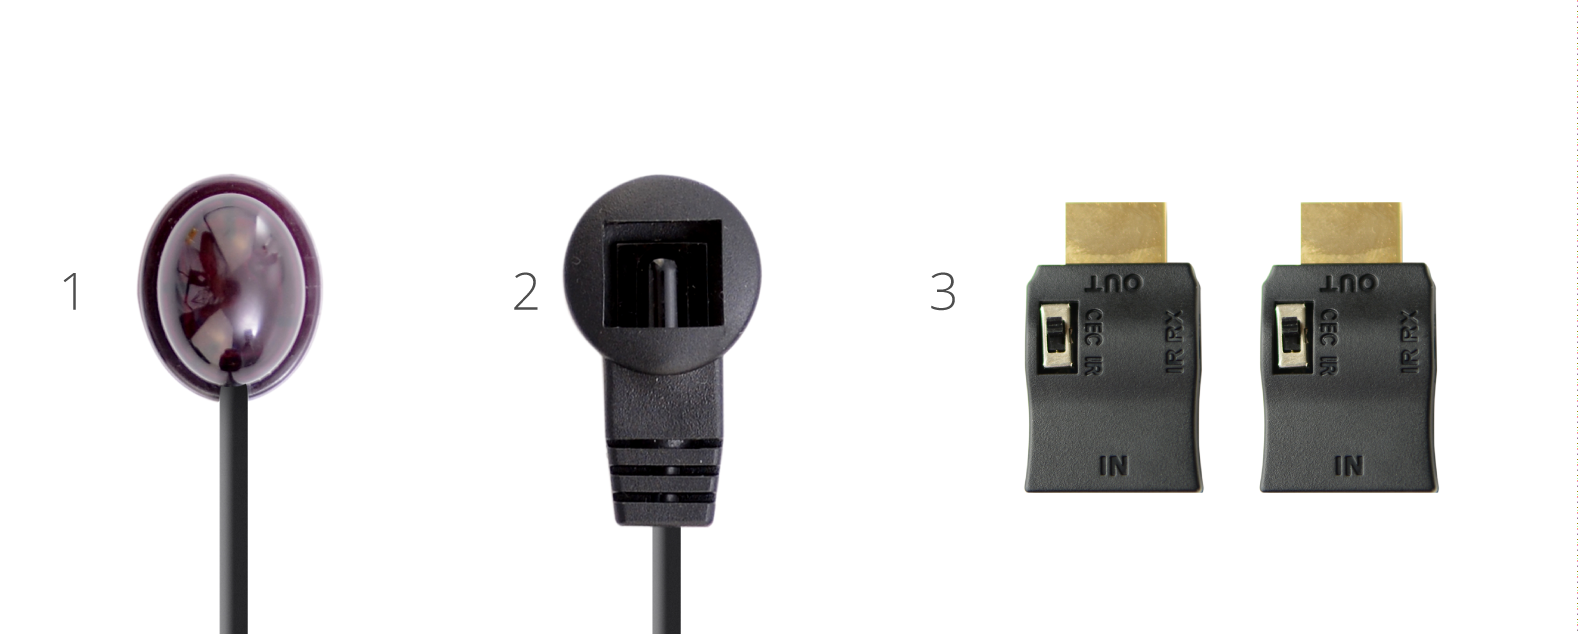
Firstly we need to ensure that any manufacturer HDMI CEC link protocols are switched to “off”.

Trade names for CEC are Anynet+ (Samsung); Aquos Link (Sharp); BRAVIA Link and BRAVIA Sync (Sony); HDMI-CEC (Hitachi); E-link (AOC); Kuro Link (Pioneer); CE-Link and Regza Link (Toshiba); RIHD (Remote Interactive over HDMI) (Onkyo); RuncoLink (Runco International); SimpLink (LG); HDAVI Control, EZ-Sync, VIERA Link (Panasonic); EasyLink (Philips); and NetCommand for HDMI (Mitsubishi)

To perform the hard reset:

Power down every device in the set-up – that’s all sources, all displays and the device itself. Leave off at the mains for 10 to 15 minutes.

Now switch all connected display devices on and select the HDMI channel on those displays.

Power the device back on at the mains.

Now one by one, power on the source devices, starting with input 1, input 2 and so on. If you are using a cable/satellite receiver such as Virgin or Sky+HD, please ensure that this is connected to input 1, not input 2. Please note that Sky HD boxes take around two minutes to fully reboot.

After a few seconds everything should have synced and shaken hands correctly and normal operation should resume.

If the problem still persists, Contact Customer Services. for further troubleshooting advice.