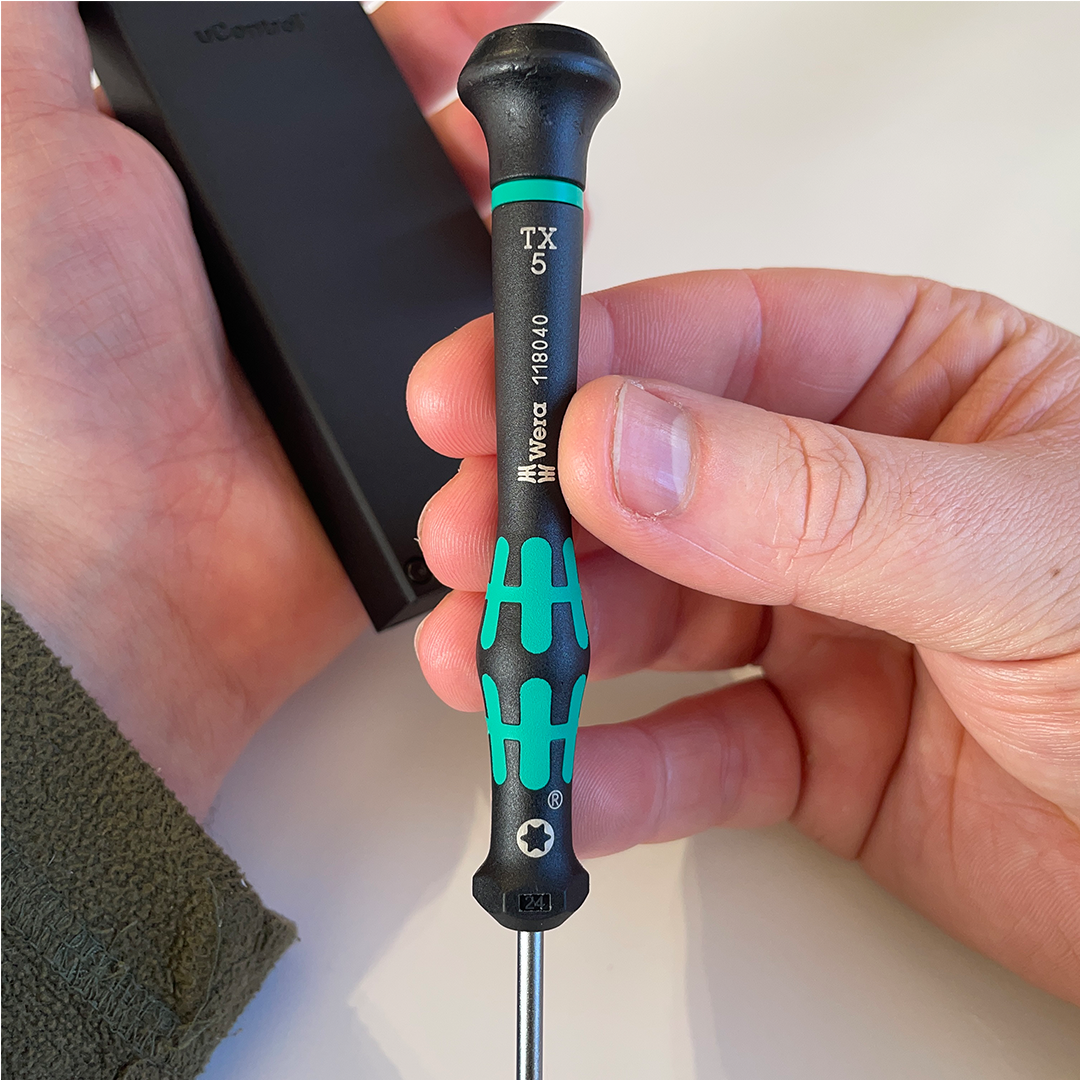
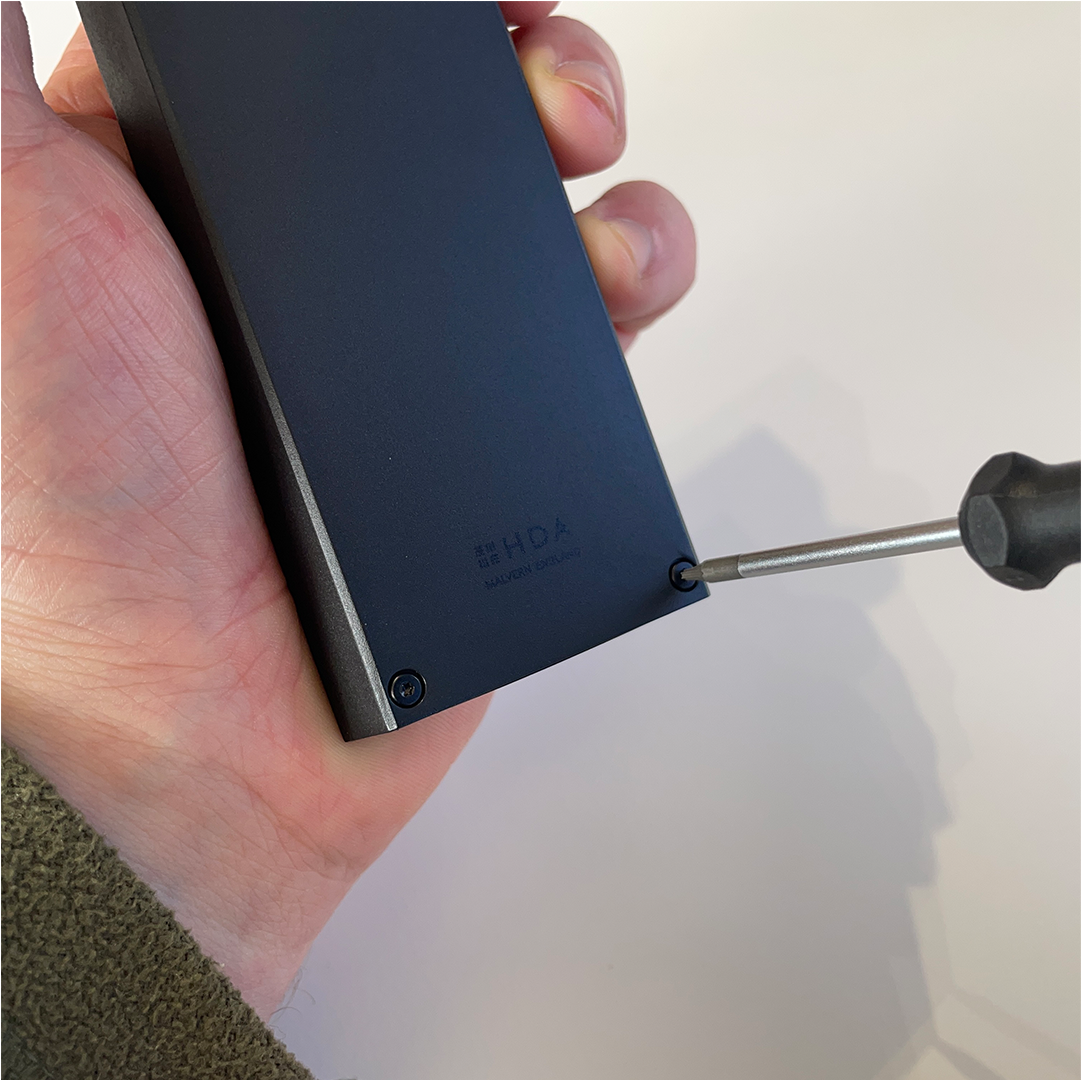
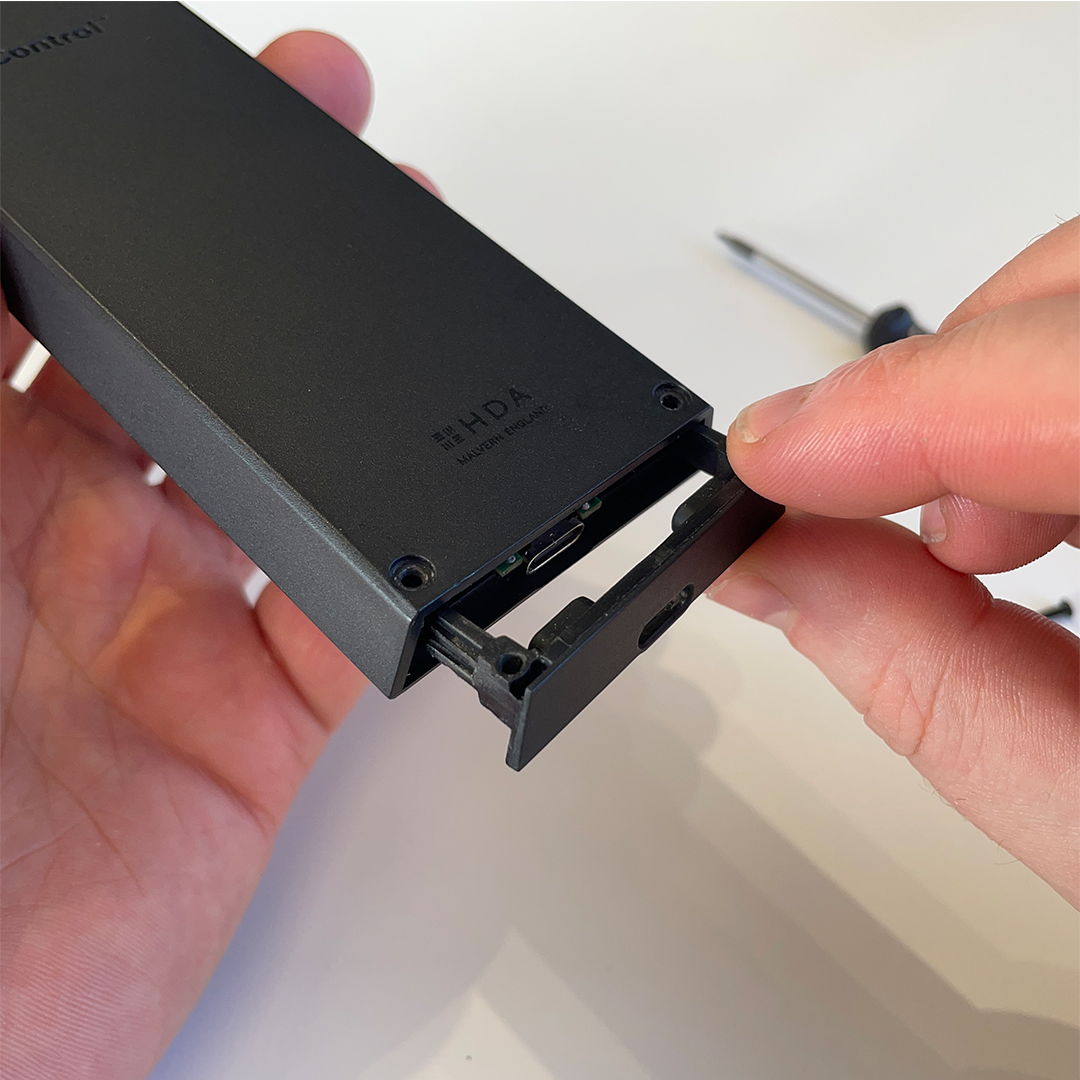
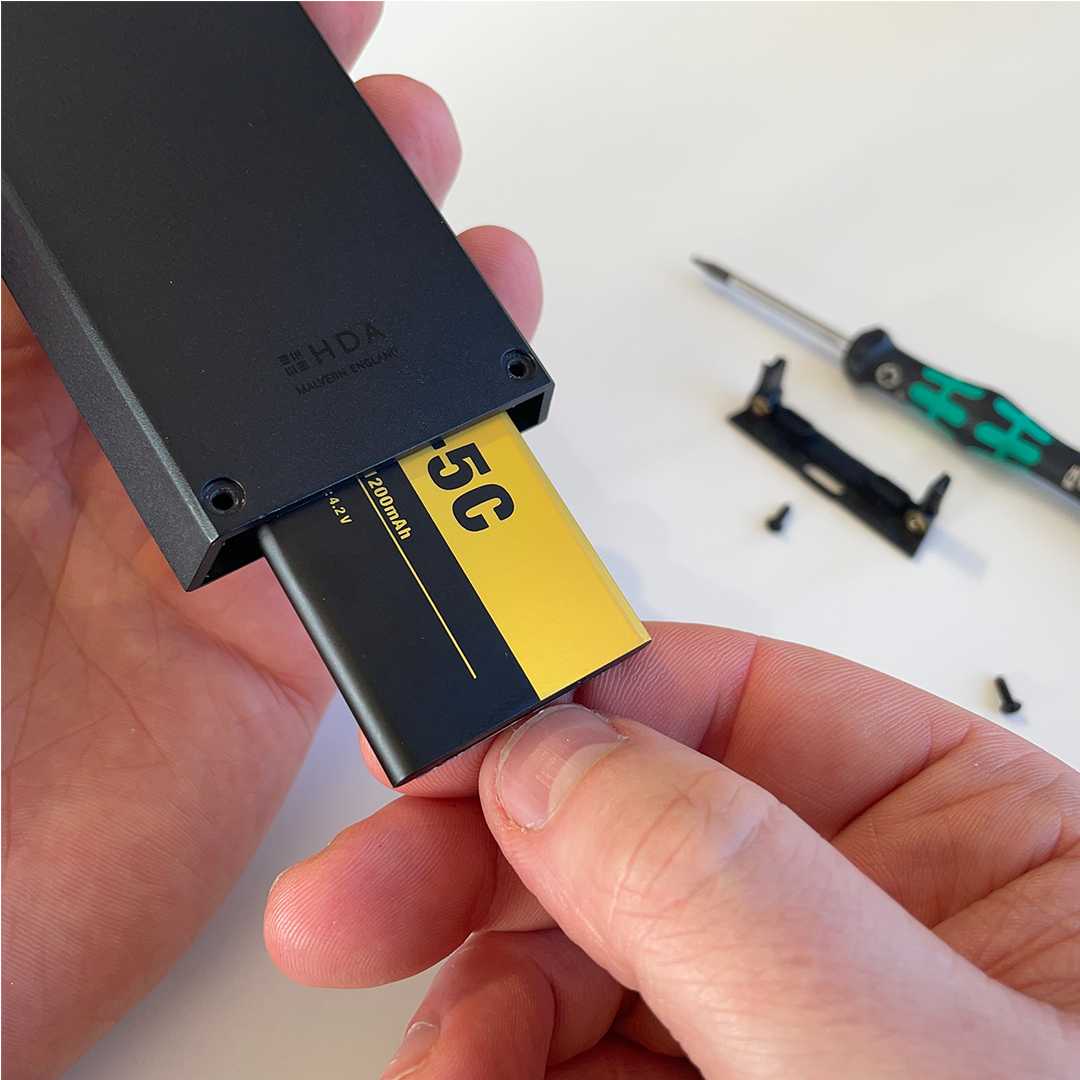
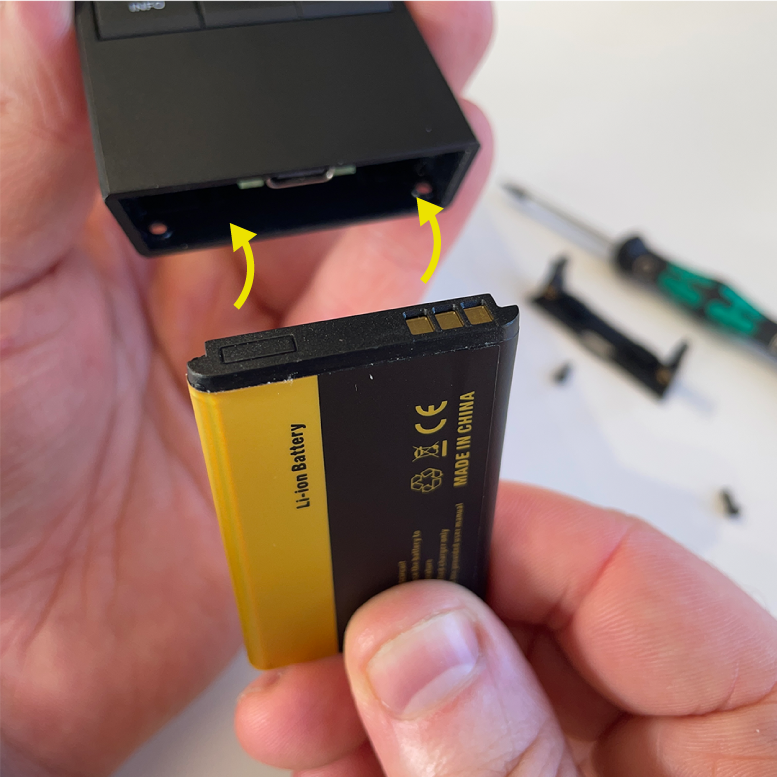
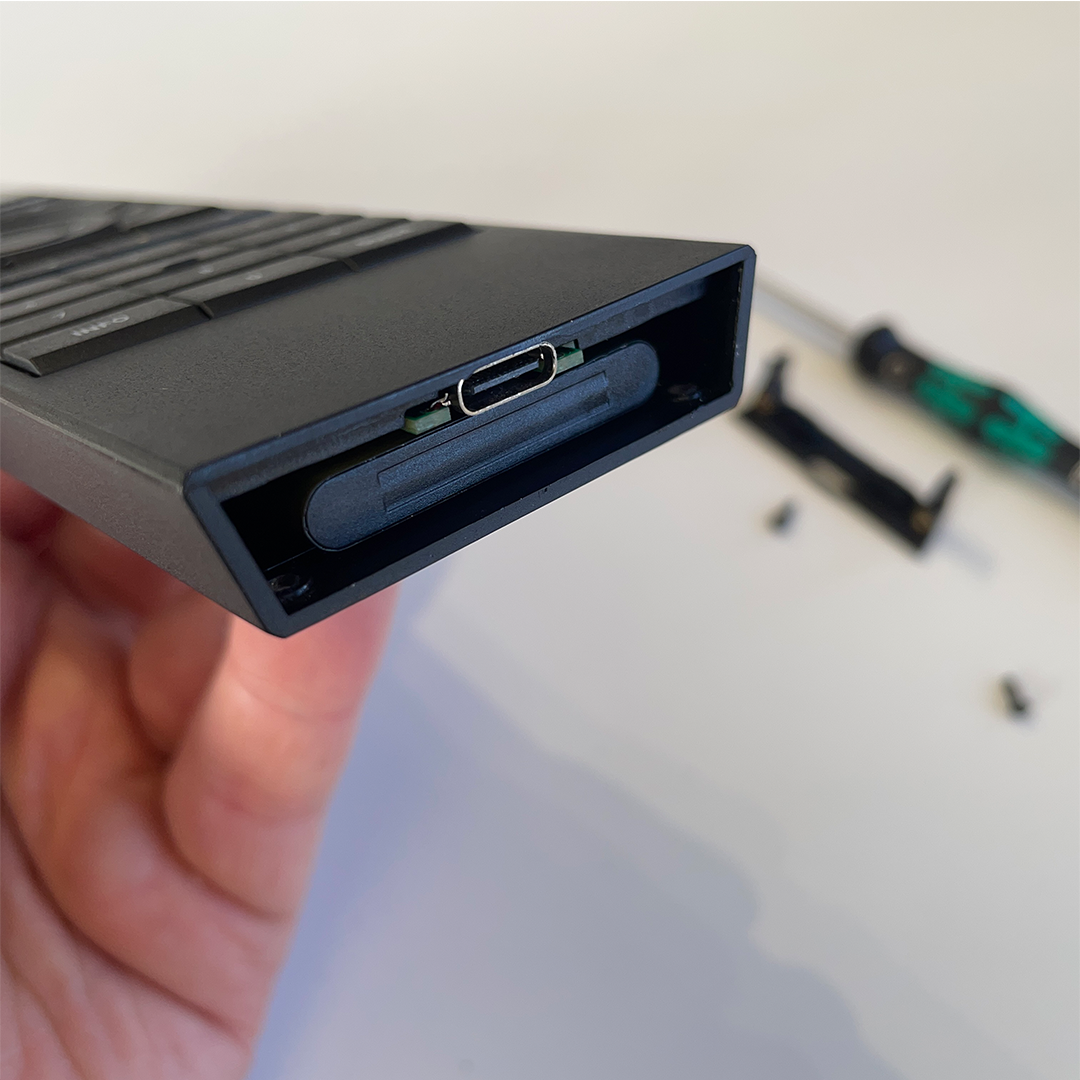
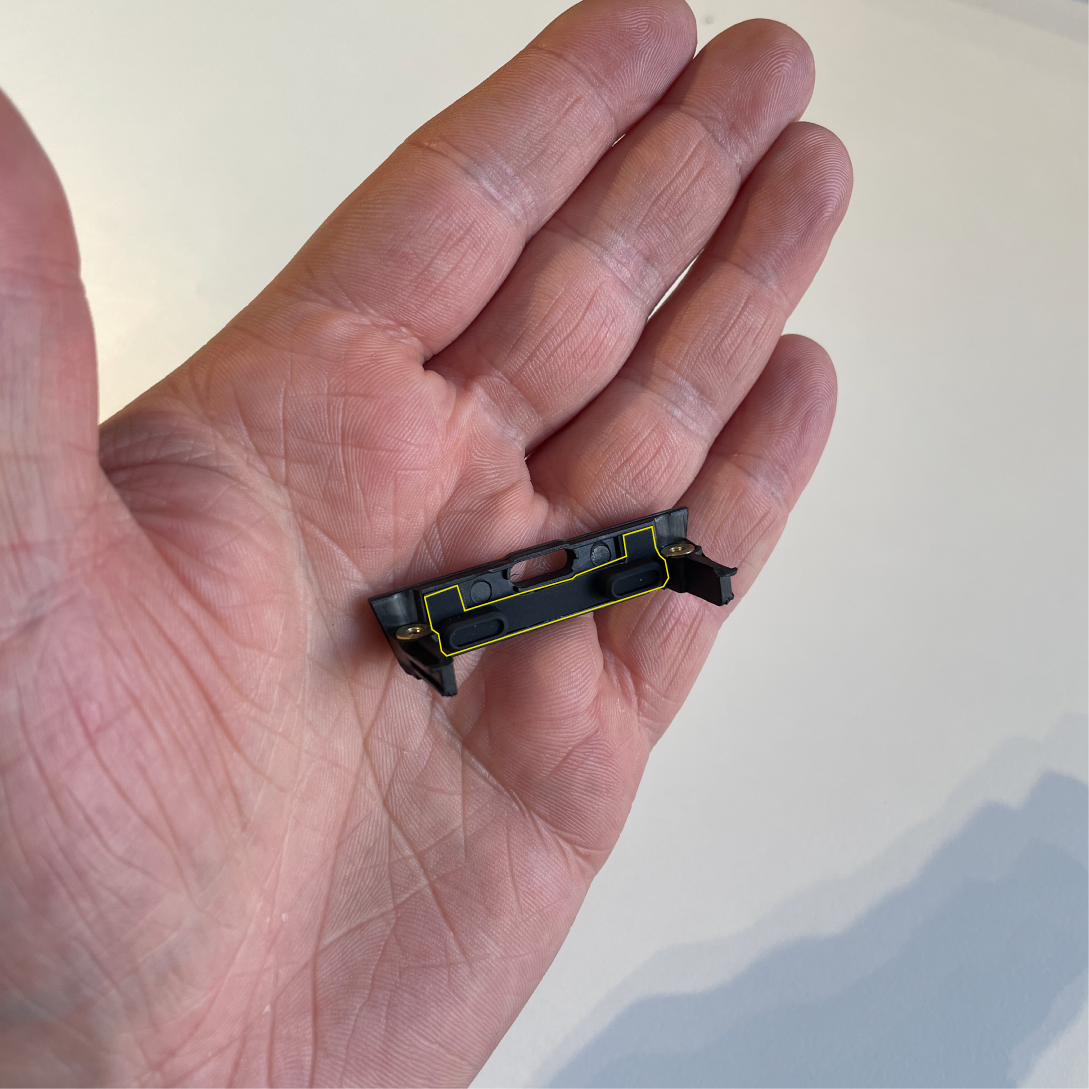
Make sure you have a T5 Torx Screwdriver to remove the screws on the uControl Remote. Flip your uControl Remote over and look to the bottom of the device, you will notice two screws, remove them with your T5 screwdriver. The screws will release the battery hatch and use your fingers to extract it from the main case. Gently tip the uControl Remote to remove the battery, it should slide out with little resistance. Insert the new battery with the connector on the right-hand side, ensuring the connectors face inward. Once inserted, the connectors should be hidden. If you can see them, the battery is in the wrong way. Ensure that you can not see the battery connector once inserted. Before closing the battery hatch, make sure that the rubber stopper is correctly seated as indicated by the yellow outline.