With all the technical jargon and various names given to 4K video, it’s difficult to properly compare HD matrices on a like-for-like basis. So here’s our HD matrix buyers guide to help simplify things.
1. Ask yourself, what is the maximum resolution you want your system to support now and in the future?
To help, you can look at the maximum resolution of your displays and / or HDMI sources that you want to connect to the HD matrix. To date, there are very few 4K sources, but lots of 4K capable displays. So you may only have 1080p sources, but 4K displays. So the choice is often if you would like 4K support from your HD Matrix or not, in order to future proof yourself for the eventual arrival of 4K capable source devices.
To understand the resolutions in the table below in greater depth, you can click here for our more detailed 4K support article.
Once you’ve decided on the support you’d like your HD matrix to have, you can match it off to the chipset specification required by studying the table below.
This chipset specification can then be compared across HD matrix products. We’ve also broken the typcial chipset speeds down into levels to help make the next stage easier.
(NB – Platinum will support all Gold resolutions, Gold will support all Silver resolutions and Silver will support all bronze resolutions.)
|
Input Side Level
|
Maximum Resolutions Supported
|
Typical HDMI Chipset Specifications
|
|
Platinum
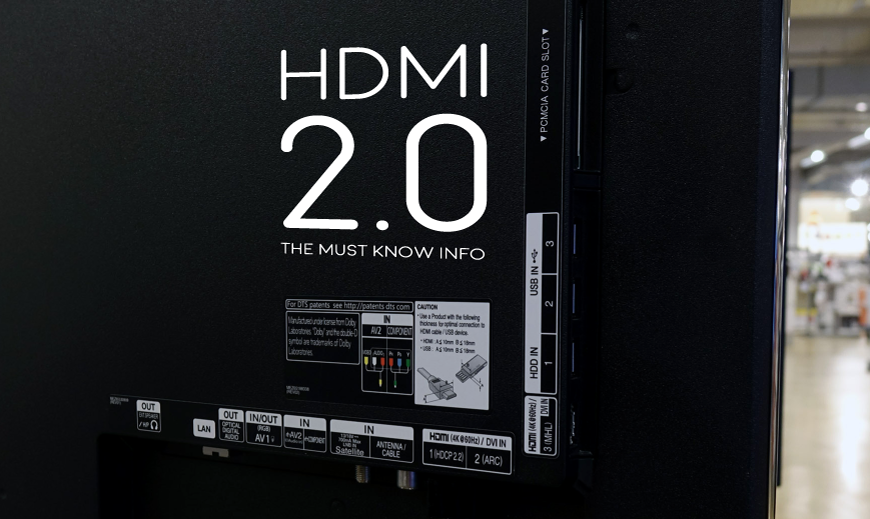
HDMI 2.0
|
4096×2160 @ 60Hz 4:4:4
|
600 Mhz Pixel Clock
18 Gbits Bandwidth
|
|
Gold
HDMI 1.4
|
3840×2160 @ 60Hz 4:2:0
4096×2160 @ 30Hz 4:4:4
1080p @ 60Hz 3D
|
340 Mhz Pixel Clock
10.2 Gbits Bandwidth
|
|
Silver
|
1080p @24Hz 3D
1080p @ 60Hz
720p @ 60Hz 3D
|
165 Mhz Pixel Clock
4.95 Gbits Bandwidth
|
|
Bronze
|
1080p @ 24Hz
720p @ 60Hz
1080i @ 60Hz
|
75 Mhz Pixel Clock
2.25 Gbits Bandwidth
|
2. Therefore, which type of output technology do you need?
Next, it’s important to match your desired resolution support to an output technology level that supports that resolution. So you can match gold to gold for example from the previous table.
Once you’ve chosen the appropriate level, there can be multiple types of output technology at the same level. So your choice between them may be based on features other than resolution capability. For a full breakdown of the different types of output technology on offer and their key features, you can read our article here.
You can then compare HD matrices looking for the required or your chosen technology.
(NB – Platinum technology will support all Gold technology resolutions, Gold technology will support all Silver technology resolutions and Silver technology will support all bronze technology resolutions.)
|
Output Side Level
|
Maximum Resolutions Supported
|
Output Technology Choices
|
|
Platinum
|
4096×2160 @ 60Hz 4:4:4
|
Native HDMI 2.0
|
|
Gold
|
3840×2160 @ 60Hz 4:2:0
4096×2160 @ 30Hz 4:4:4
1080p @ 60Hz 3D
|
All Platinum Choice and:
Native HDMI 1.4 (High Speed)
HDBaseT-Pro (100m CATx Soltution)
HDBaseT-Lite (70m CATx Solution)
|
|
Silver
|
1080p @24Hz 3D
1080p @ 60Hz
720p @ 60Hz 3D
|
All Platinum and Gold Choices plus:
Some high quality (non-HDBT) SingleWire & TwinWire 2x CATx solutions. Such as the HDAnywhere mHub.
|
| Bronze |
1080p @ 24Hz
720p @ 60Hz
1080i @ 60Hz
|
All Platinum, Gold and Silver Choices.
|
|
|
|
3. Lastly, make sure your matrix doesn’t have a bottleneck.
A HD Matrix is most commonly made up of three main stages. The input stage, the multiplexing stage and the output stage.
It’s vital to check that each stage of the matrix has the same chipset capability or resolution capability. Most manufacturers will list the chipset speeds they are using and will group together the input stage and the multiplexing stage. Always seek clarification if this is not clear.
Some HD Matrices will have a Gold level input specification, but a silver level output. The result of this is that whilst you may be able to send into the HD matrix a 4K signal (such as 3840×2160 @ 60Hz 4:2:0) you cannot output it from the HD matrix to a TV. So the HD matrix does not have 4K support throughout.
If you work through the above and check in enough detail, you should get what you expect from your HD matrix purchase.