Search by Support Category: uControl Remote
With uOS 11.08 support for ADB control of android devices is now included.
Supported Devices
- Amazon FireTV
- Nvidia Shield
- Android/Google Powered TV’s
To enable ADB control, ensure the device you want to control is powered on and awake. You will need to know the device’s IP address.
Step 1 – Enabling Developer Options
To be able to use ADB control you will need to enable Developer Mode.
For Amazon devices, follow the instructions here – Enabling Developer Tools
For other devices -
- Open the menu and go to Device Preferences > About.
- Scroll down until Build is highlighted, then tap ok several times. You will get an onscreen message that developer mode has been enabled.
- Click back, scroll to the bottom of the menu you will see { } Developer Options.
- Open the menu and enable developer options
- Scroll down to Enable network debugging
Step 2 – Installing the ADB pack.
In the example below we will install the pack for FireTV.
2a – Select the pack
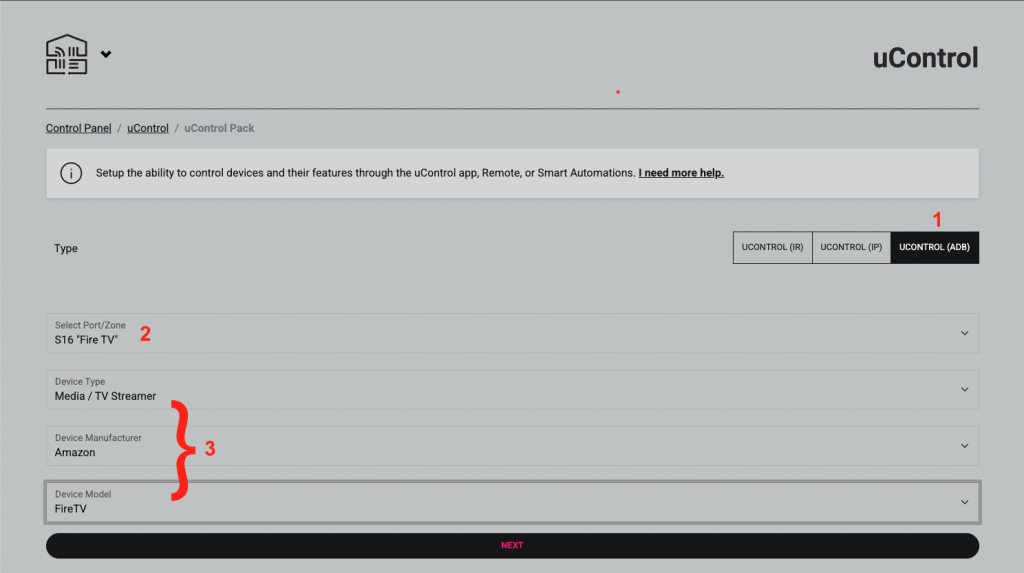
- Select uControl (ADB)
- Select the port or zone when the pack will be installed
- Select the device
2b – Test and confirm installation
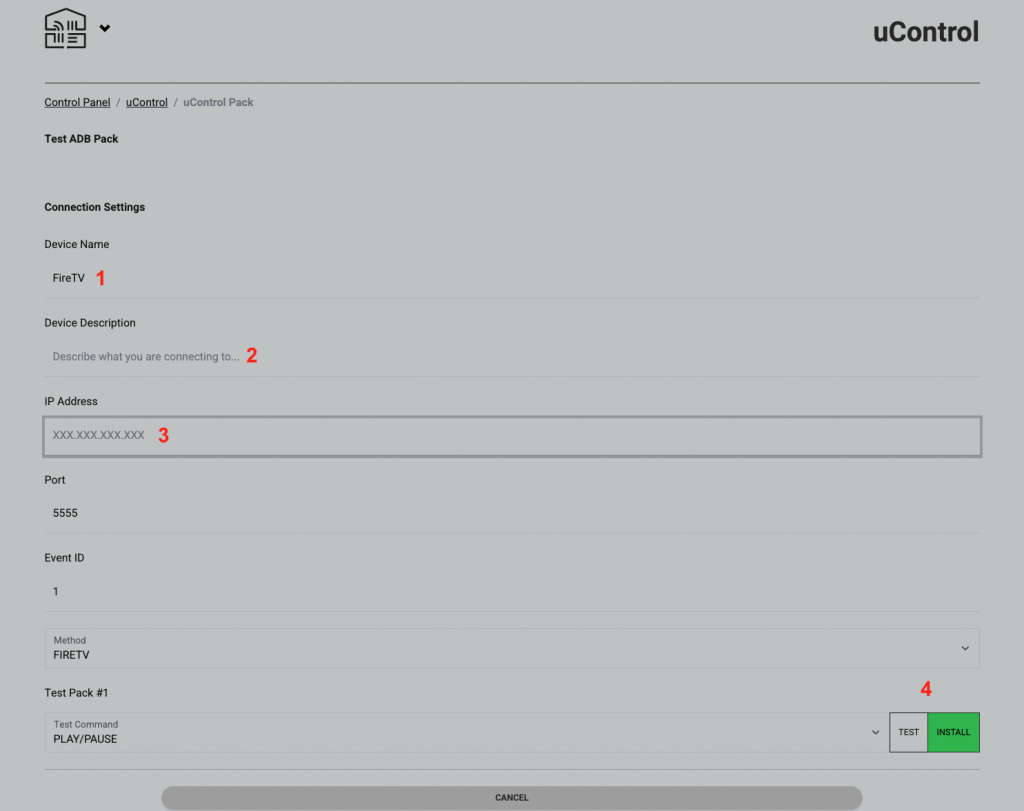
- Use the default name or enter a custom one. This will be displayed on the uControl app and remote
- Describe what you are connecting to, this field is not compulsary to install the pack
- Enter the IP address in the fireTV in the format
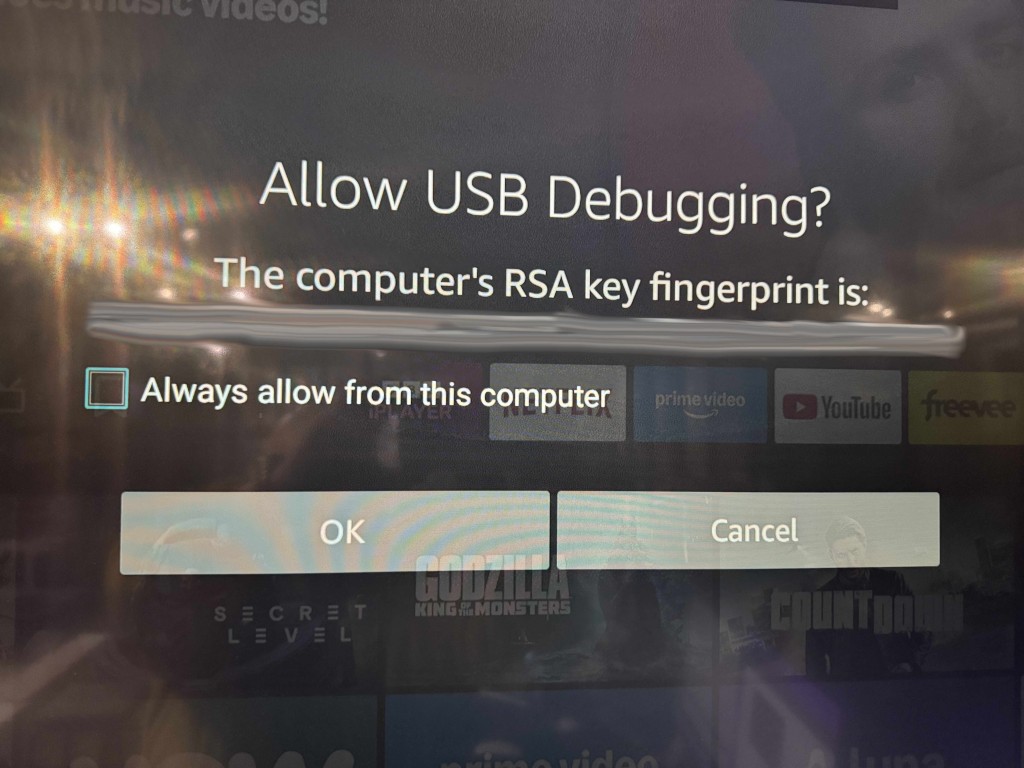
xxx.xxx.xxx.xxxFor example, 192.168.0.25. - IMPORTANT – the first time to connect to the device you will get an onscreen message like the one shown below. Please select always allow then click ok.
- Once tested, click install and the pack is ready to use
strong>Ver 2.0 (07/25)
WiFi Version: 6.0.20250728
Filesystem Version: 2.3.3
BLE Version: 2.1.3
-Added support for WPA3 wireless security
-Battery performance improvements
-Revised WiFi reconnection logic
-Bug fixes and improvements
Ver 1.02 (05/25)
WiFi Version: 6.0.20250512
Filesystem Version: 2.2.12
BLE Version: 2.0.20
-Updated internal WiFi reconnection processes
-Added onscreen message when WiFi disconnected and IP command attempted
-Menus can be scrolled by holding UP/Down keys
-Battery performance improvements
-Added support for Samsung Frame TV off via IR
-Bug fixes and improvements
Ver 1.01 (04/25)
WiFi Version: 6.0.202500414
Filesystem Version: 2.2.11
BLE Version: 2.0.19
-Removed password requirement when provisioning remote
-Updates Battery Icon to better show current level
-Bug fixes and improvements
Ver 1.00 (01/25) Release Version
WiFi Version: 6.0.202500204
Filesystem Version: 2.2.8
BLE Version: 2.0.15
-Added HI, LO and FULL to battery icon
-Updated remote data transfer process from uOS
-Bug fixes and improvements
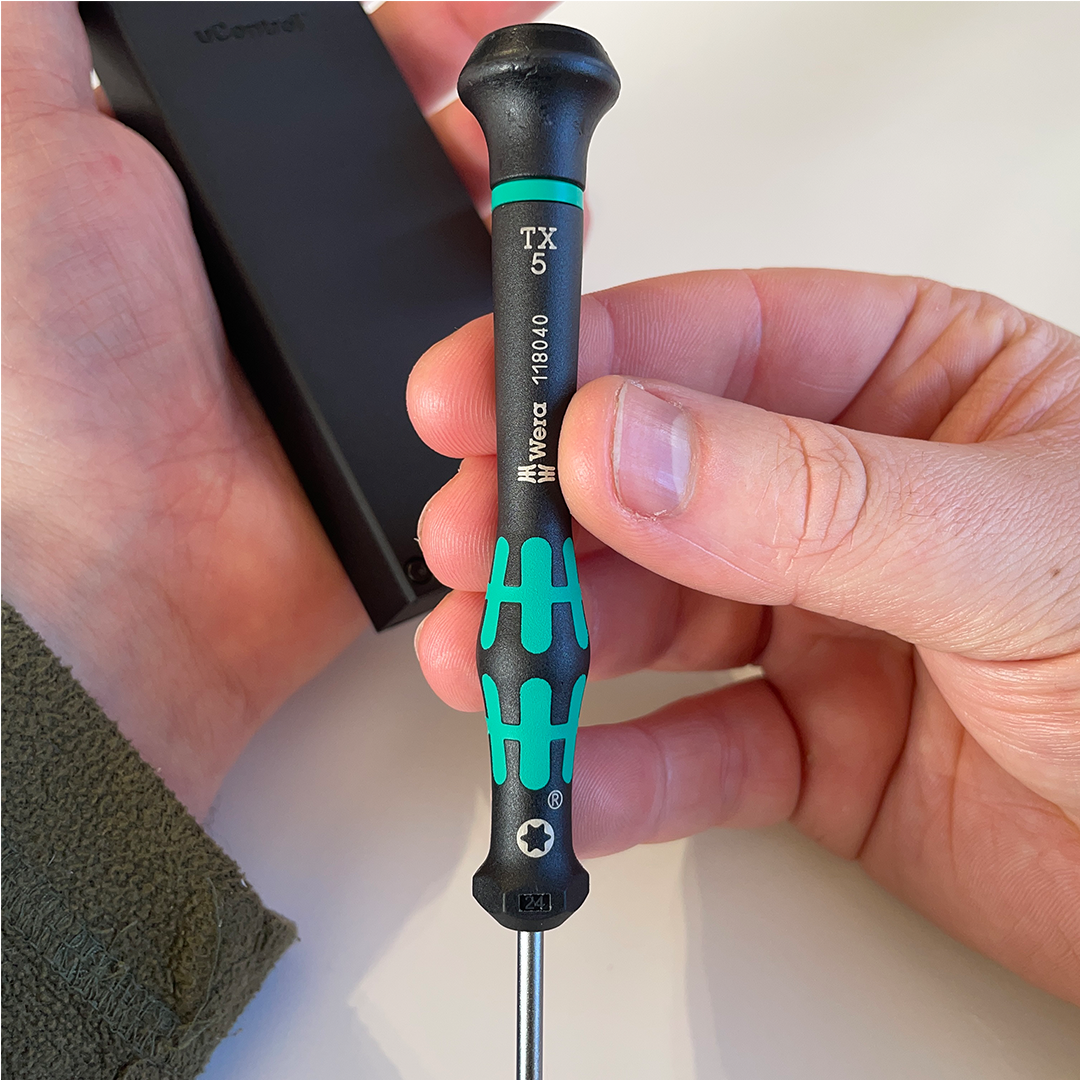
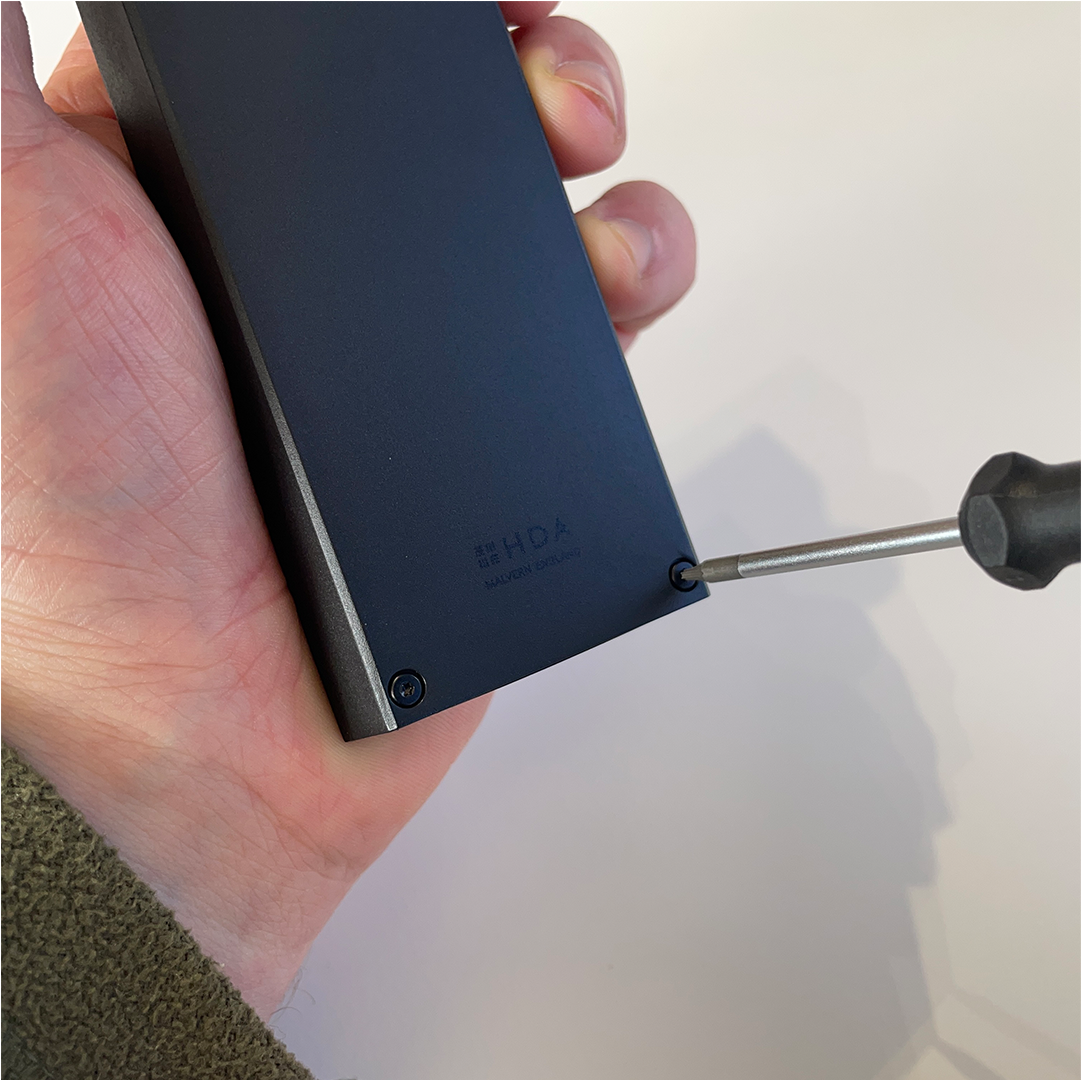
Required tools
Before you begin:
To ensure a smooth setup process for your uControl Remote, please make sure you have the following in place before you start:
uOS 11 or above: The uControl Remote will work correctly with uOS 11 or above. Ensure that you have checked for updates beforehand.
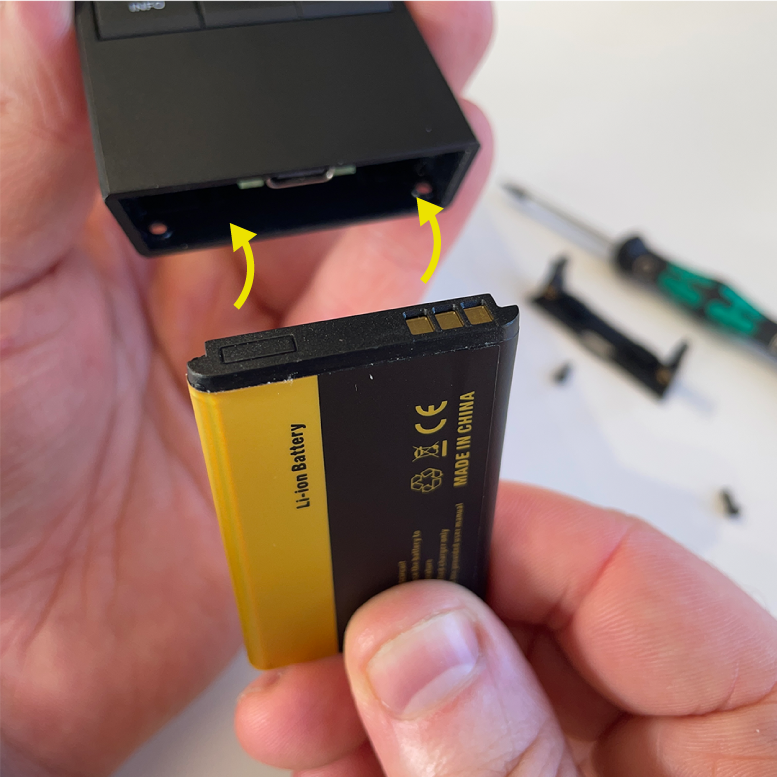
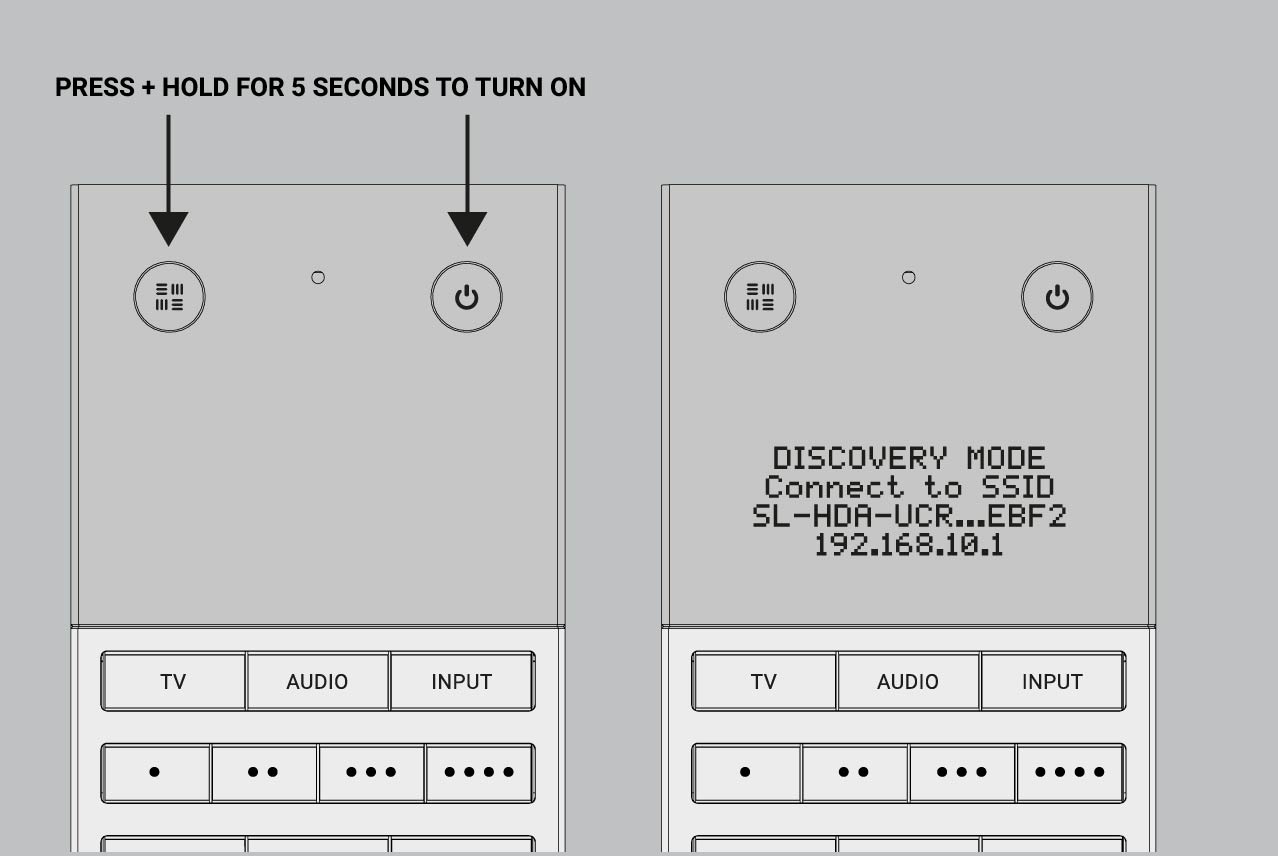
Powered On: Press and hold the HDA Key (top left circular button) and the Power Key (top right circular button) simultaneously for 5 seconds.
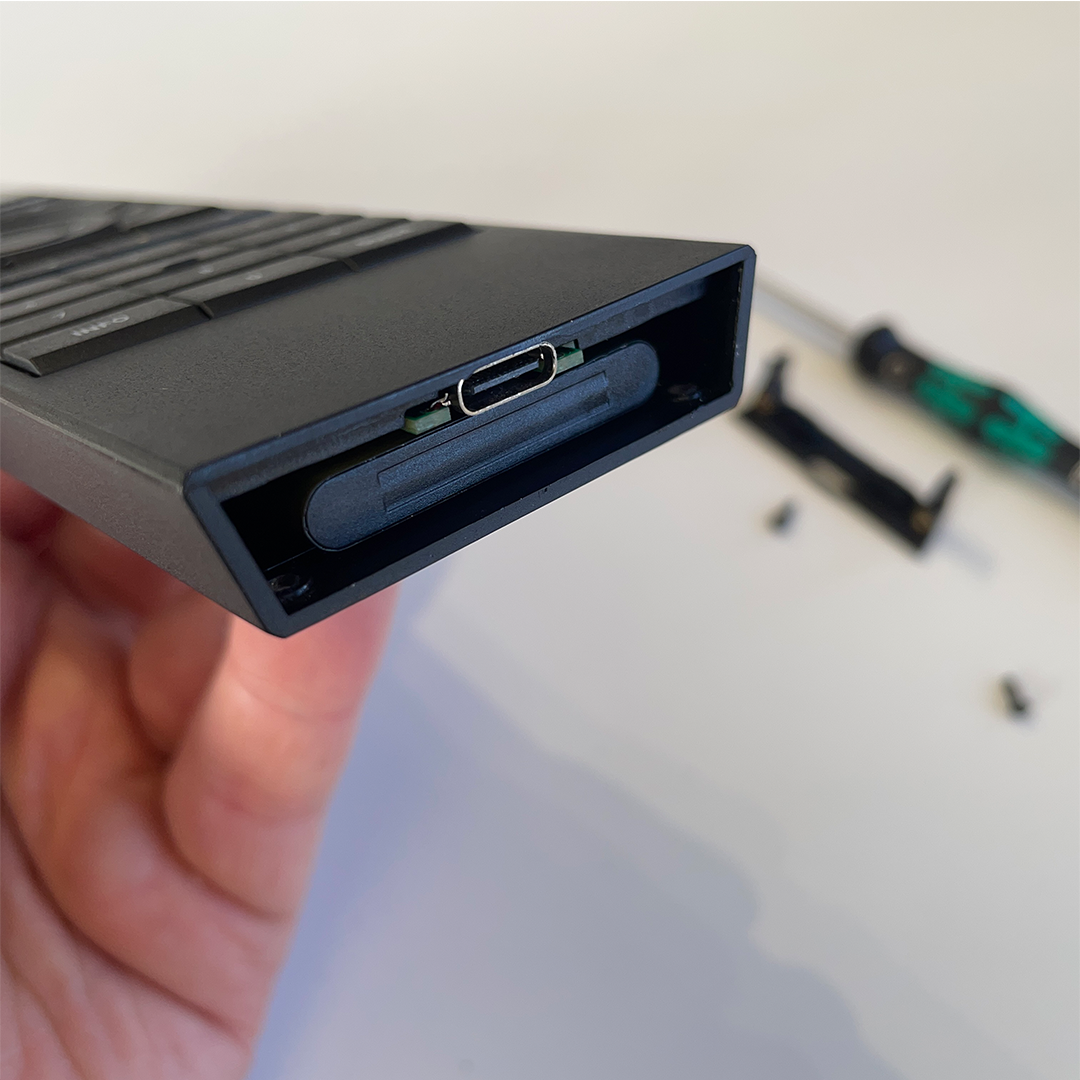
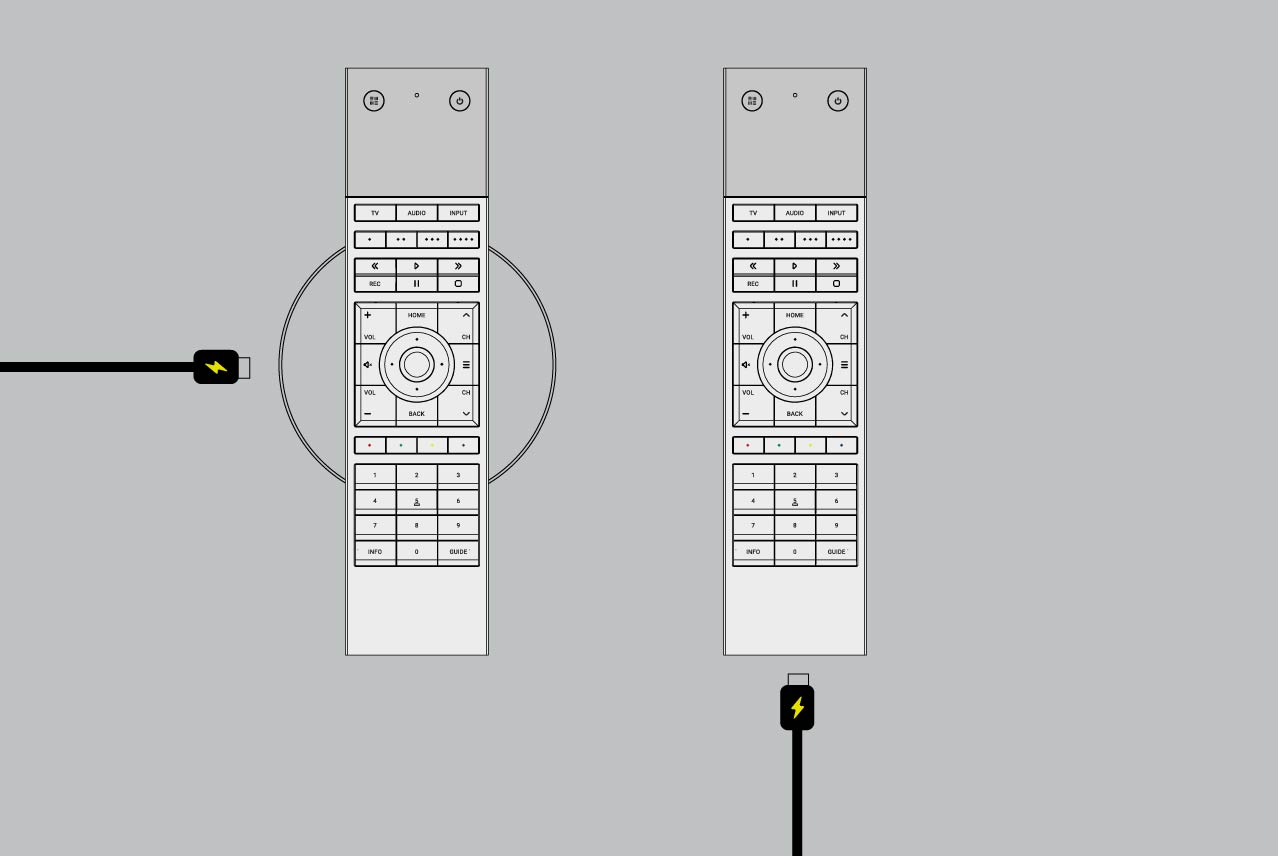
Sufficient Power: Ensure the Remote is charging using the provided USB-C cable or a wireless charger.
Setup tested on uControl app: uControl Remote should be the last device setup in uOS. It is recommended that all uControl packs have been downloaded, all Smart Automations have been created and tested inside uControl app before transfering any configuration to .
20 minutes (approximately) to work through.
Contents:
In a hurry? Refer to the quick start guide in your packaging
The fastest way to connect your uControl Remote to your WiFi network is to refer to the quick start guide found inside your packaging.
If you need more help then a detailed version of this process is described below.
Getting uControl Remote on your WiFi network (full description)
1. Ensure that the uControl Remote is charging before you start
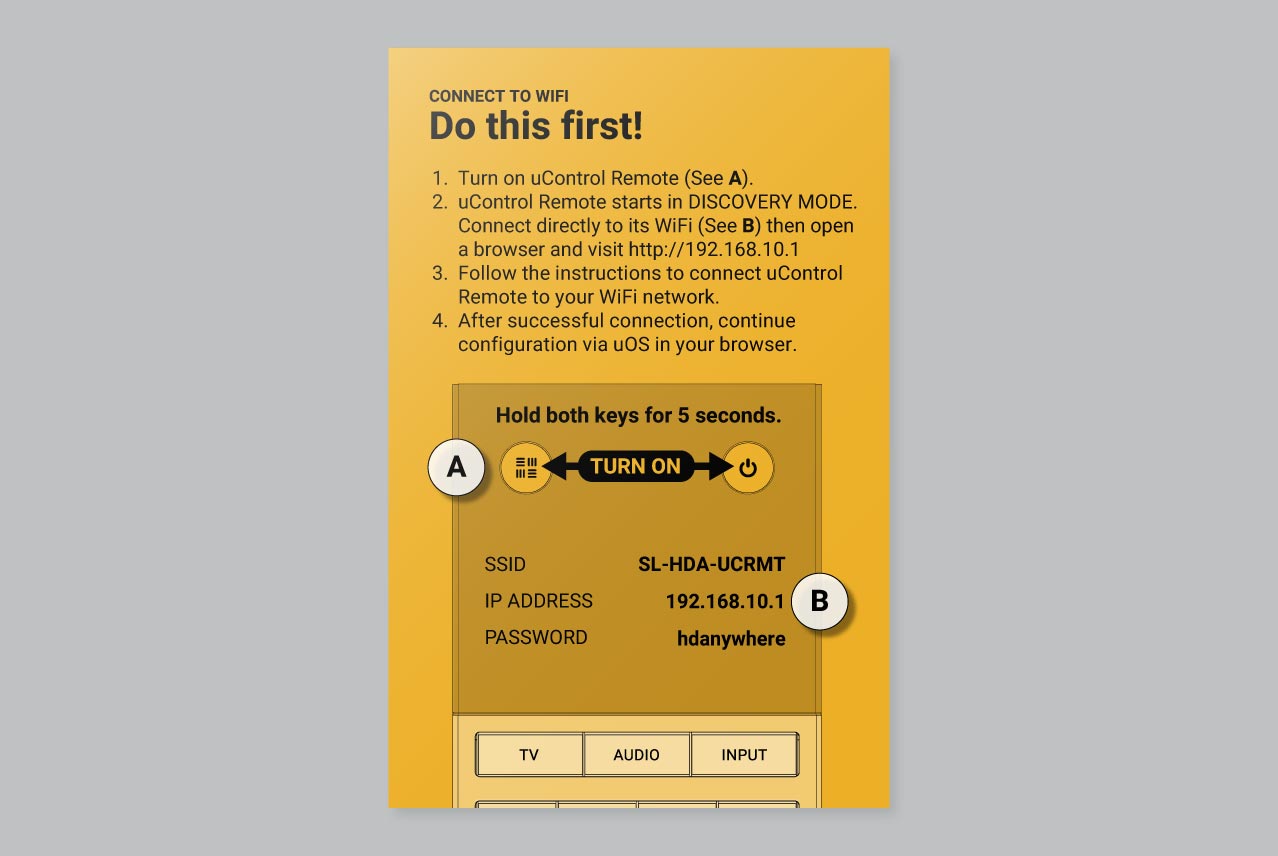
2. Turn the uControl Remote ON
3.Connect directly to uControl Remote’s WiFi
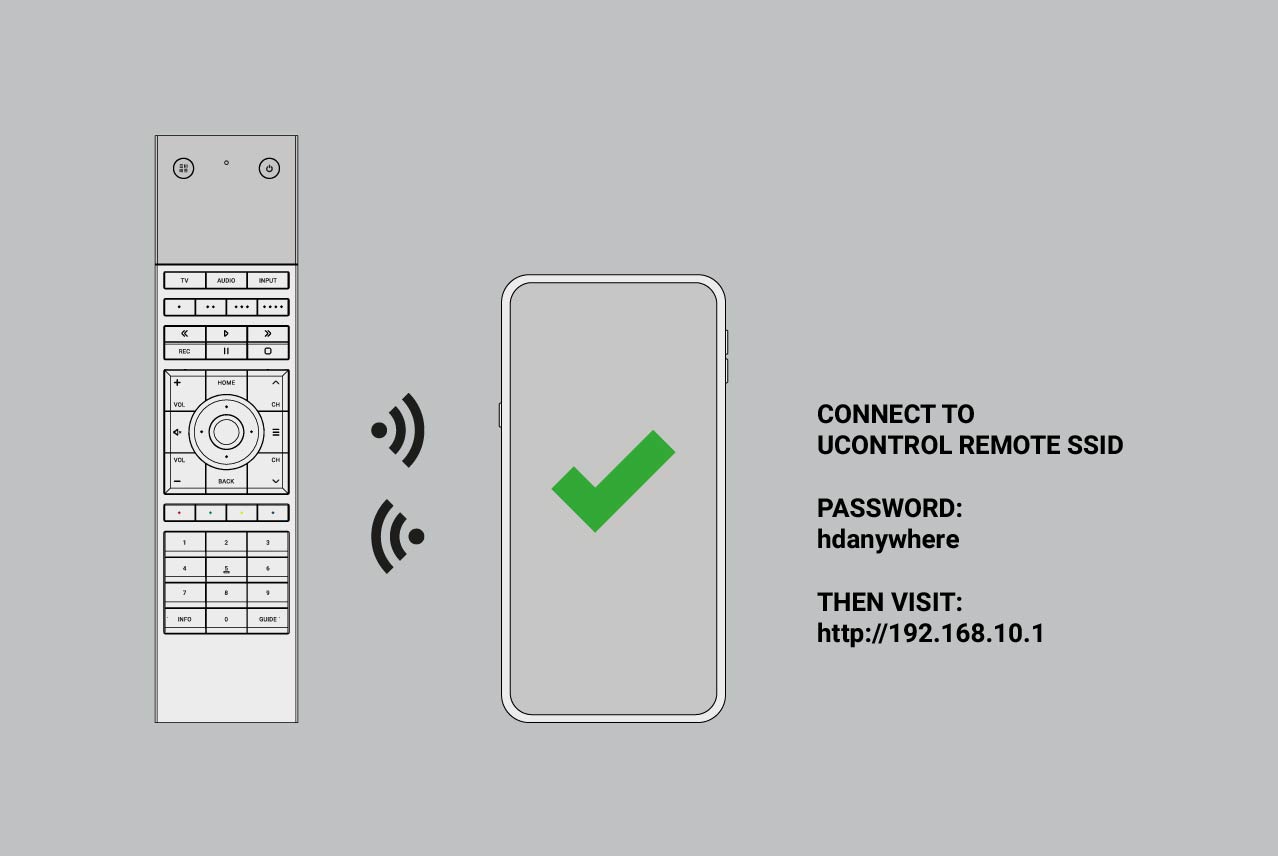
To connect to uControl Remote’s WiFi use password hdanywhere.
4. Access the uControl Remote’s Network Page.

At this stage, uControl Remote will scan all available WiFi networks within range. uControl Remote only supports 2.4GHz WiFi and WPA/WPA2/WEP security standards.
5. Wait for connection
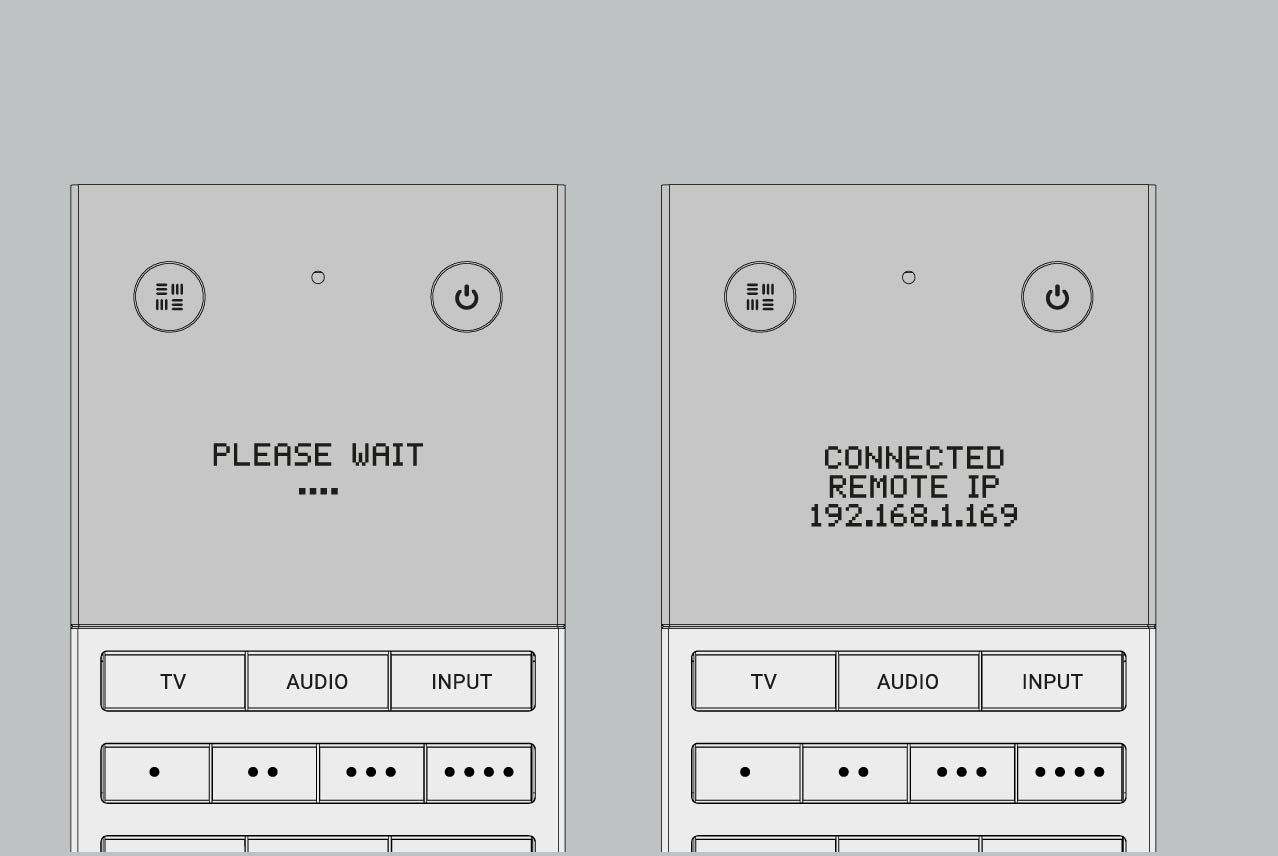
Once the uControl Remote has joined your WiFi network, it will be given a new IP address, take a note of this IP address as you will need it when you configure your uControl Remote for use.
Starting uControl Remote basic configuration.
Make sure your uControl Remote is on the same network as you controller and that the Remote is charging.
Visit uOS and navigate to the “Remote” page.
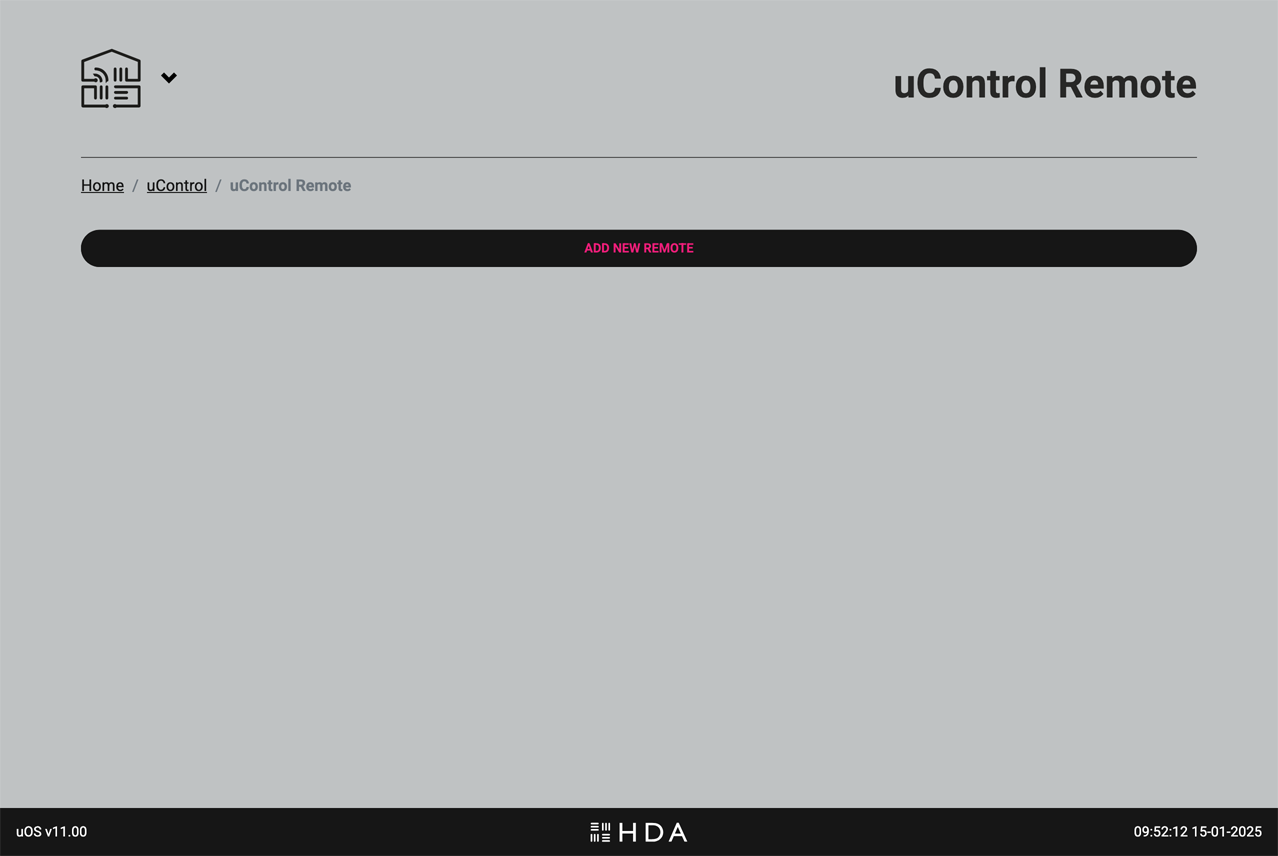
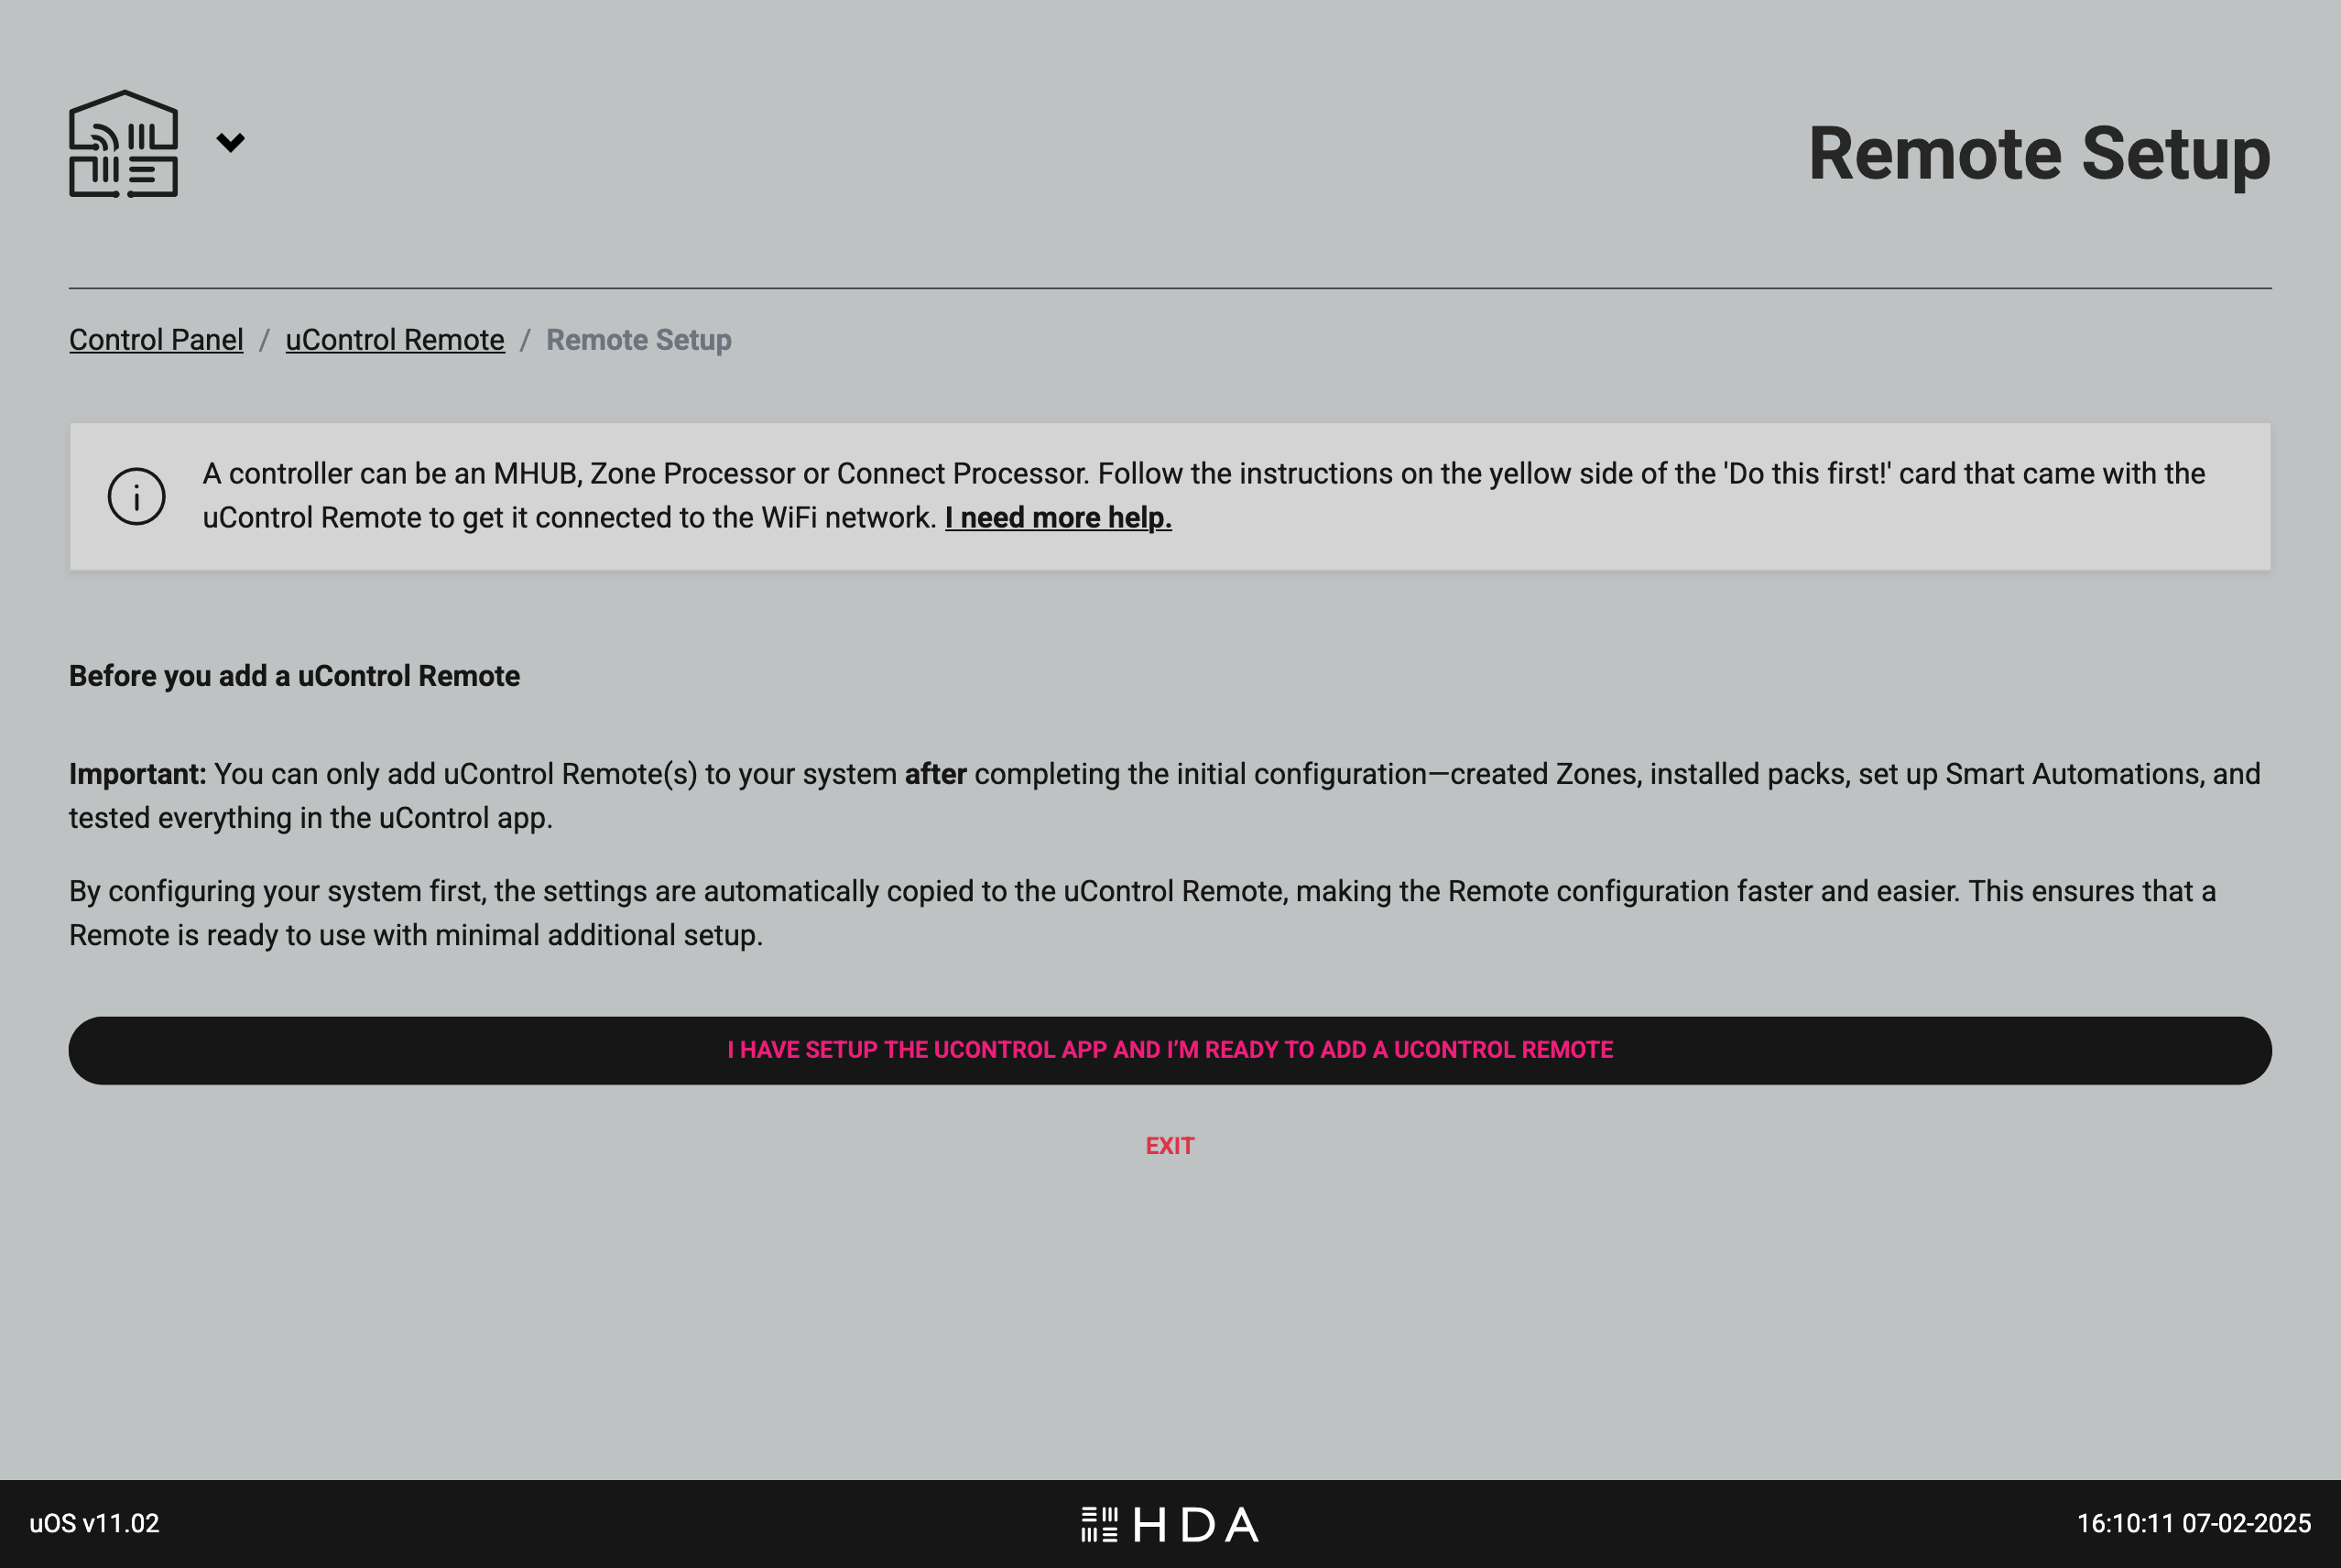
Make sure that all uControl Packs, Smart Automations & Zone Settings have been completed before proceeding.
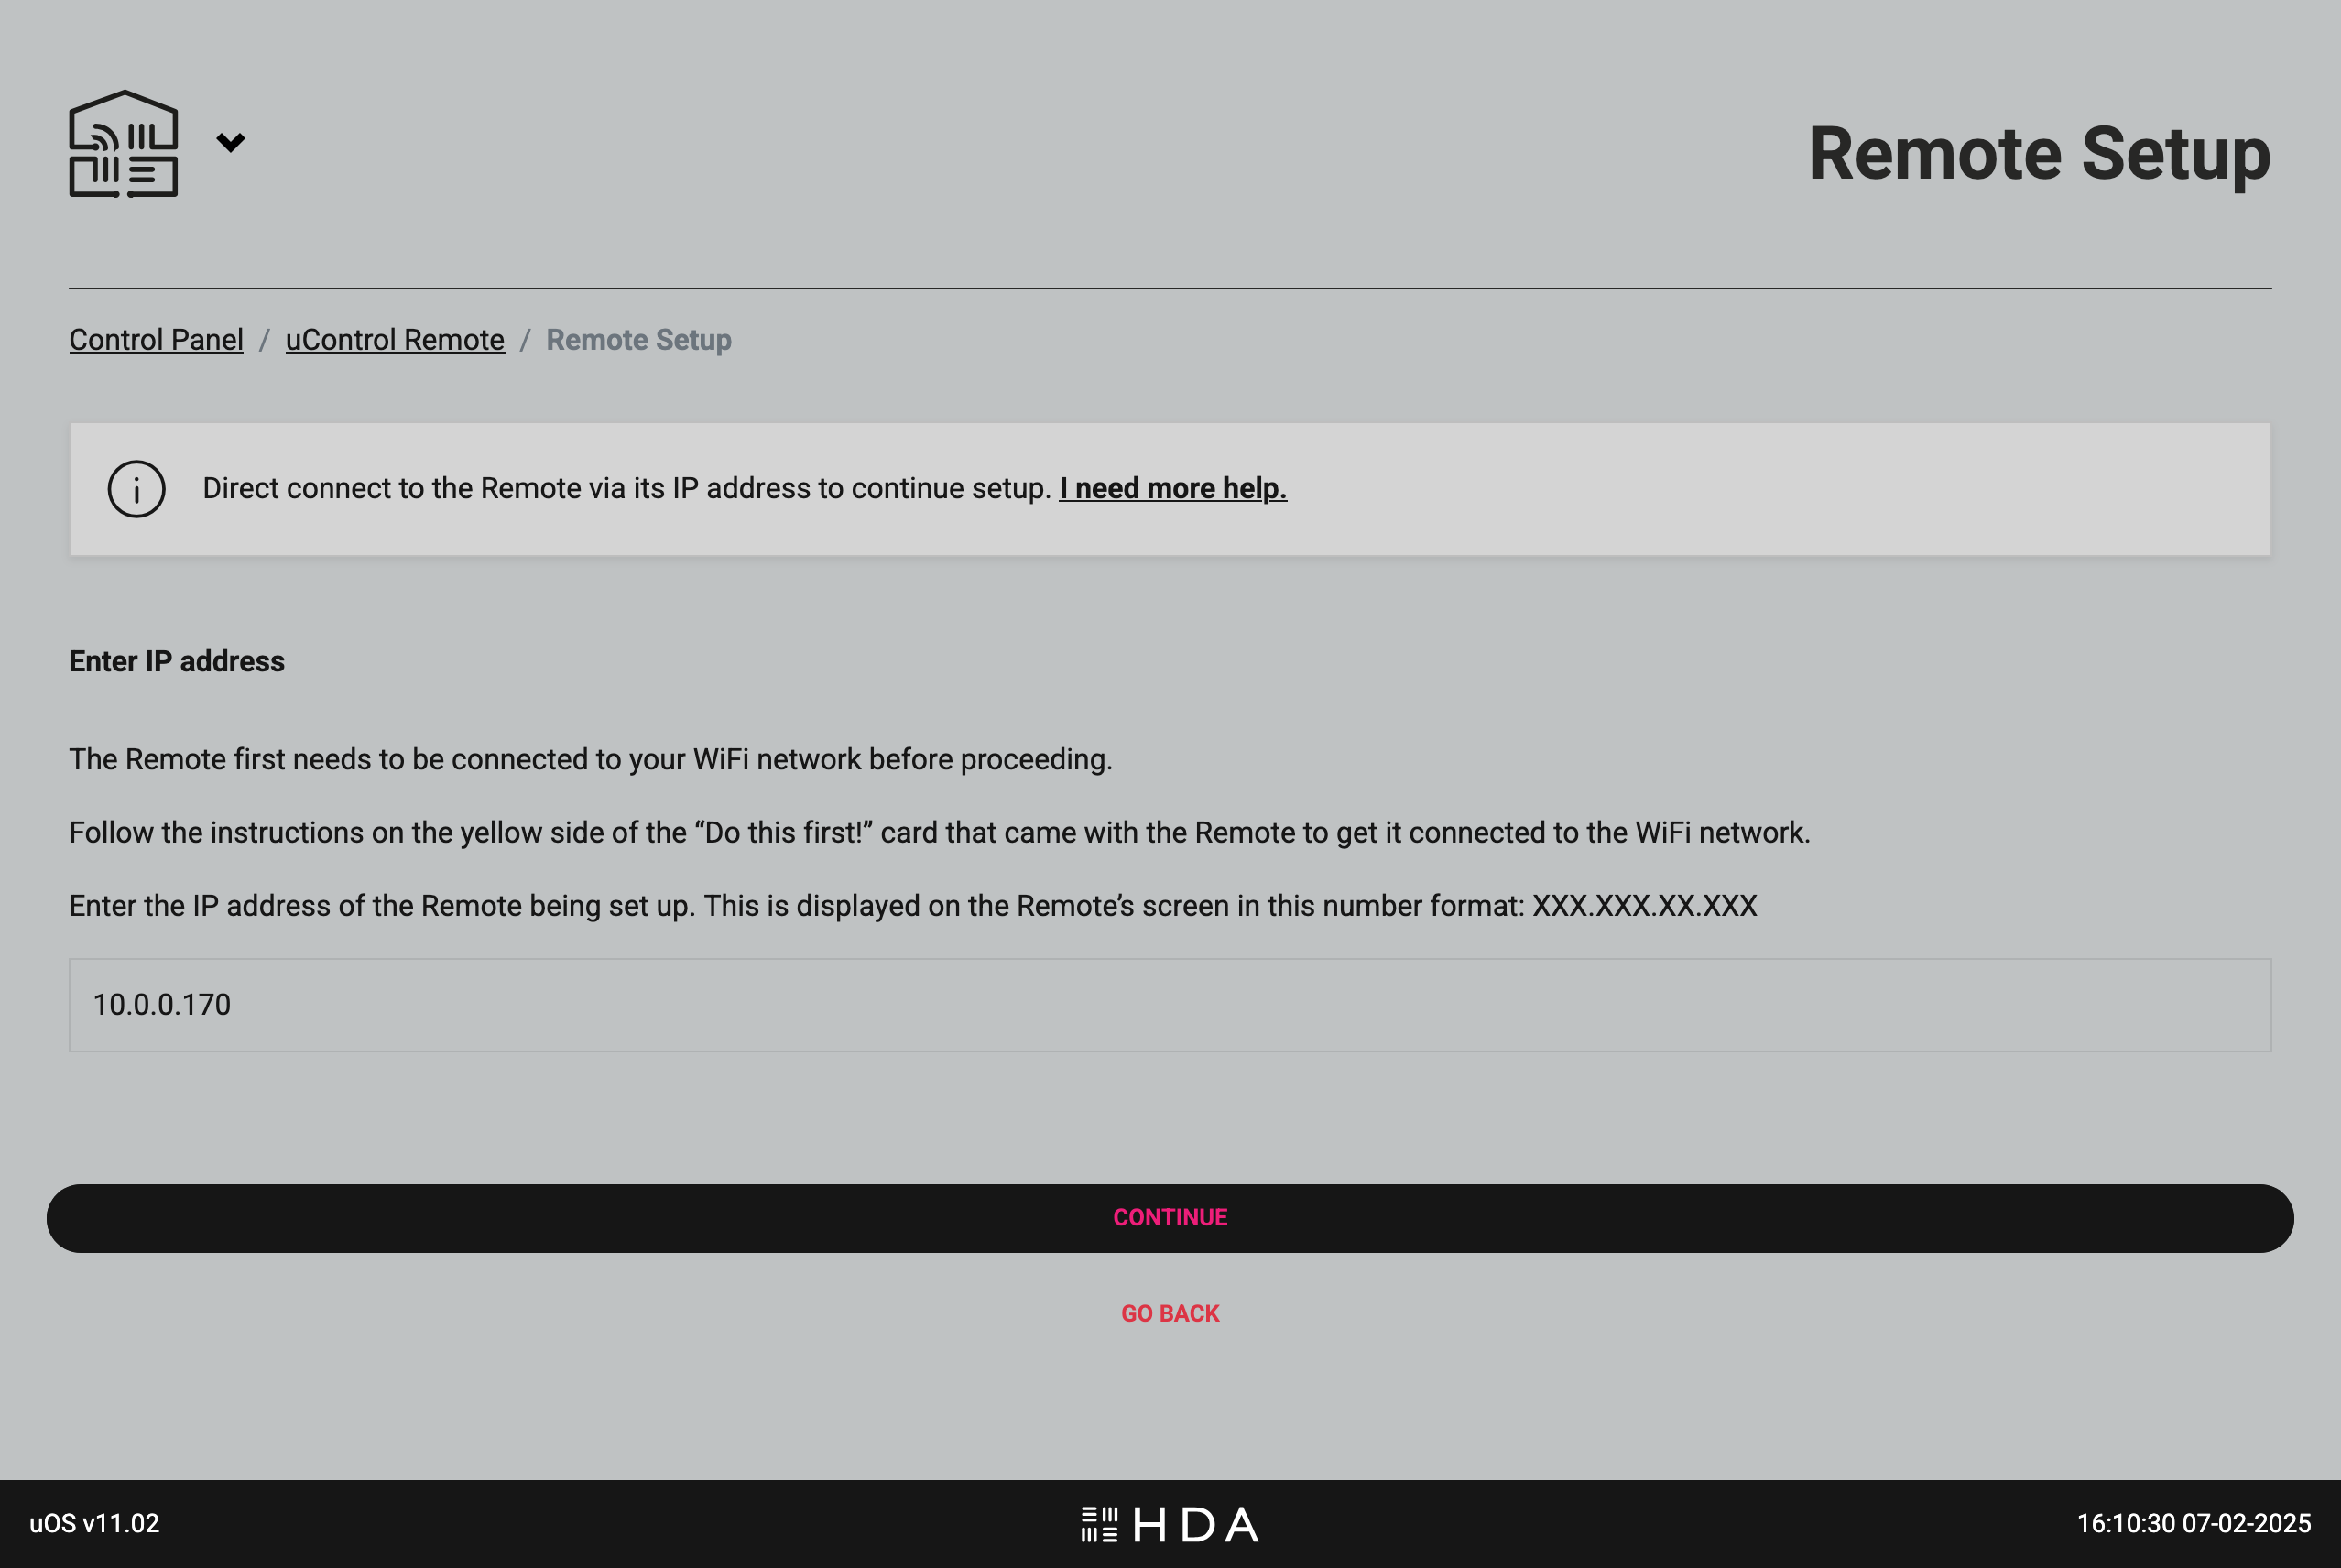
Enter your uControl Remote’s IP address.
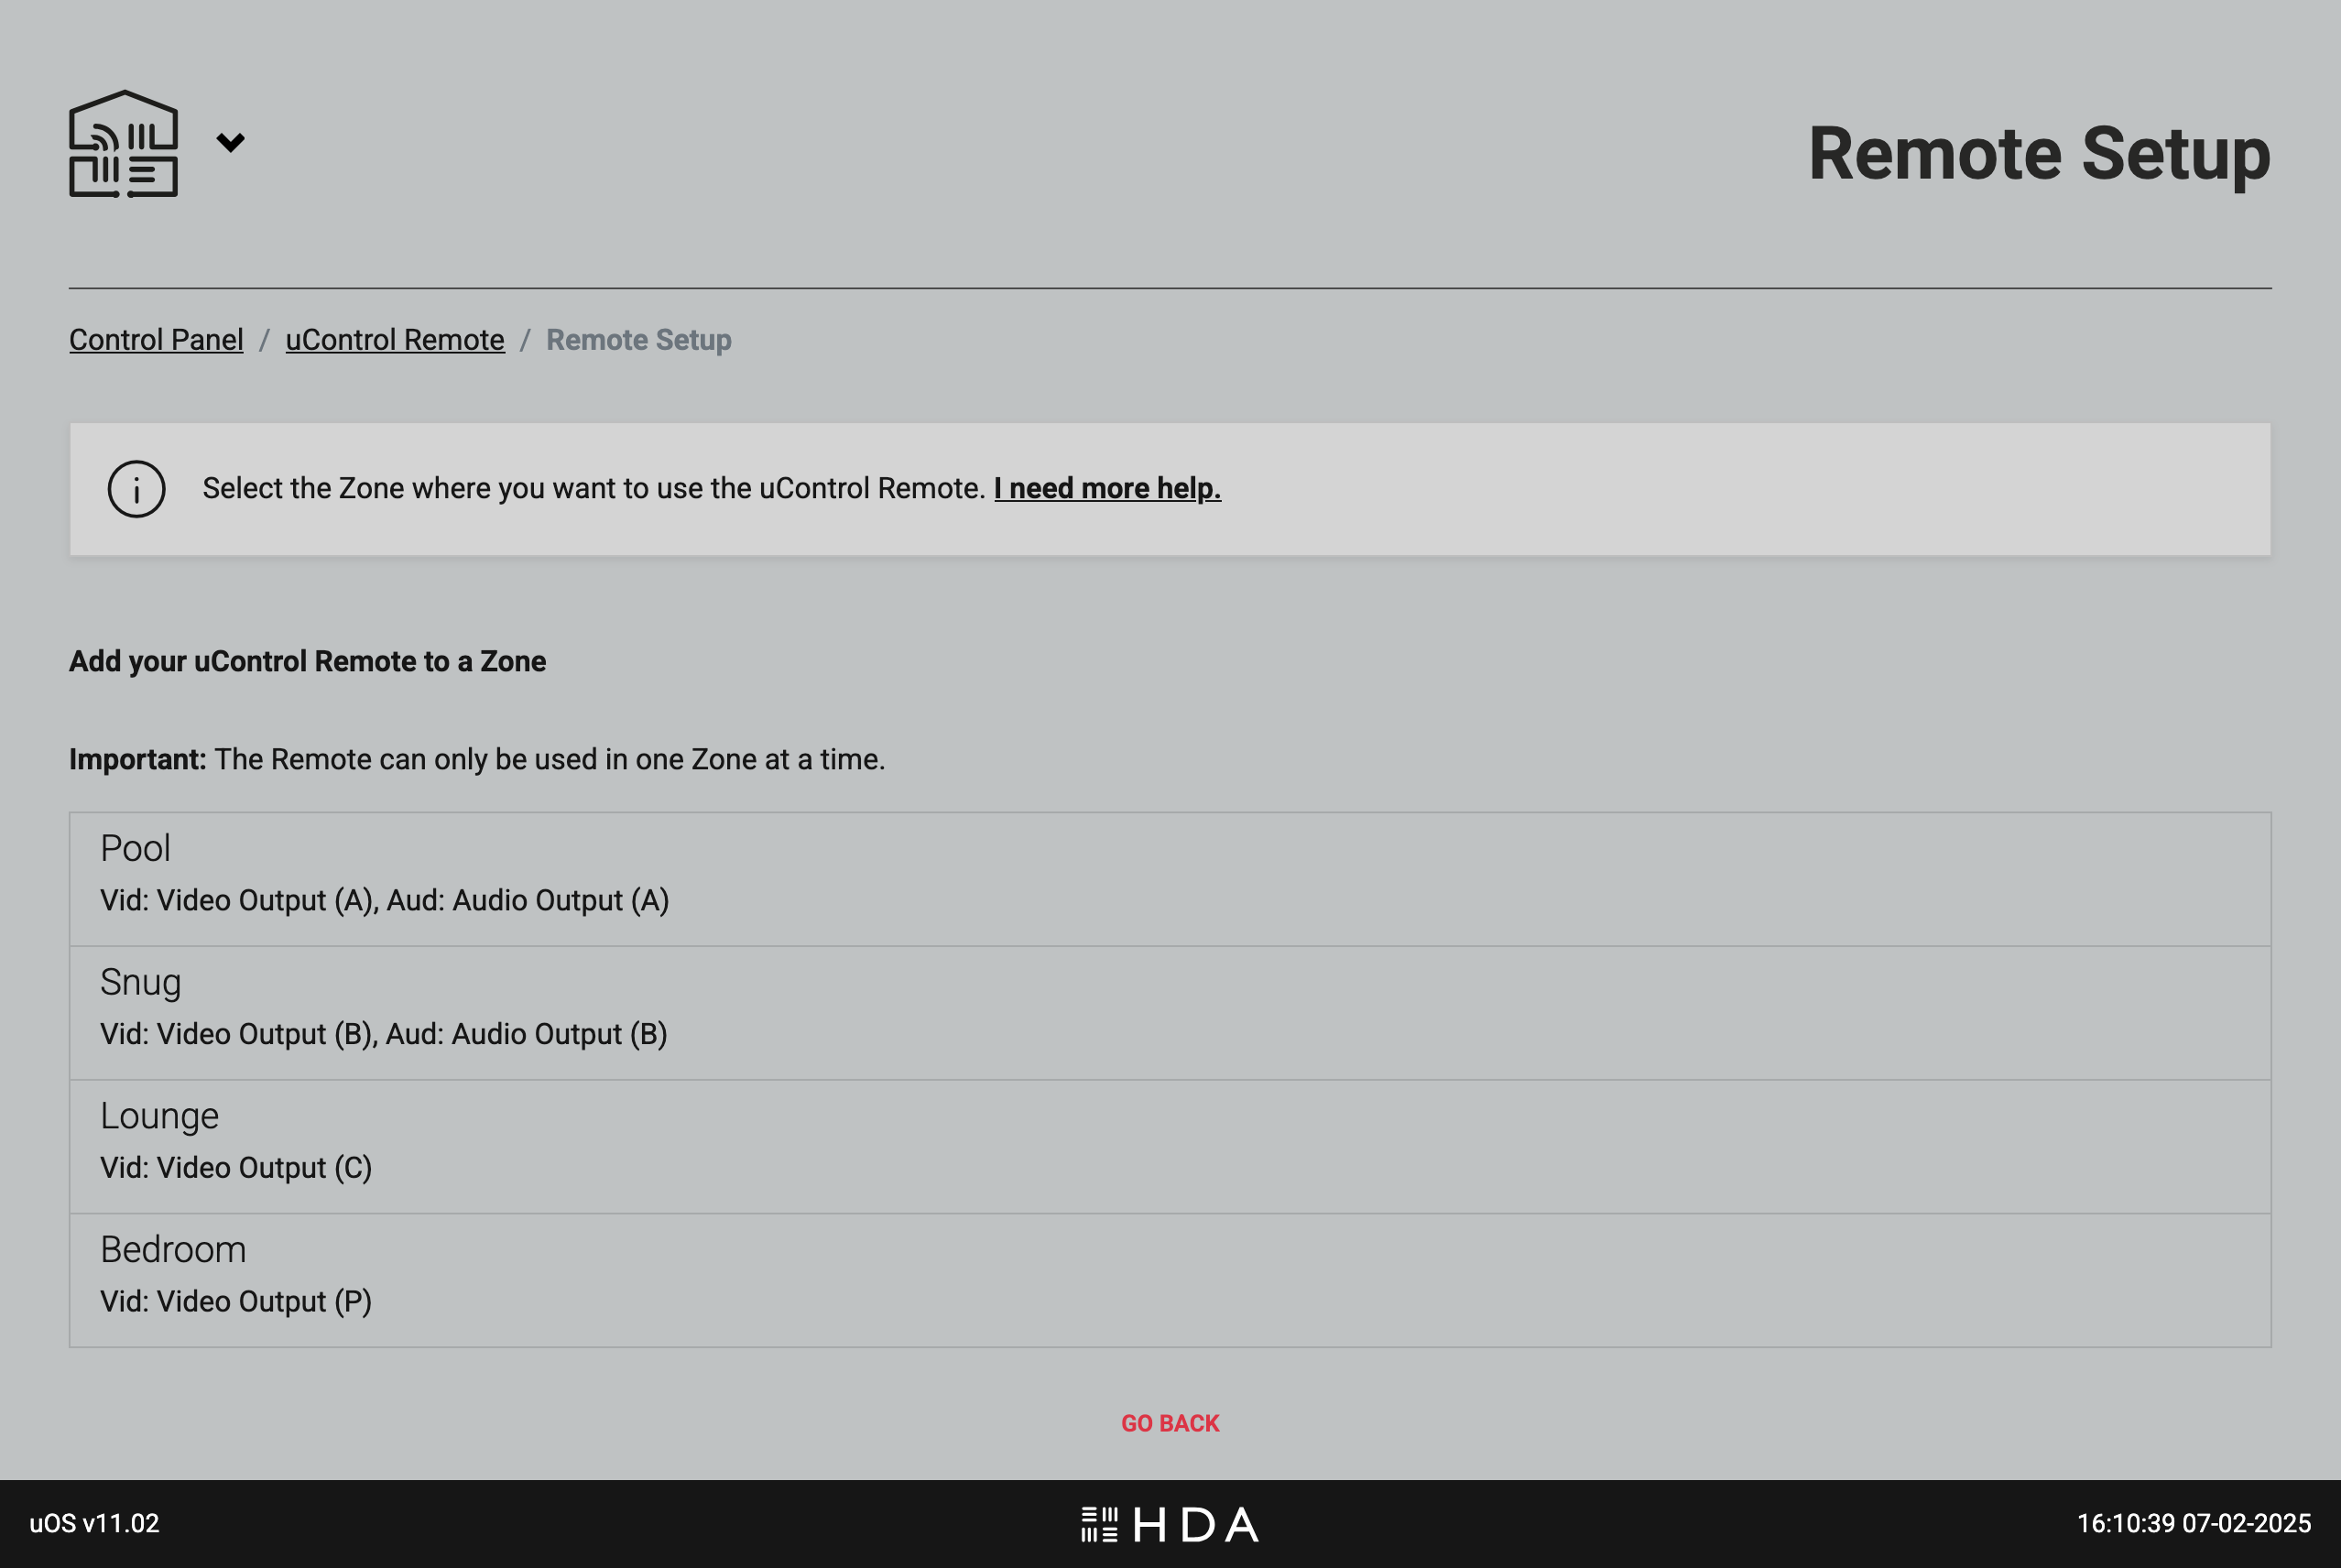
Add your uControl Remote to your Zone or Room.
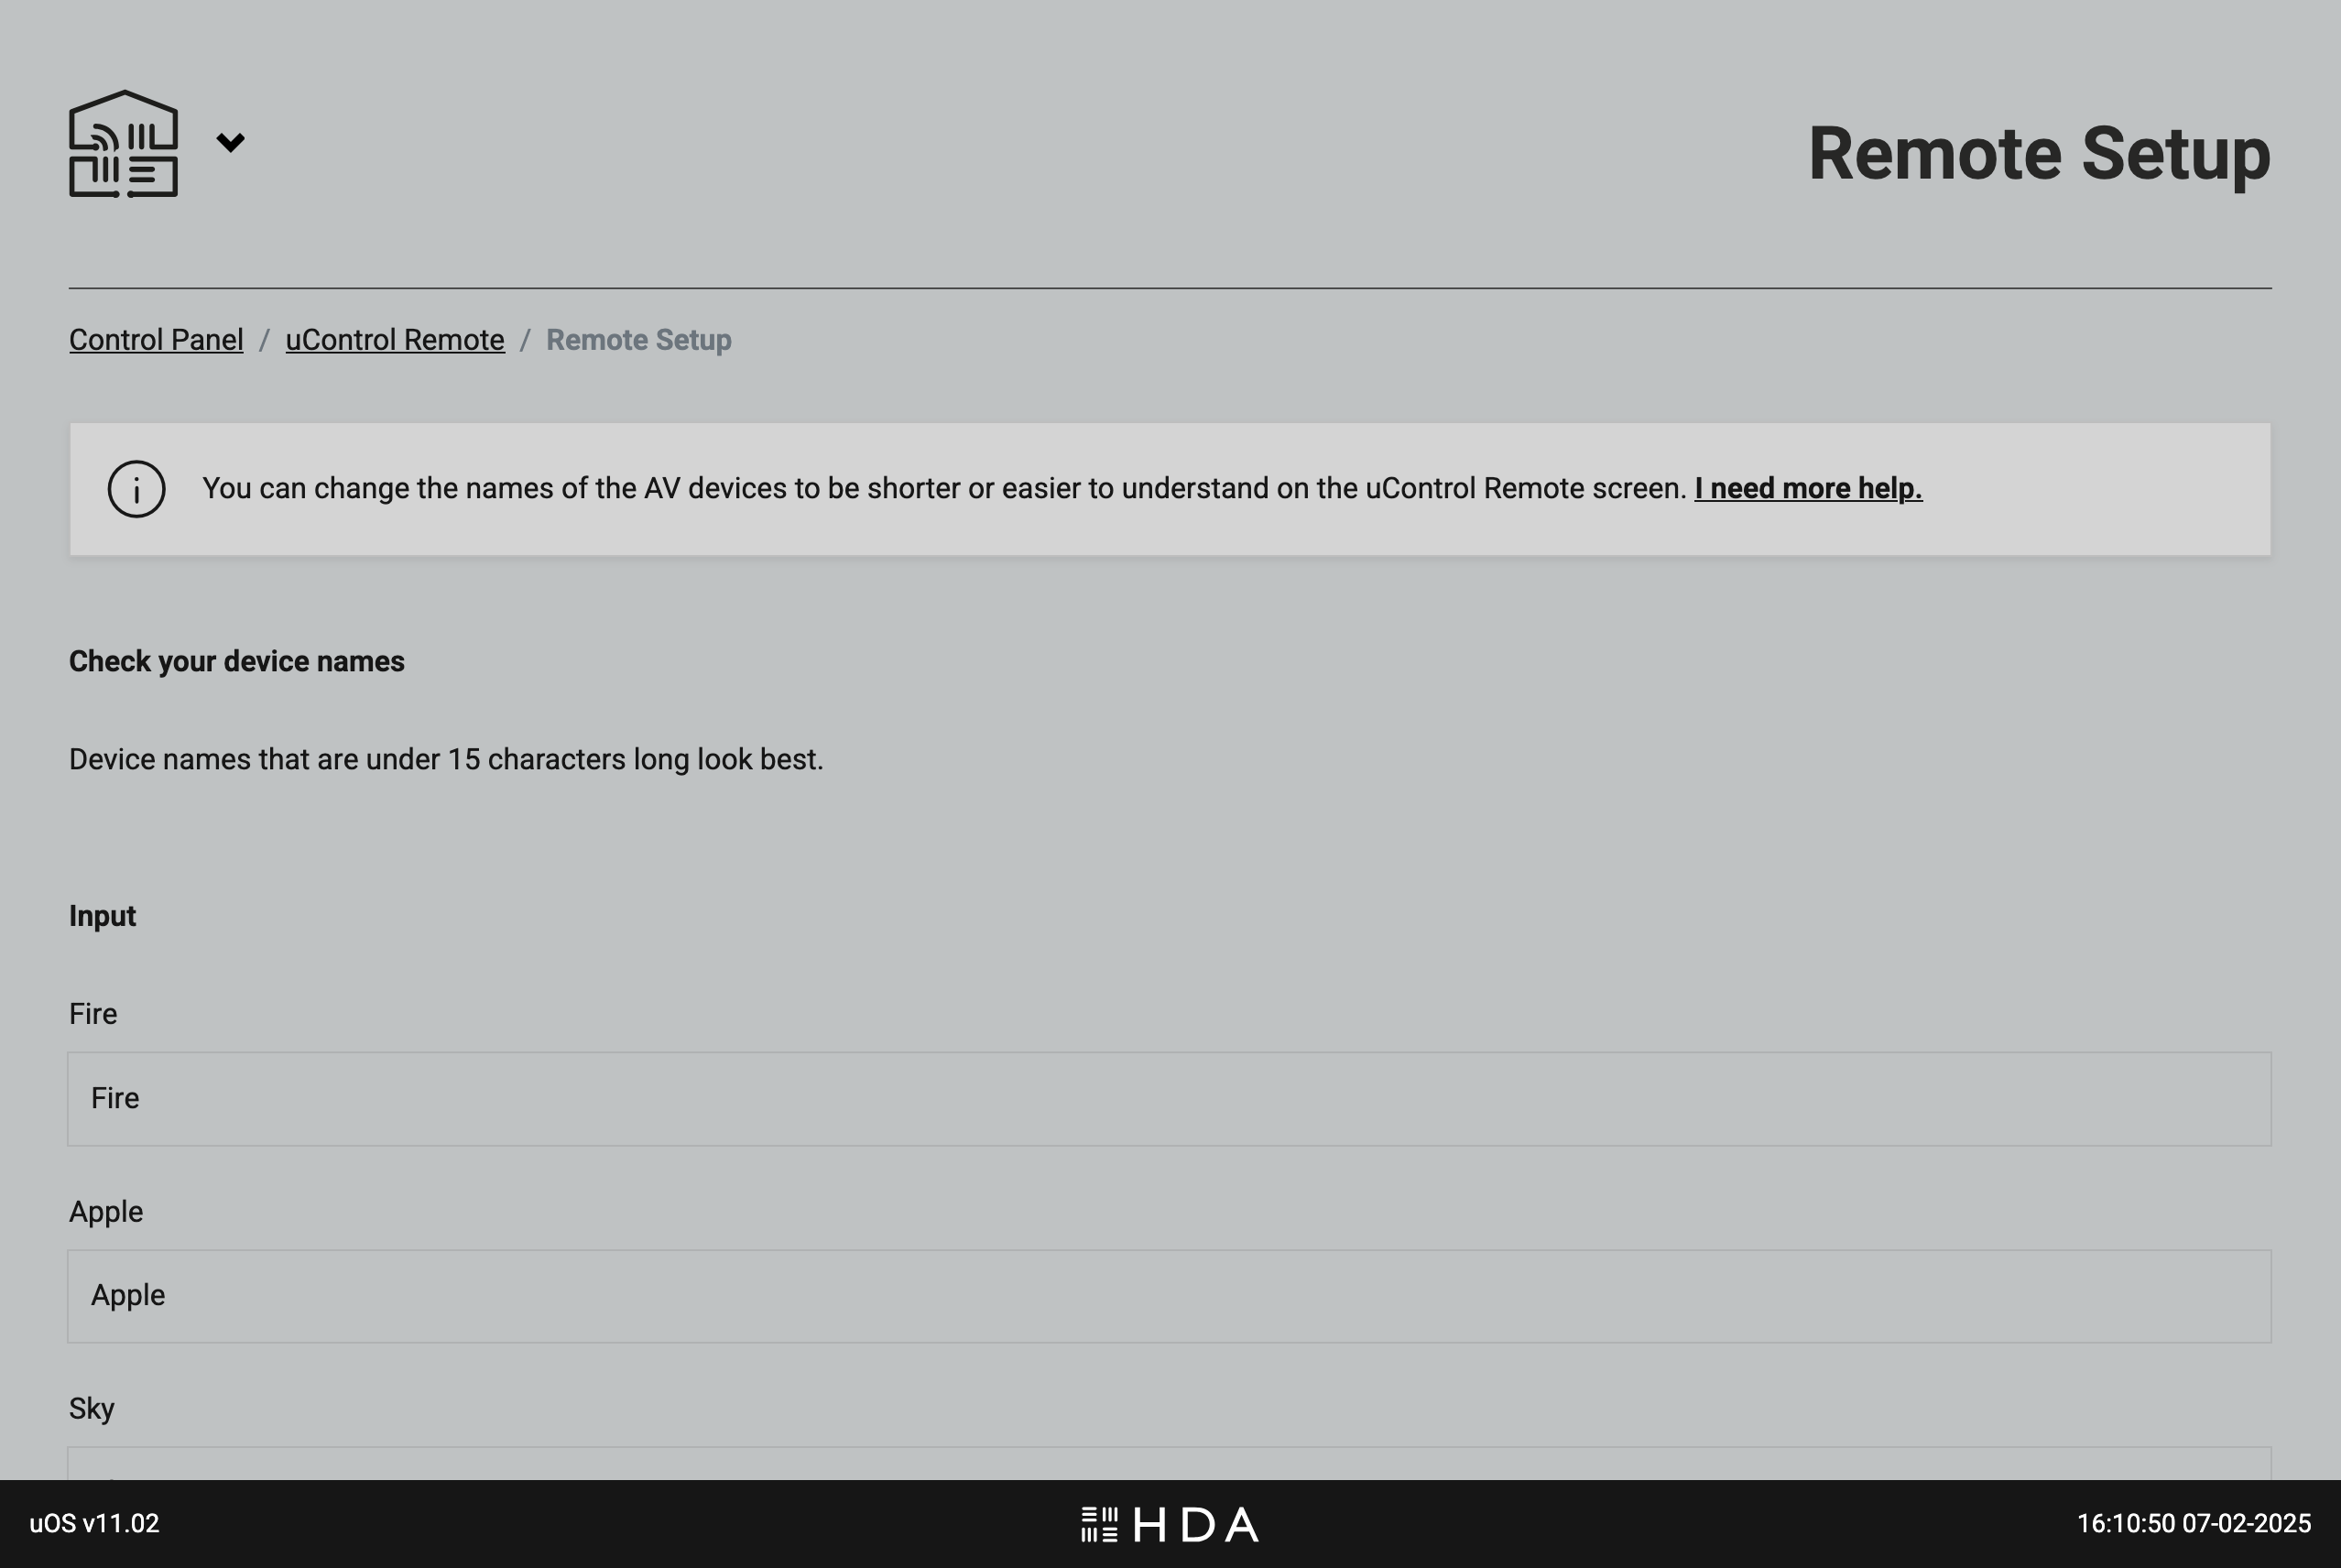
Optional step: rename your devices so they are easier to read on uControl Remote’s screen.
Select what will be doing the volume control in your Zone or Room.
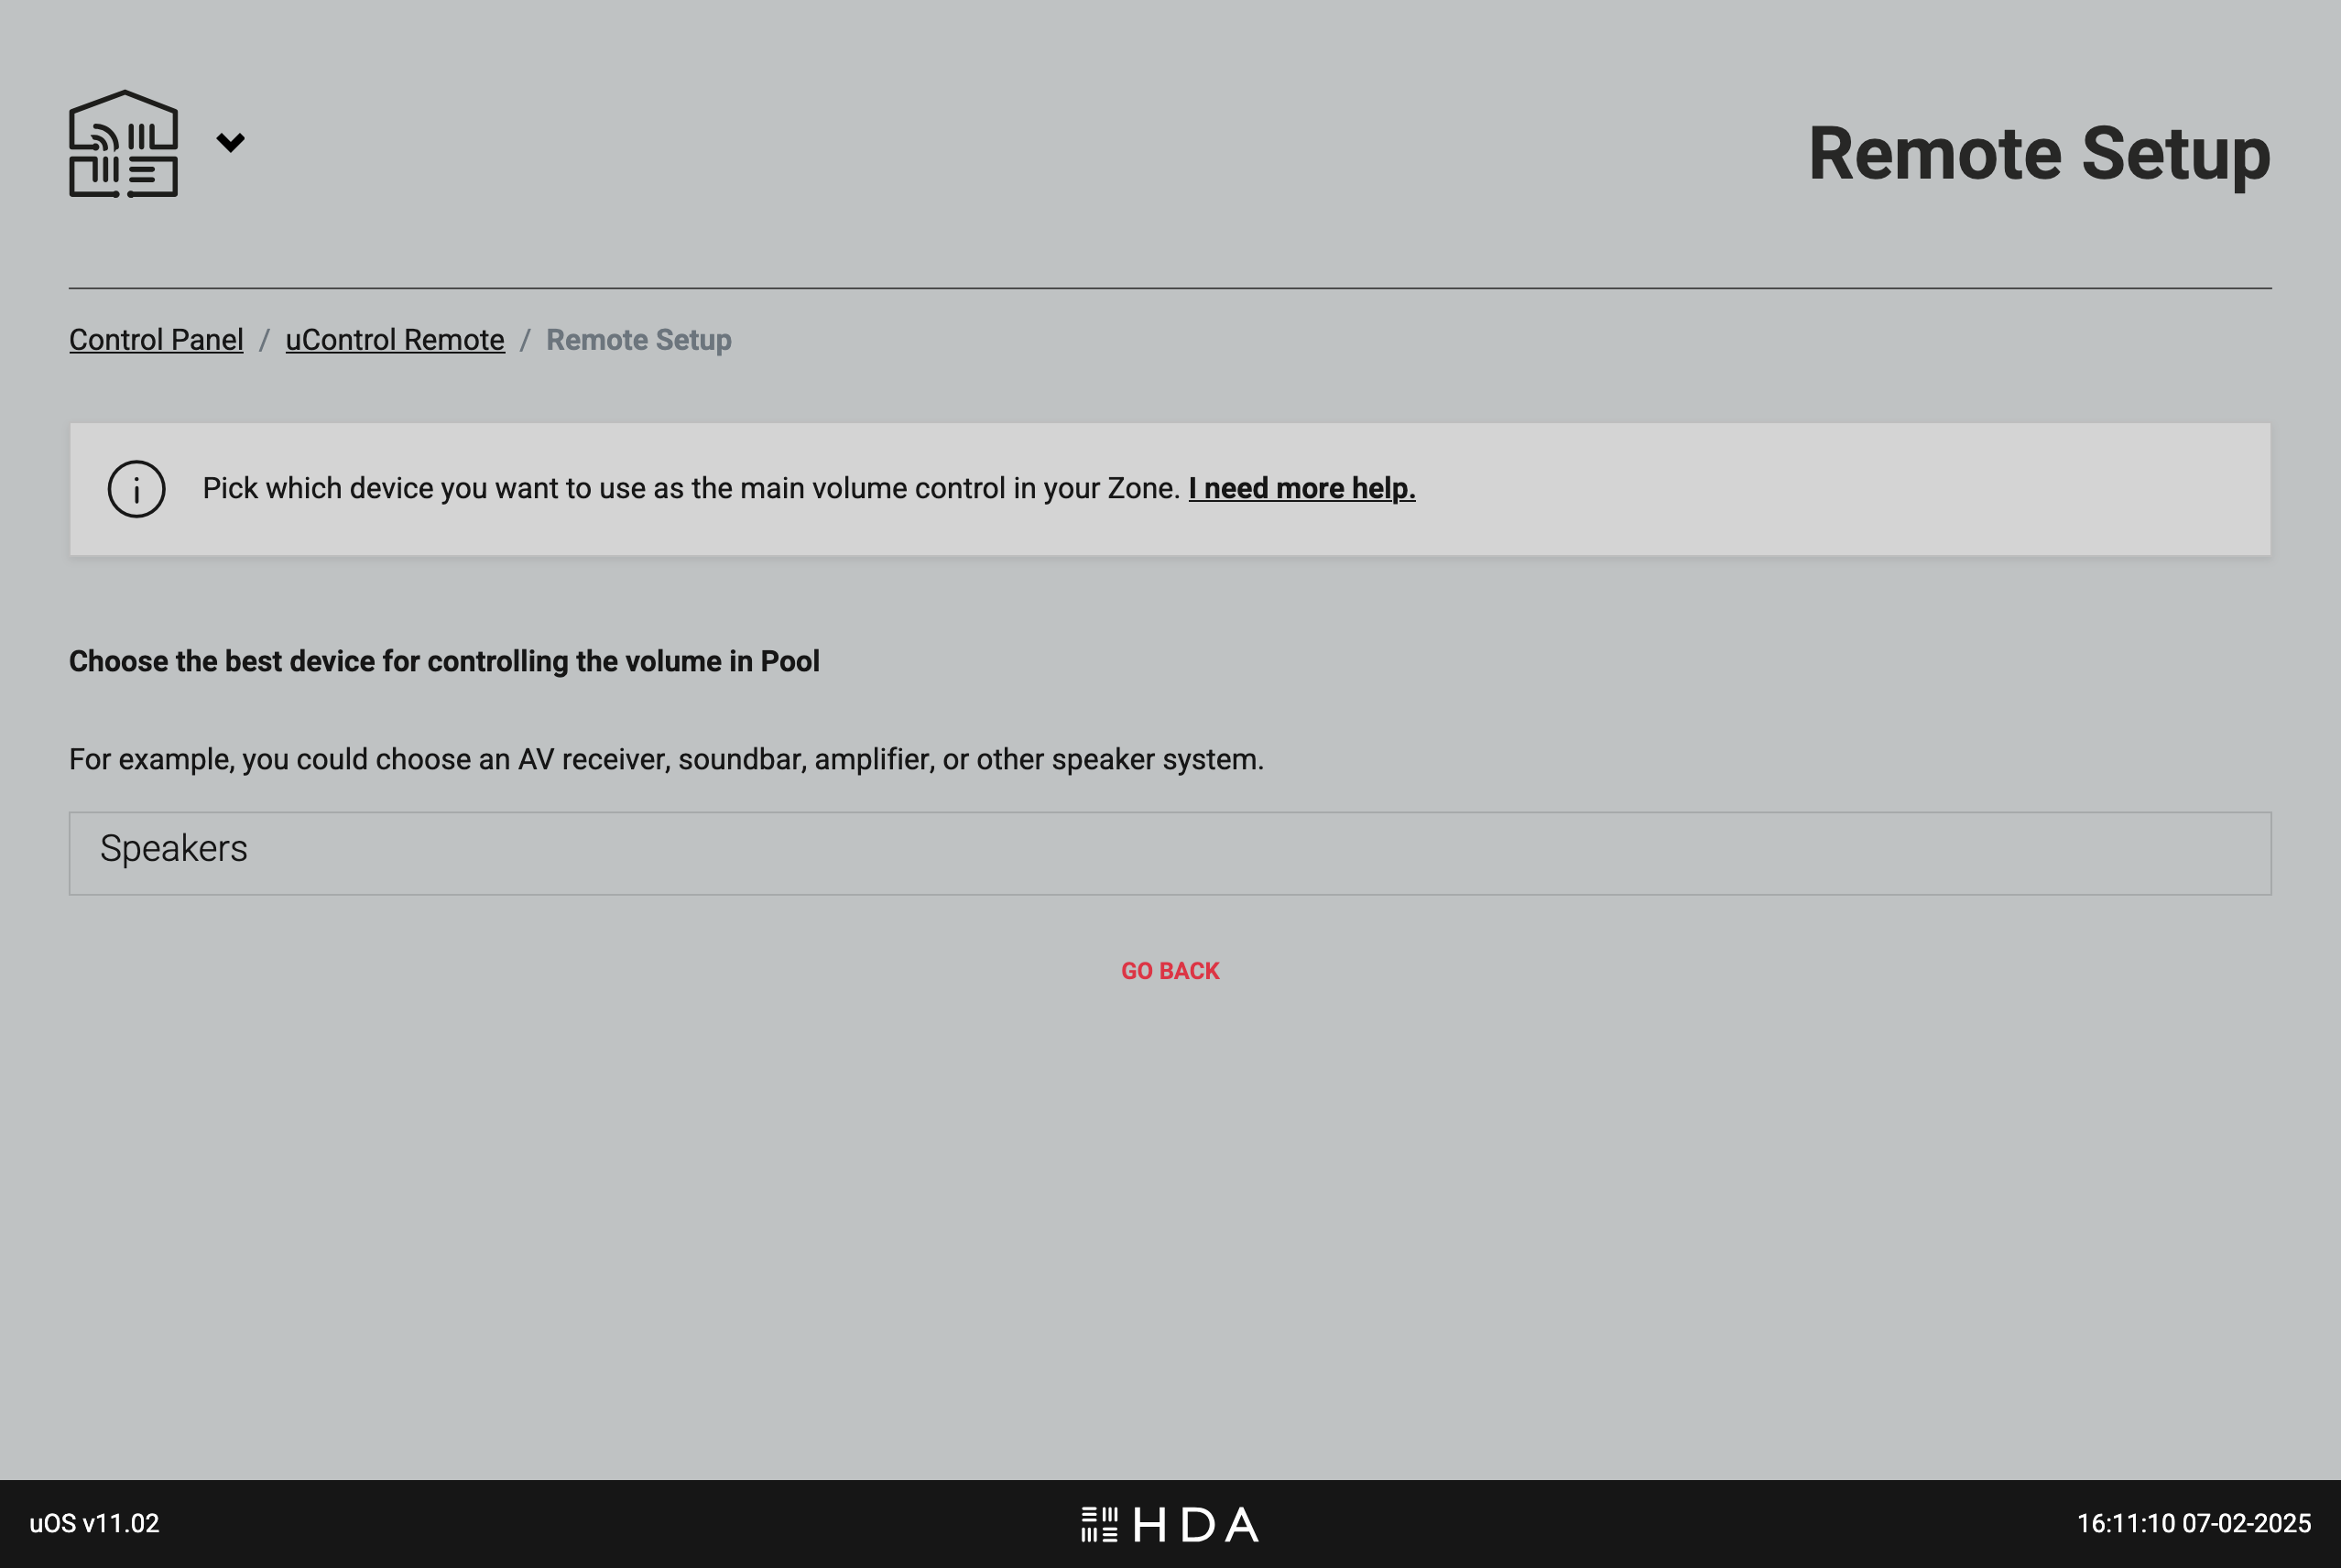
More about volume: uOS will automatically select devices you’ve installed that offer volume control and will present them in this list based on how they are categorised by HDA. This includes TVs, Projectors, audio streamers/amplifiers (Wiim, Sonos), AVRs and HDA hardware like MHUB or MZMA.
If you have multiple devices that are all volume controllable (eg TV + AVR) then you will still need to nominate which device is default but uOS will transfer all options to the remote. This means you can switch away from the default option by pressing and holding the “AUDIO” key on the Remote. If you power down the remote or it is restarted, uControl Remote will revert to it’s default setting.
Basic setup is complete.